Create a Gravity form for the super-user rights request
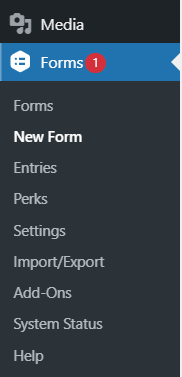
- Within your WordPress instance, assuming you have installed Gravity Forms already, go to Forms -> New form. Give it a name such as ‘Super user rights request’.
- Submitee’s name (single line text)
- Create a new single line text field, label it to something like ‘Submitee’s name’.
- Under the Advanced tab:
- Use the same tag: {user:display_name} . This way, the user name will be auto-populated on submission.
- Set visibility to ‘Administrative’.

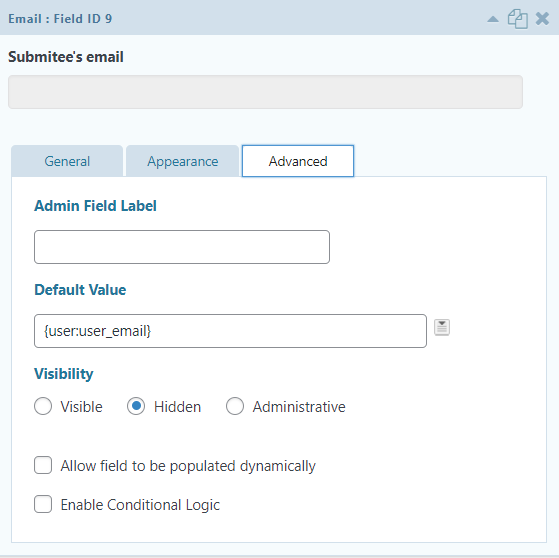
- Submitee’s email (single line text)
- Create a single line text field and call it something like Submitee’s email.
- Under the Advanced tab:
- Use the same tag: {user:user_email} . This way, the user name will be auto-populated on submission.
- Set visibility to ‘Administrative’.
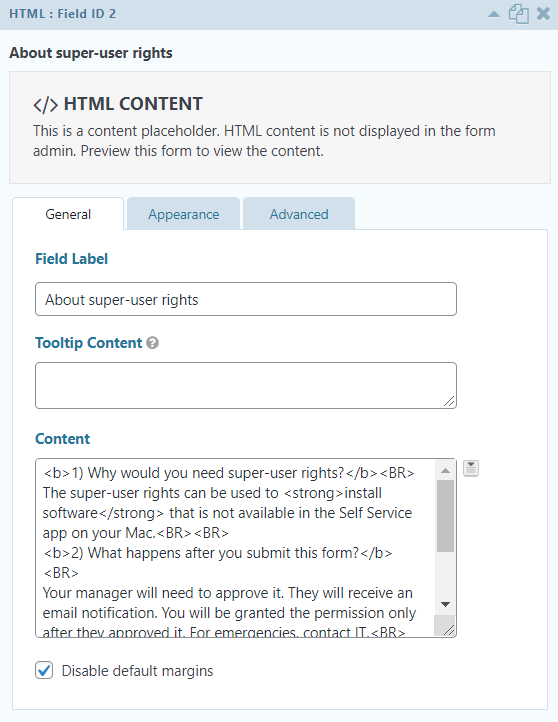
- HTML block field to explain what are the admin rights for
- Create an HTML block field and label it as something like ‘About super-user rights’.
- In the contents, I put this text with the HTML tags:
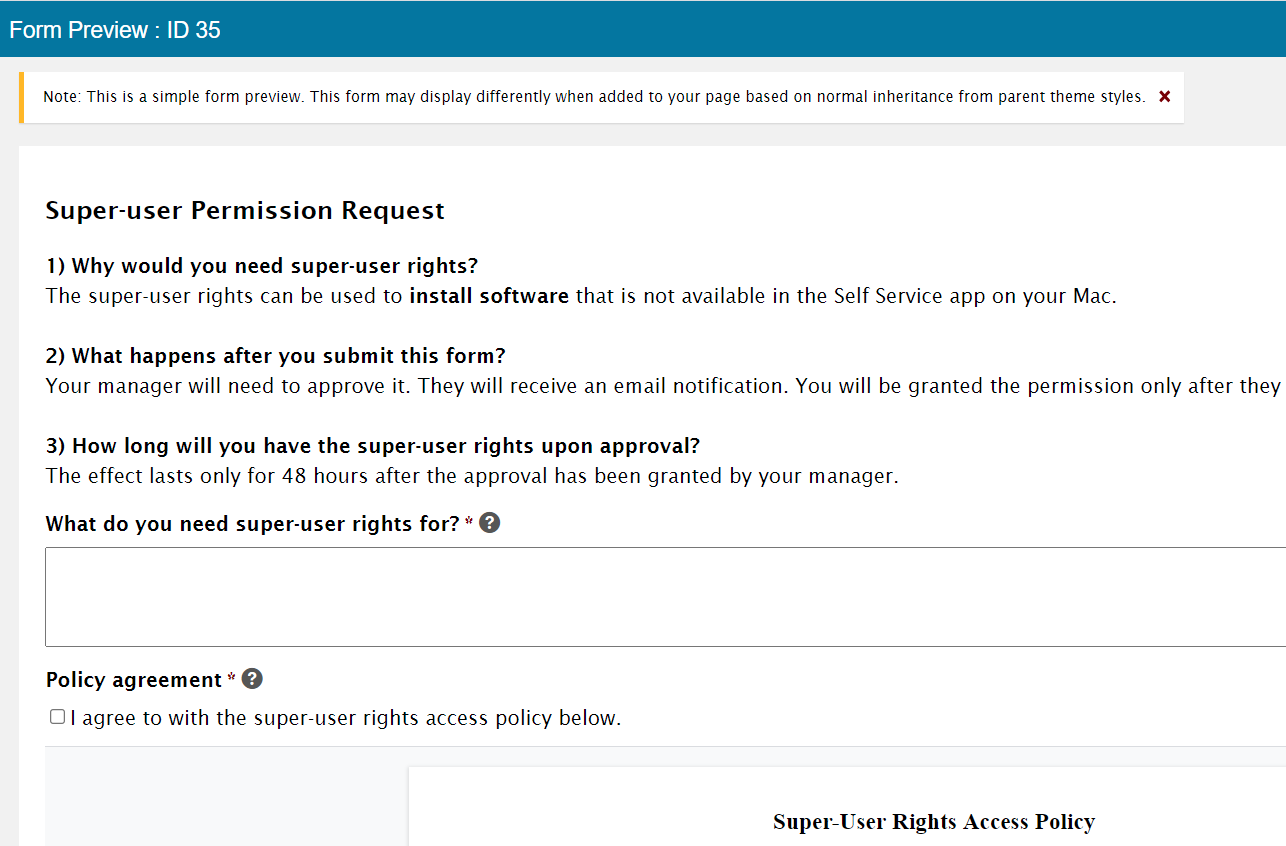
<b>1) Why would you need super-user rights?</b><BR>
The super-user rights can be used to <strong>install software</strong> that is not available in the Self Service app on your Mac.<BR><BR>
<b>2) What happens after you submit this form?</b><BR>
Your manager will need to approve it. They will receive an email notification. You will be granted the permission only after they approved it. For emergencies, contact IT.<BR><BR>
<b>3) How long will you have the super-user rights upon approval?</b><BR>
The effect lasts only for 48 hours after the approval has been granted by your manager.
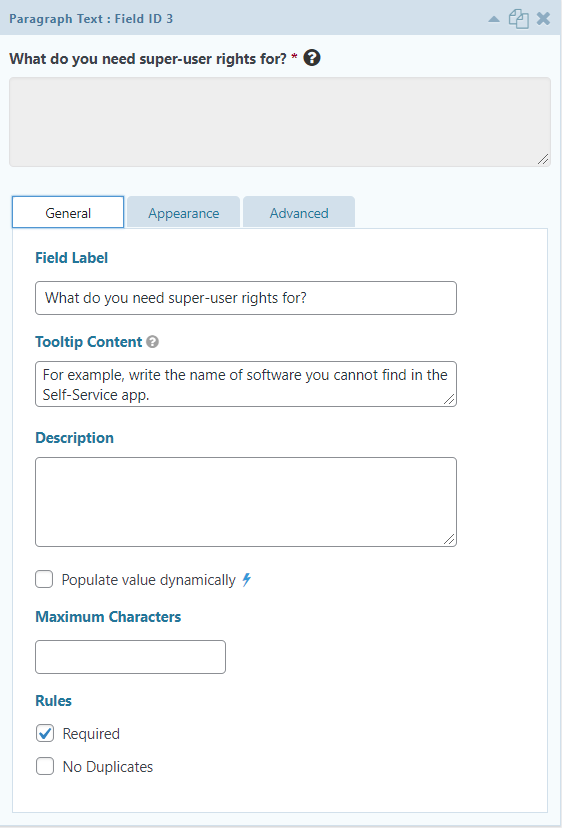
- Paragraph text – let the users explain what they need the admin rights for?
- Create a paragraph text field and call it something like ‘What do you need the super-user rights for?’
- In the tooltip / description, you can add ‘For example, write the name of software you cannot find in the Self-Service app.’
- Tick the box that it is a required field.
- Under the Appearance tab, you may wish to select the Field size to ‘small’, as we do not expect more than three lines of text in the reply.
- Consent field – let the users agree to a policy or Terms & Conditions
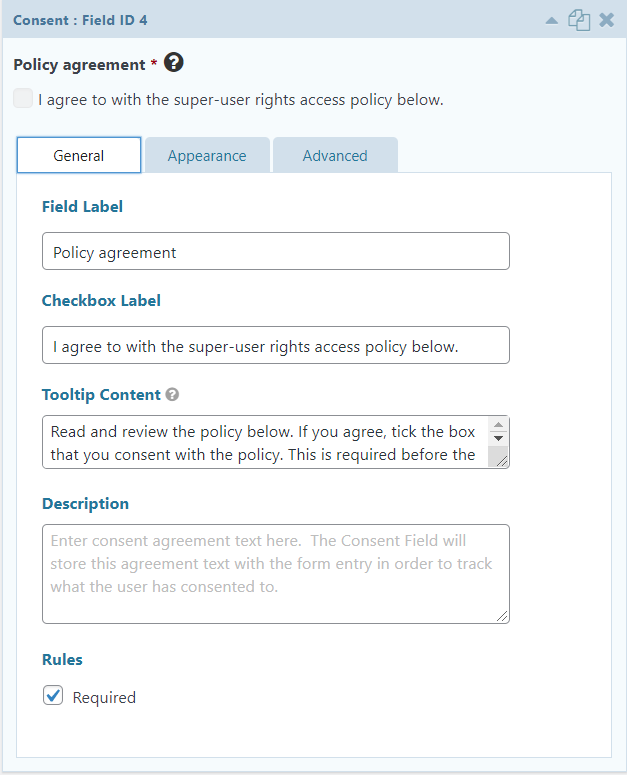
- Create a consent field, label it as something like ‘Policy agreement’.
- In the checkbox label, add an actual agreement statement such as ‘I agree to with the super-user rights access policy below.’
- In the tooltip or description, add more details such as: ‘Read and review the policy below. If you agree, tick the box that you consent with the policy. This is required before the workflow can proceed.’
- Tick the box that this is a required field.
- Under the Appearance tab for custom validation message, customize the text to something like ‘Your agreement to the policy is required. If you have a concern, please contact the HR team.’
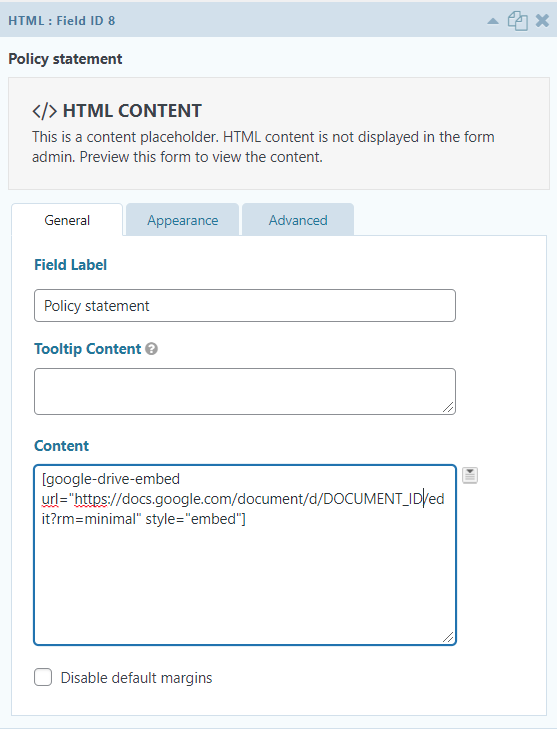
- HTML block for the policy statement
- You may wish to have the policy stated in the field above, but if it is longer, it may not be very easy to read / navigate through it. Since some companies use Google Workplace (formally known as G Suite), I created a suggestion below for having the policies in an embedded Google Doc using a Google Drive Embedder WordPress plugin (free version).
- The idea is that those who have write rights can edit it directly, which would be just a few people (like HR / Legal team). All others would have read-only access.
- Nevertheless, this block adds a layer of complexity, as the user needs to be logged into their Google Workspace account, or else an error message is displayed. So use this field only if it suits your needs.
- Once you have set up your Google Drive Embedder plugin. grab a document ID (right part of the URL when you open a Google Doc) and add the following text in an HTML block:
[google-drive-embed url="https://docs.google.com/document/d/<DOCUMENT_ID>/edit?rm=minimal" style="embed"]
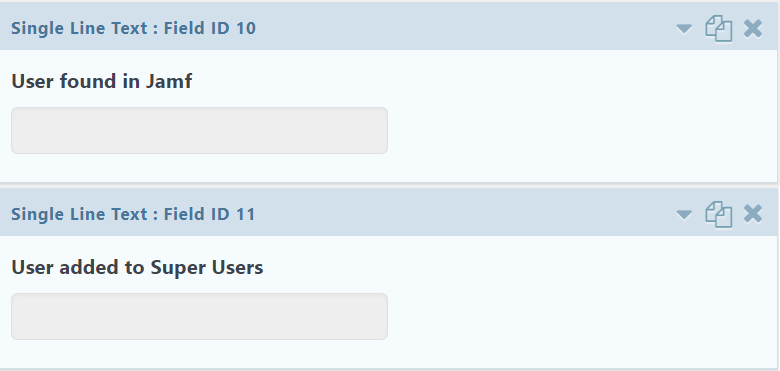
- Add two more single text fields to fetch results from Integromat
- The idea is that when Integromat carries out the job of adding/removing the user to/from a group in Jamf Pro via the JamF API, the Gravity workflow in WordPress needs to receive an information about it – was it successful or not?
- Each field is used to map something else in case the workflow in Integromat gets stuck or does not complete – this will be explained in the next step.
- Create one single line text field called ‘User found in JamF’ and mark it as hidden in the Advanced tab.
- Then create another single line text field called ‘User added to Super Users’ and mark it as hidden in the Advanced tab.
- Preview the form
- Save the form and click on the ‘Preview’ button on the top. Go through it and try to fill it in. Are the required fields for the reason for wanting the admin rights and for the consent marked as required? Test it out.
- Publish the form to review styles and look & feel
- Create a page in WordPress and use a shortcode to add the form in it.
- I recommend using enhanced visual editors like Elementor, Divi, etc. to make your life easier.
- Then view the page from there to verify that it works and looks as expected. You can then un-publish the page if you prefer users not to be able to access it (or simply do not mention the URL anywhere or block it for certain roles using other plugins).

Now, since we have the form ready, let’s create an API account in JamF and prepare our workflow in Integromat!