What is the end goal and why do we need it?
Typically, in a small business environment, all users have admin rights on their laptops. In a Mac environment, many feel safe – after all, is it not just the Windows folks that catch viruses or get their accounts compromised?
However, as soon as the business grows beyond a 100 users or needs to obtain some level of certification (e.g. ISO 27001 , TISAX, etc.), then having all accounts as admins would not pass an external audit. Yet if all user accounts were simply switched to ‘Standard’ via JamF Pro, it would become impossible for a small IT team of 1-2 to manage all the user requests, even if the Self Service app is populated with apps (in some environments such as agencies where the environment is rather dynamic).
So how can you limit user accounts on Macs to fulfill compliance requirements while allowing users to install what they need whenever they need it?
How do we get there?
- Whenever you need to ‘tighten the screws’, the users and their managers will not like it. It is therefore always important to have a backing of the senior leadership. So firstly, explain to them why is this change necessary in view of the audit and the resulting higher revenue. once the organization gets a compliance certificate (for example in car industries, TISAX has become a standard in Europe and is getting further recognition in America and Asia).
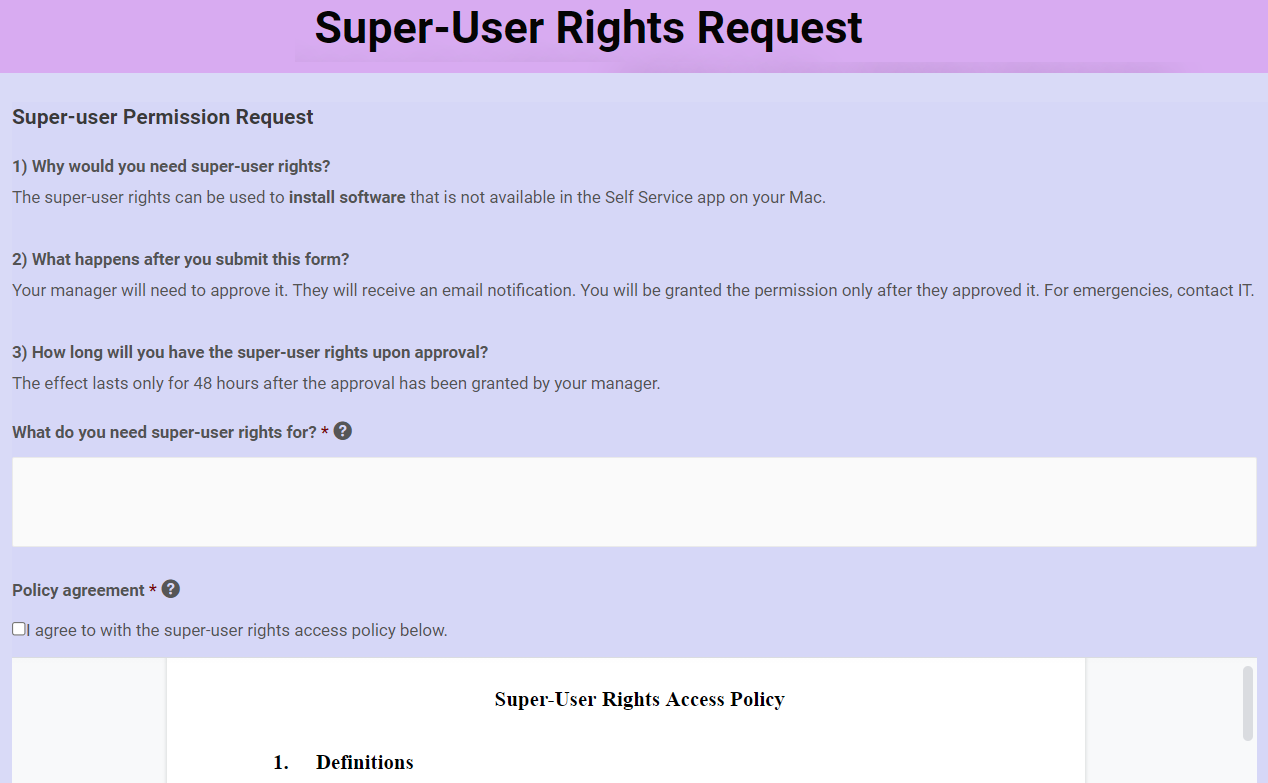
- Design a form in Gravity that asks the users for why they need admin rights and have them accept a company policy on admin rights. If you are actually going through an audit, do not call it admin rights but super-user rights, since it sounds less scary to the auditors. After all, the idea is to not grant users full admin rights, as we can limit their ability to open the Terminal and the admin rights will be limited by time (in hours).
- Create a workflow in Gravity Flow that will firstly seek an approval from the IT team and then sends a request to Integromat to add the user to a static admin group in JamF Pro (using JamF API) and removes them from a standard user group (to be explained further later). This will trigger a script that applies admin rights for the user via a configuration profile.
- Once done, the workflow in Gravity (within WordPress) sends an email to the user that they now have super-user rights to install what they requested. The workflow is then paused for an x amount of hours (it is recommended to be at least 24 hours in case the user is in a different time zone or off work that day).
- Once the allocated time expires, the Gravity workflow calls Integromat again to remove the user from the admin group in JamF Pro and to add them to the standard user group (a script is triggered that sets their account on all computers they own to ‘Standard’.
Simple? Let’s see how it works in reality!