Bachelor Tech
  • Home
  • Tutorials
  • Portfolio
  • About Jan
  • Contact Jan

Create a Google Service Account + Key

by Jan Bachelor March 16, 2021

Last Updated on March 16, 2021 by Jan Bachelor

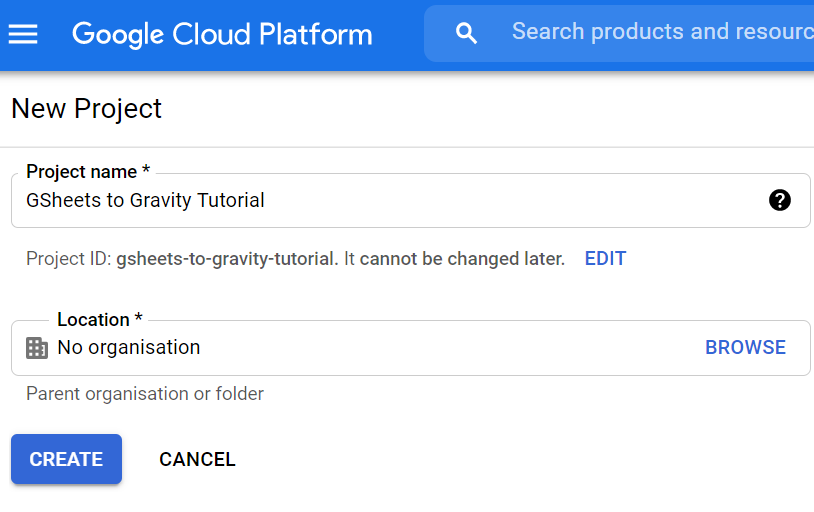
  1. Go on Google Cloud Console to create a new project.
Create a new project in Google Cloud Console
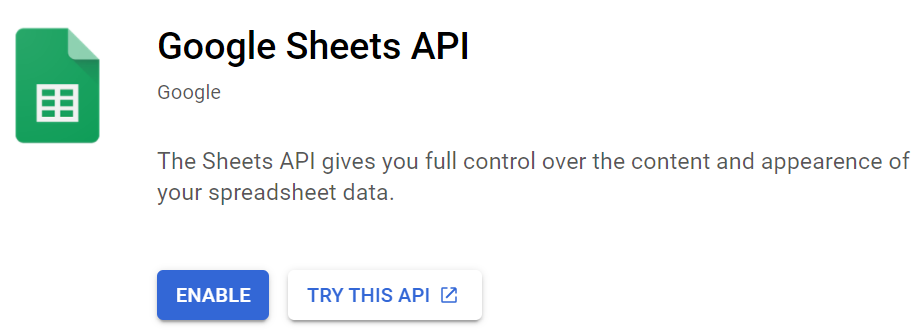
  1. Once the project is created, go to the ‘Marketplace’ section and search for ‘Google Sheets API’. Enable it.
Enable Google Sheets API access on your project
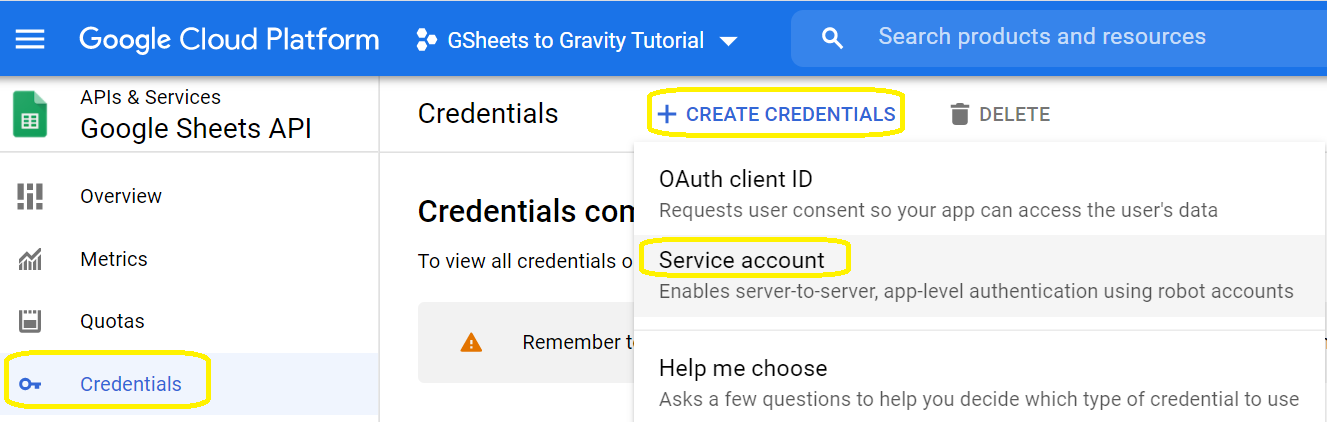
  1. The ‘Google Sheets API’ service will open. Go to ‘Credentials’ and click on’+ Create Credentials’.
Create a Service account type of credential
  1. Fill in the service accounts name and it is recommended to provide some description in case you wonder half a year later, which account was the one you used for this purpose.
Provide a name for your new service account
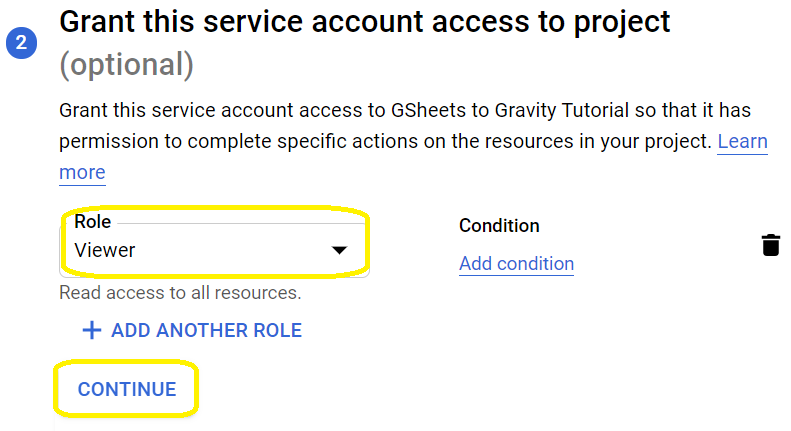
  1. Now we will need to select a role for this account. Google Cloud roles are not really relevant for this purpose, since we want to access GSheet resources. Therefore, you can simply go to ‘Basic’ -> and select ‘Viewer’.
Choose a role for this service account
  1. Leave the ‘Grant users access to this service account’ blank and click on ‘DONE’.
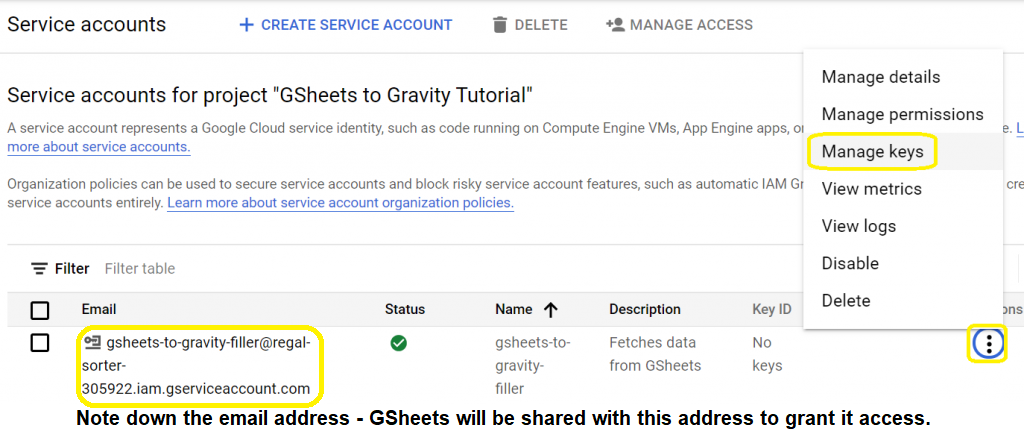
  2. Now we will need to create a key. It is recommended to copy over the email address as it will be used later to share GSheets with for access. Click on the three dots and choose ‘Manage Keys’.
Note down the email address + go to the ‘Manage keys’ section to create a JSON key
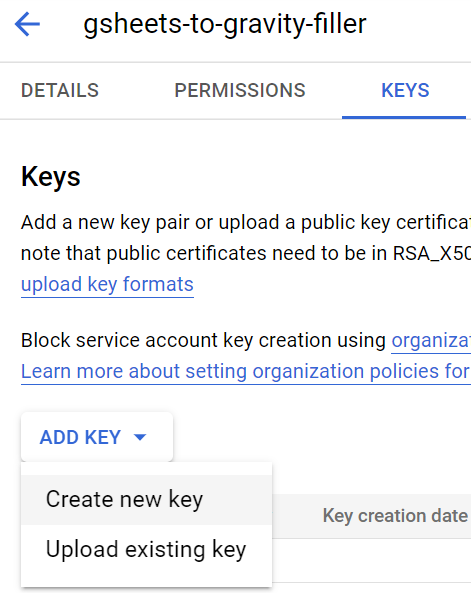
  1. Click on the ‘Add Key’ button -> Create a new key
Create a new key
  1. Choose ‘JSON’ and confirm by clicking on the ‘CREATE’ button.
Confirm the creation of a JSON type of a key
  1. A .json file will be downloaded to your computer. Store it safely, preferrably on an encrypted drive.
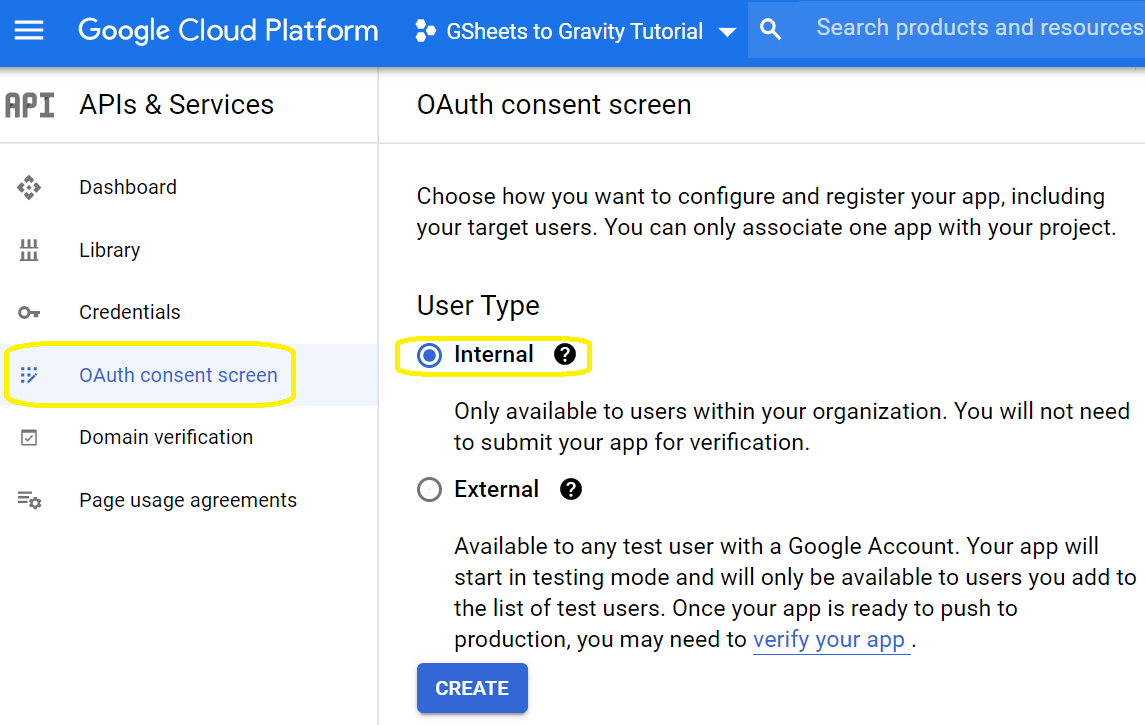
  2. Lastly, we will need to set up the OAuth consent screen. Click on the ‘OAuth consent screen’ in the left panel and select that this application is ‘Internal’. Then click on ‘Create’.
Create an internal consent screen
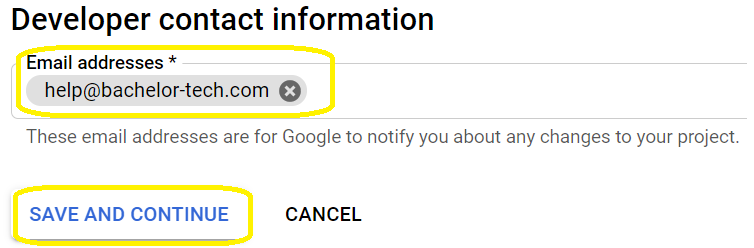
  1. You will be asked to fill in your application’s name and provide a contact. In case you do not have any, create one in the IAM section.
Fill in an application name and user support email
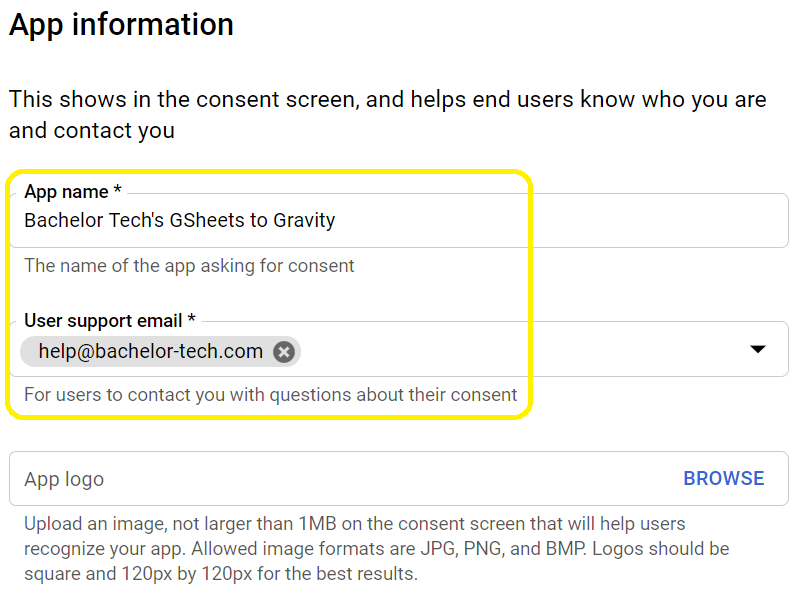
  1. Fill in everything else that you consider relevant – the only other required field is the developer’s email address. Then click on ‘Save and Continue’.
Provide your email address as a developer
  1. You will then be asked to provide a scope for your app. Click on the ‘Add or remove scopes’ button. If you expect to only use it for read-only access to Google Sheets API, then select the scope called ‘./auth/spreadsheets.readonly’.
Select the appropriate scope for your app, such as Google Sheets API – read only access
  1. Once happy with your selection, click on the ‘Update’ button and then scroll down to click on the ‘Save and Continue’ button. The summary screen will show you what you have made, no further action is needed.

Now we will be able to make some small changes on our web server and then finally test this thing out!

Sources:
  • Google’s official documentation
  • Pocket Admin’s blog
Install Composer + Google API Client (Linux)
Back to: Dynamically Populate Gravity Forms from Google Sheets (GSheets APIv4) > Part 1 - Get GSheets API working with your WordPress instance

Leave a Comment Cancel Reply

Save my name, email, and website in this browser for the next time I comment.

This site uses Akismet to reduce spam. Learn how your comment data is processed.

0 comment 0 FacebookWhatsappEmail

Dynamically Populate Gravity Forms from Google Sheets (GSheets APIv4)

  • Next
Collapse
Expand
  • Part 1 - Get GSheets API working with your WordPress instance

  • Create a Google Service Account + Key
  • Install Composer + Google API Client (Linux)
  • Utilize Composer to talk to Google Sheets API
  • Use GSheets APIv4 in WordPress using the Code Snippets plugin
  • Part 2 - Examples for loading GSheets into Gravity Forms

  • Example 1a: Purchase orders - load a list of clients into a Gravity Forms dropdown from a GSheet
  • Example 1b: Purchase orders - load a list of projects from a GSheet based on the previously selected clients into a Gravity Forms dropdown

Search for articles

Other Tips

  • How to mount an NFS share (such as from FreeNAS) from an Android box
  • How to download a Windows 10 ISO on a Windows device – easy work-around

Other Tutorials

  • Build Your Own Router - Proxmox, OPNSense, OpenVPN server and a VPN client all in one!
    12 Steps
  • Dynamically Populate Gravity Forms from Google Sheets (GSheets APIv4)
    6 Steps

Recent Comments

  • Jan Bachelor on Use Integromat to get computer IDs from user email in JamF ProHi Robert, the static groups were created in the p…
  • Robert Petitto on Use Integromat to get computer IDs from user email in JamF ProCan you share how you'd use Make (integromat) to a…
  • Martin on Part 1 – What do we want to do + Required technology (bank feed)This tutorial deserves more credit, I've not seen…
  • Jan Bachelor on WAN / LAN Set Up (Before OPNSense Installation)Hi Ed, I have not tested it with PCI passthrough y…
  • Ed on OPNSense VM Set UpIn step 4 firewall you turned off firewall, should…

Tags

chrome iso windows

Categories

  • Android
  • FreeNAS
  • Linux
  • Windows

Recent Posts

  • How to mount an NFS share (such as from FreeNAS) from an Android box

  • How to download a Windows 10 ISO on a Windows device – easy work-around

Facebook Twitter Instagram Pinterest Linkedin Youtube

@2019 - All Right Reserved. Designed and Developed by PenciDesign

Bachelor Tech
  • Home
  • Tutorials
  • Portfolio
  • About Jan
  • Contact Jan