Since this is a self-hosted open-source solution, we will need to have our own infrastructure for hosting it. One of the most popular Level 1 hypervisors that is entirely free is Proxmox. You can install it on a spare device at home (including the Raspberry Pi that has 8 GB of RAM or more and various mini PCs).
The recommended way from Cas is to use docker, yet Proxmox does not natively support that, so we will follow a different path, instead. If you would like to use Docker, follow Cas’ guide, instead.
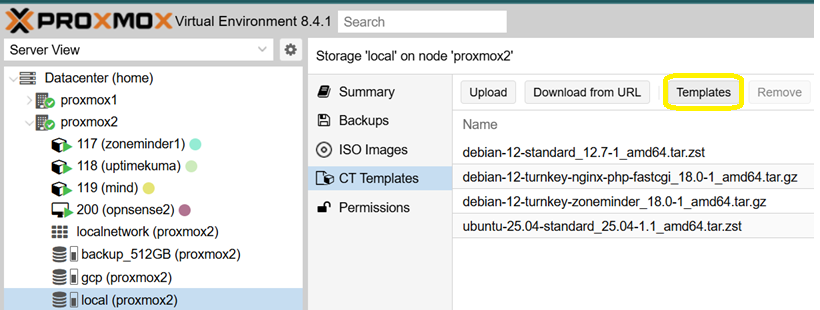
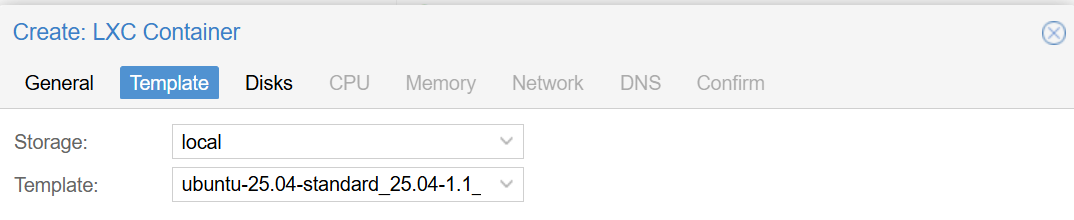
- On your Proxmox web interface, select your local storage -> CT Template and click on the ‘Templates’ button.
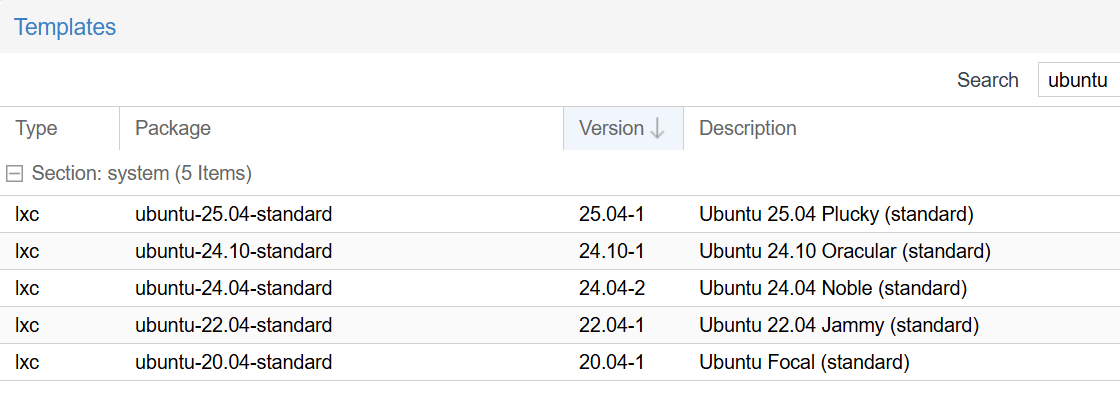
- Then download the newest Ubuntu container, which may be different from the one shown below by the time you read this tutorial.
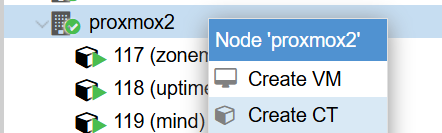
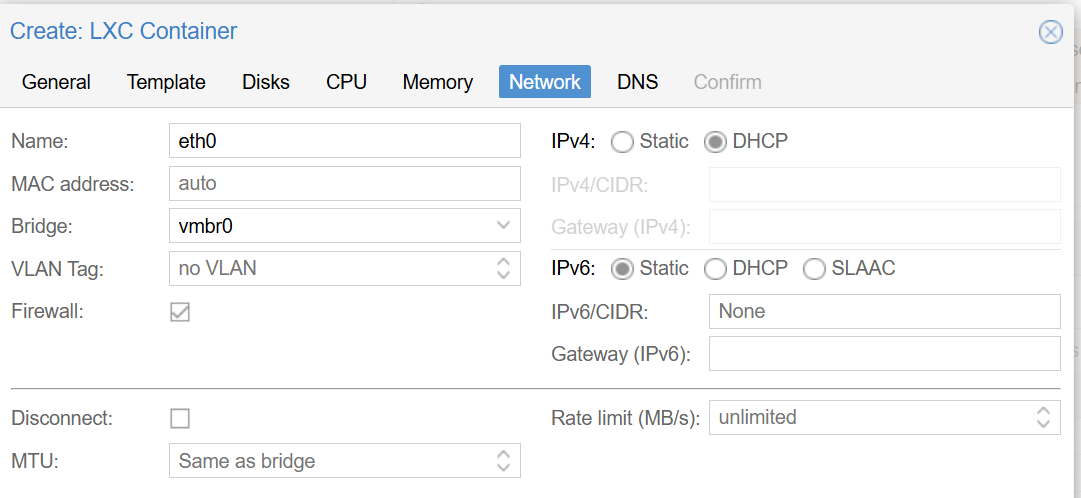
- Then right click on the proxmox host and select ‘Create CT’
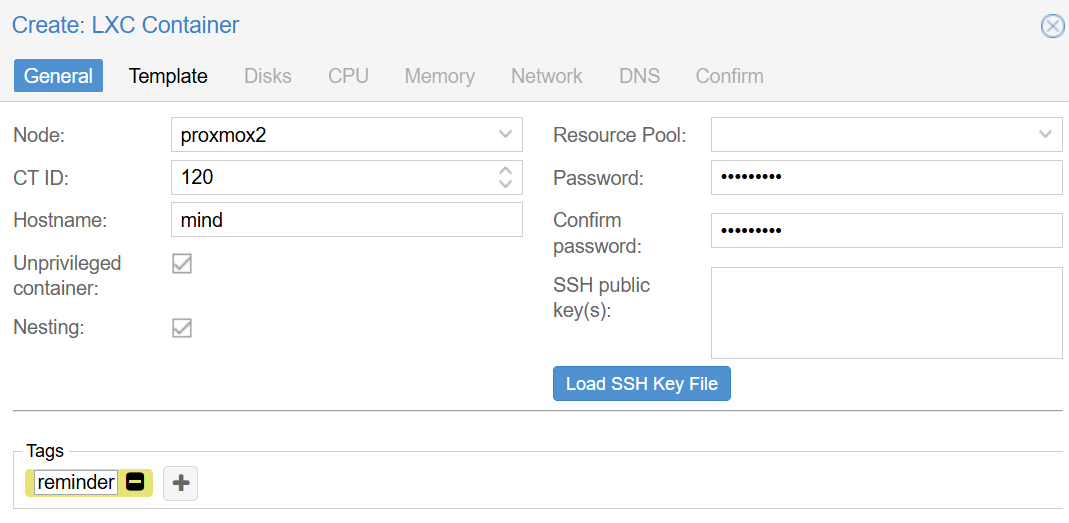
- Give it some space (such as MIND), set a password. Alternatively, upload your own SSH key for password-less access. Tags are optional but handy once you have more containers and VMs.
- Once the container is created, start it and use the built-in console to access it. The default login is with the ‘root’ user and the password you selected during set up.
- Then, run the following commands:
# Update the OS
apt update && apt upgrade -y

# Create a local non-admin user that will be used to launch the service and to SSH in when needed
adduser jan
usermod -aG sudo jan
su jan

# Download git and python with pip (over 411 MB!)
sudo apt install git python3-pip

# Clone the repo from Cas into /opt/MIND and run it for a test. Use the --break-system-packages parameter since we can run it globally in the container.
sudo mkdir /opt/MIND
sudo chown -R jan:root /opt/
git clone https://github.com/Casvt/MIND.git /opt/MIND
cd /opt/MIND
python3 -m pip install -r requirements.txt --break-system-packages

# Now let's confirm the container's IP address and run the app (change 192. to your LAN's address, such as 10. ):
ip addr | grep 192.
python3 MIND.py
