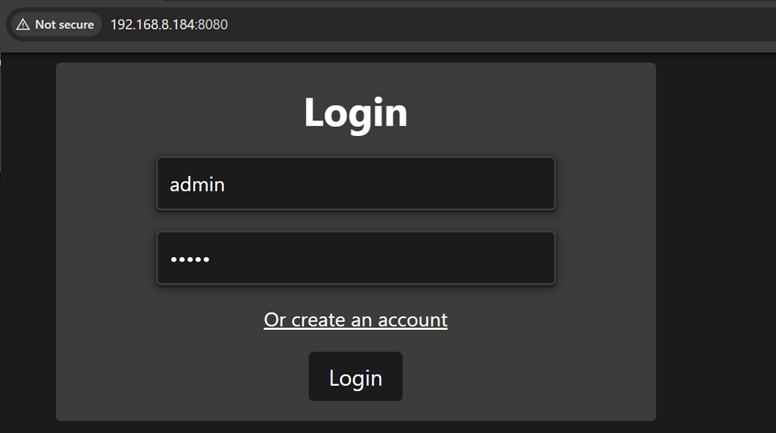
Once the python script is running, you can access the web interface of the MIND app.
- Open your browser and access the URL with the :8080 port number. Type ‘admin’ for username and ‘admin’ for the password.
- Scroll down to change the admin’s password, then press enter to ensure that it gets saved.
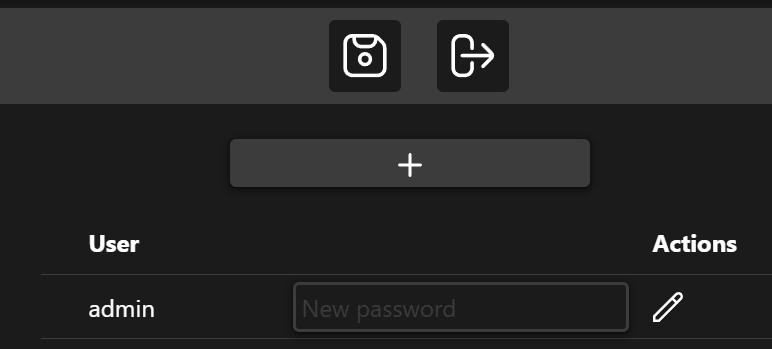
- The admin interface can be used to allow or disallow new user registrations (no email confirmation is used, no 2FA) and other things that you can explore. Most importantly, this is where you backup and restore your notifications in just a click. This is an easy way of how you can run backups on the application level (on top of backing up the entire container on the Proxmox level).

- Now click on the log out button and log in as a user (create an account if you have not done so already). When not using the ‘admin’ user, you will reach a standard user interface where you can create a new notification service.
- Upon login, click on the ‘bell’ sign and locate ‘Discord’.

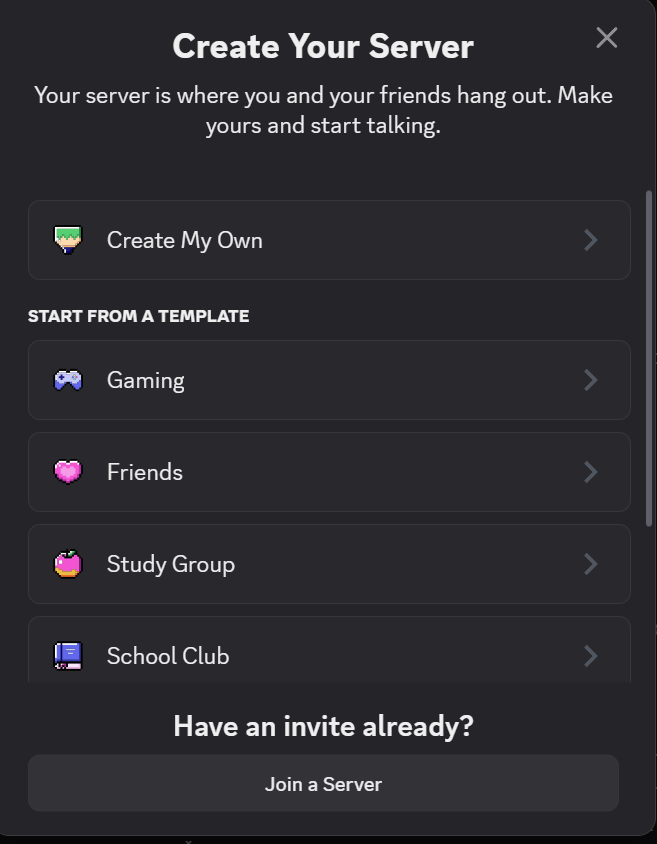
- At this point, we will need to head to Discord (log in there if not already) and create a new server (unles you already have one prepared). In the left panel, click on the + sign and then select ‘Create My Own’ -> ‘For me and my friends’. Give it a name and if you have an icon, upload one with it.
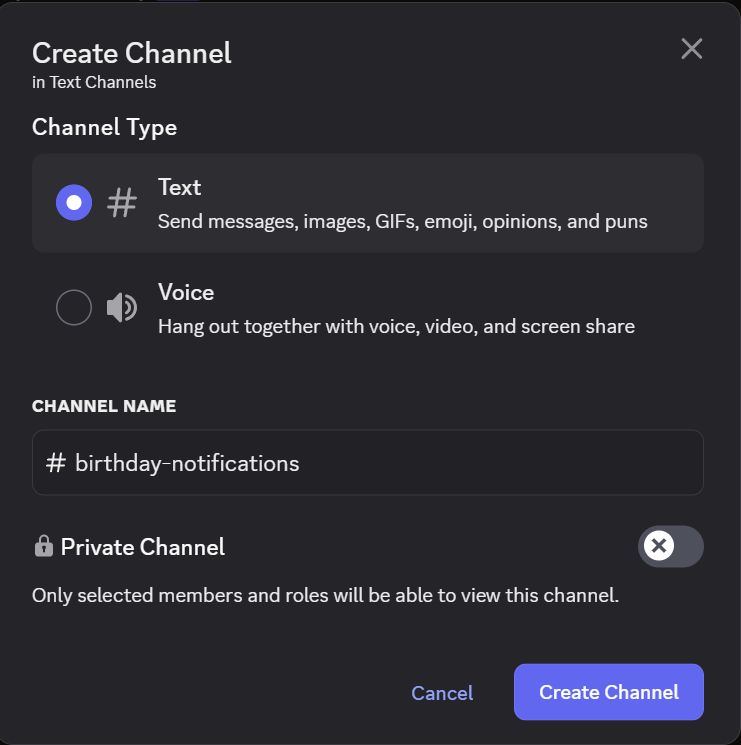
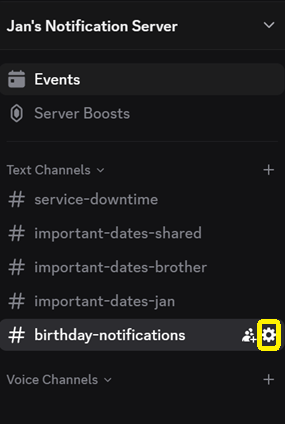
- Once the server is up, you will land in a default channel. You may wish to create a few of those based on use case. Let’s create a new channel for birthday notifications.
- Head to the channel’s settings by clicking on the wheel icon:
- Head to ‘Integrations’ -> ‘Create a webhook’ -> rename it to something more relatable and ensure that the right channel is selected.
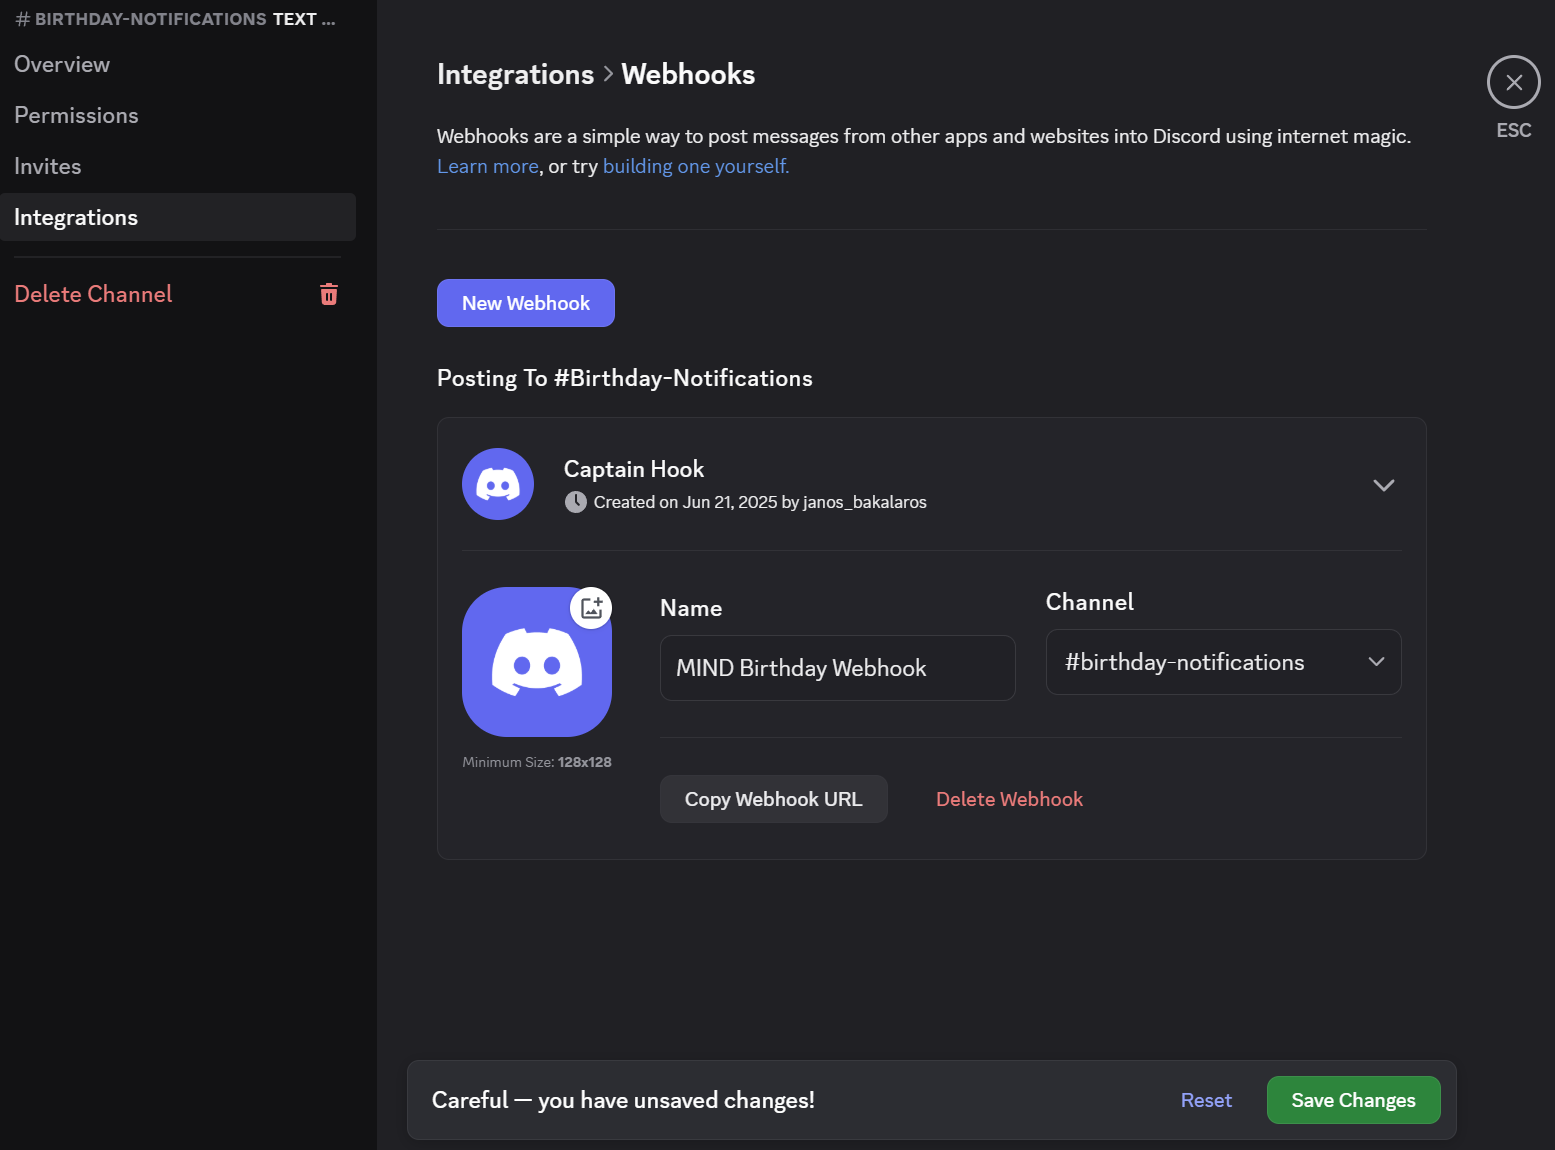
- After saving the webhook, click on the ‘Copy Webhook URL’ button to copy it to your clipboard memory.
- Paste it into your favorite text editor, as we will need to make some changes to it:
Original Webhook from Discord
https://discord.com/api/webhooks/1315954179692105738/yLg_-V2lgfqQGu6KIl7Oe9CrkK2KDGYOWFkoG1s7qo3vQ-HsXxsWl9Q41LpHmCwyx89x
(Note: the actual values have been modified)

Format for MIND:
1) Remove the first part of https://discord.com/api/webhooks
2) The number after that is the webhook ID, e.g. 1315954179692105738
3) The last part after the last / sign is the webhook token
- See below how this webhook needs to get pasted to MIND:
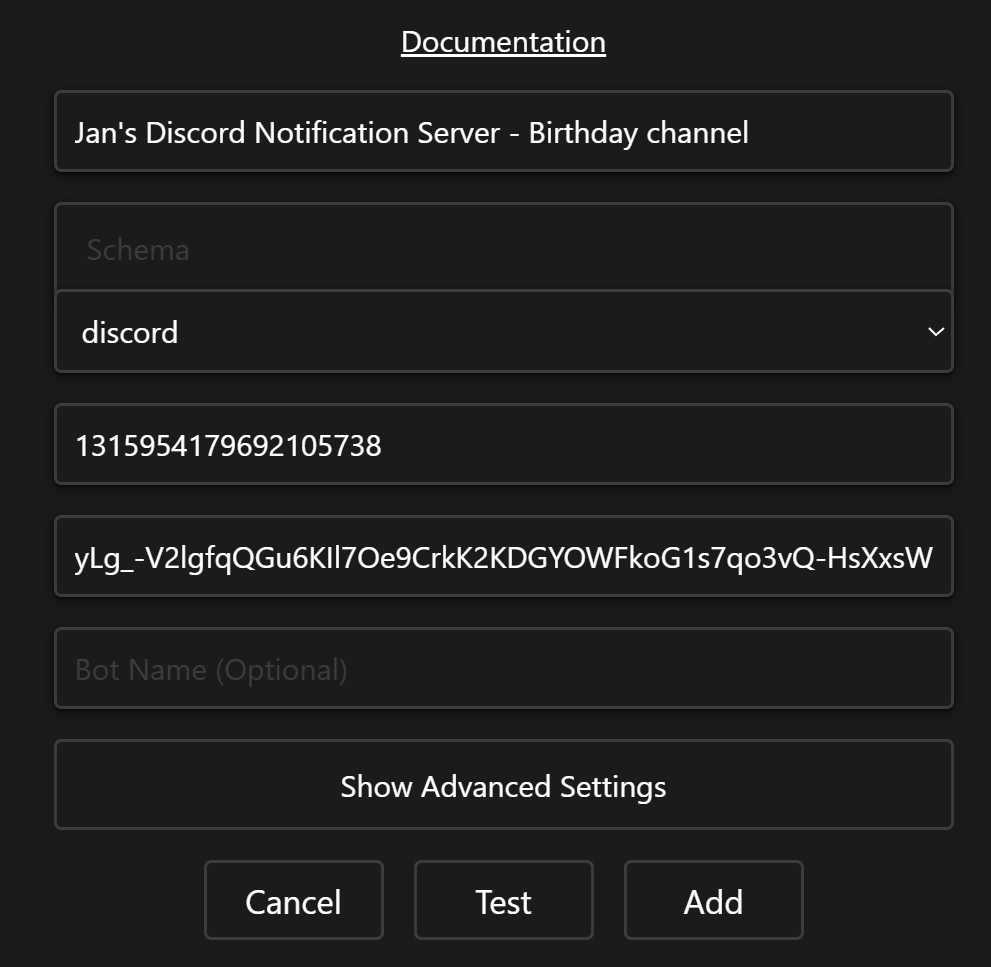
- Then click on the ‘Test’ button to confirm that you receive the notification. You can have multiple webhooks on the same server based on the topic or the user, as for example another member of your family will have different things they want to be notified about and mute the others.
- Remember to click on the ‘Add’ button afterwards to save it.