- Before connecting the ISP router box to your OPNSense, it is recommended to reset it to factory default to set it up as a router (L3) to which we connect both OPNSense boxes to get a local IP address from the WAN router’s DHCP. With CARP, only one OPNSense will be activate at the time.
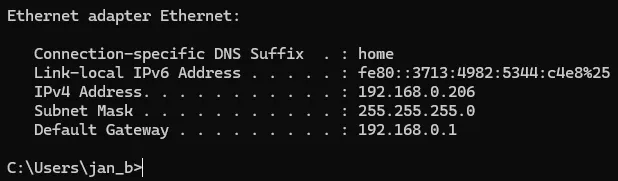
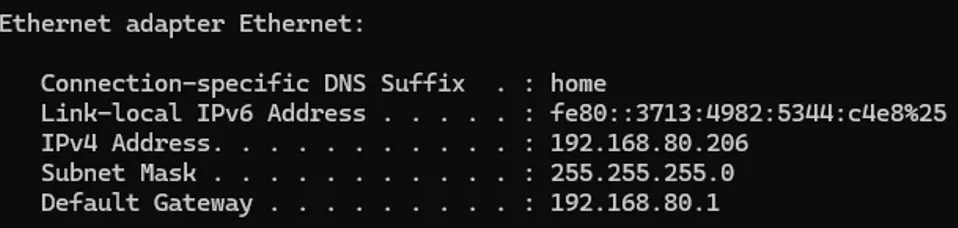
- Connect a computer to it to see what IP address you get from its DHCP. In my case, from Windows, I ran ‘ipconfig’ and found out that the gateway is 192.168.0.1:
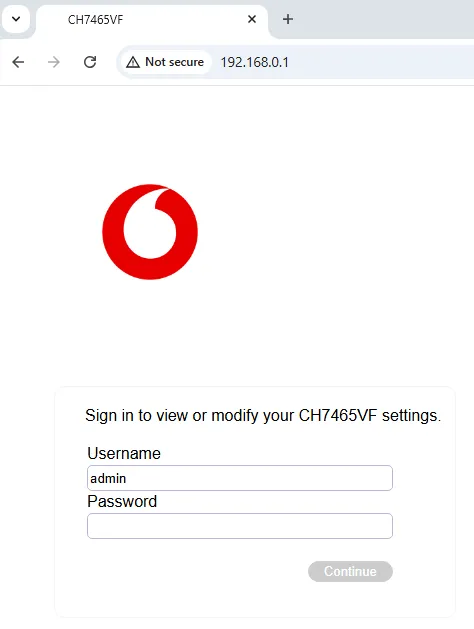
- Log into the gateway’s web interface. Typically you get a default username and password that is written on the device or you can Google the provider name + device name to see what the defaults usually are.
- Remember to change the default password as soon as you manage to log in.
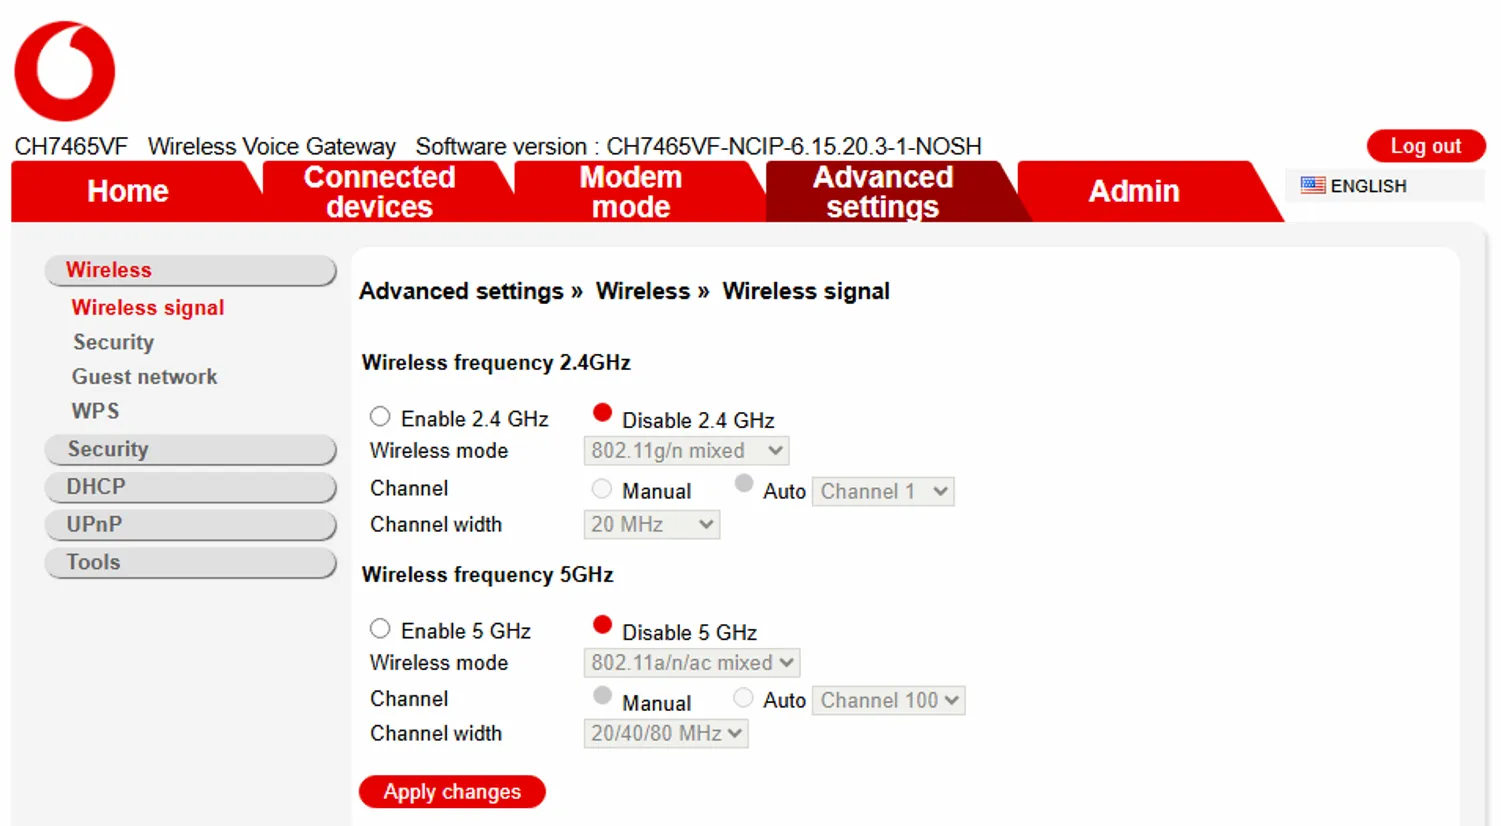
- Typically you will have your own dedicated AP after the OPNSense firewall, so disable WiFi on the consumer modem/router.
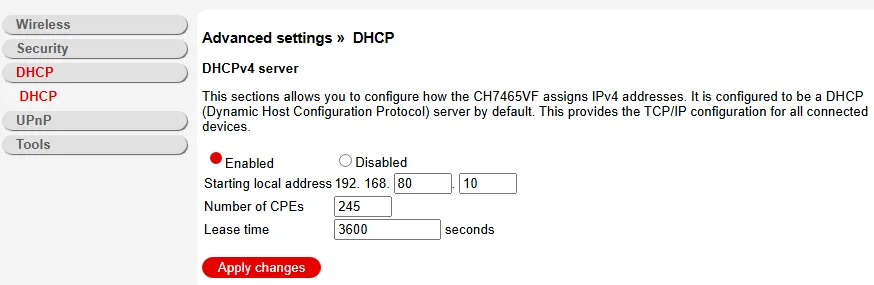
- Set up a DHCP range that fits your network. In my case, My home LAN is on 192.168.8.0/24, so WAN1 LAN will be 192.168.80.0/24. The ISP device will likely reboot after that, so give it a while and test verify that your computer got a new IP address.
- Run ‘ipconfig /release’ and ‘ipconfig /renew’ if on a Windows station. If you are on a Mac, run ‘ifconfig’ . From a Linux environment, this would be ‘ip addr’ on most distros (or still ‘ifconfig’ like on Macs/UNIX-based systems).
- Log back into it and let us set up static IP addresses for each of the MAC addresses of the adapters on your OPSense that will connect to it (each box runs an ethernet cable to the WAN1 ISP box).
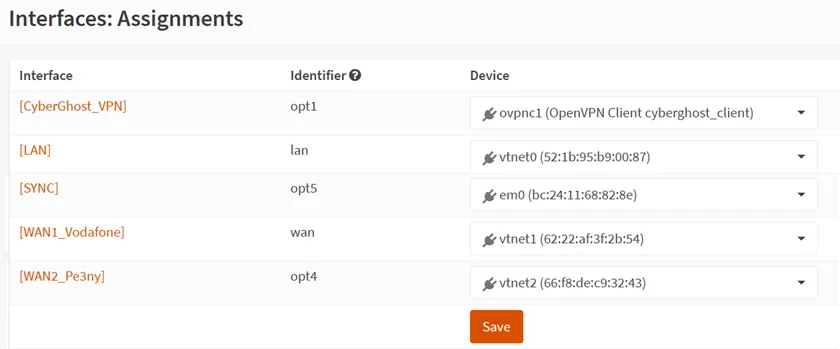
- Look at the MAC address used by each OPNSense box for the WAN1 interface:
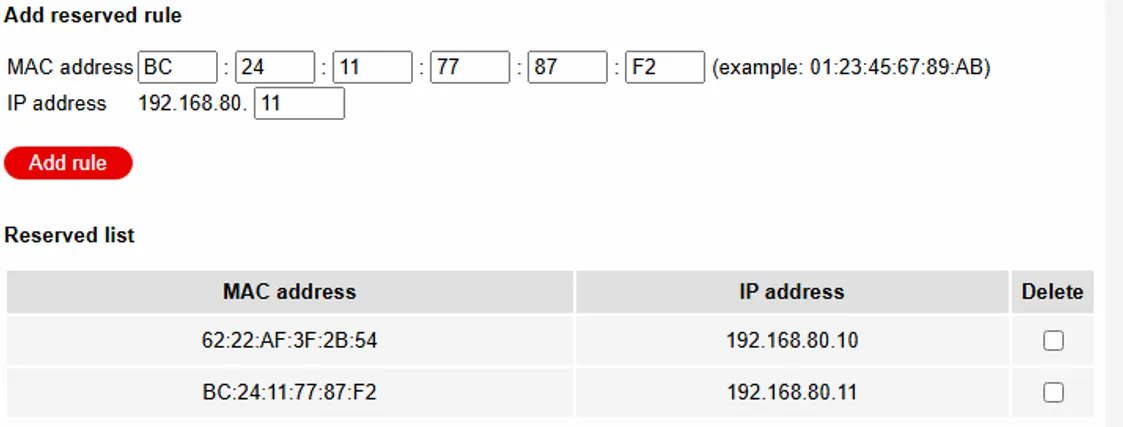
- Then add it into the ISP device as reserved:
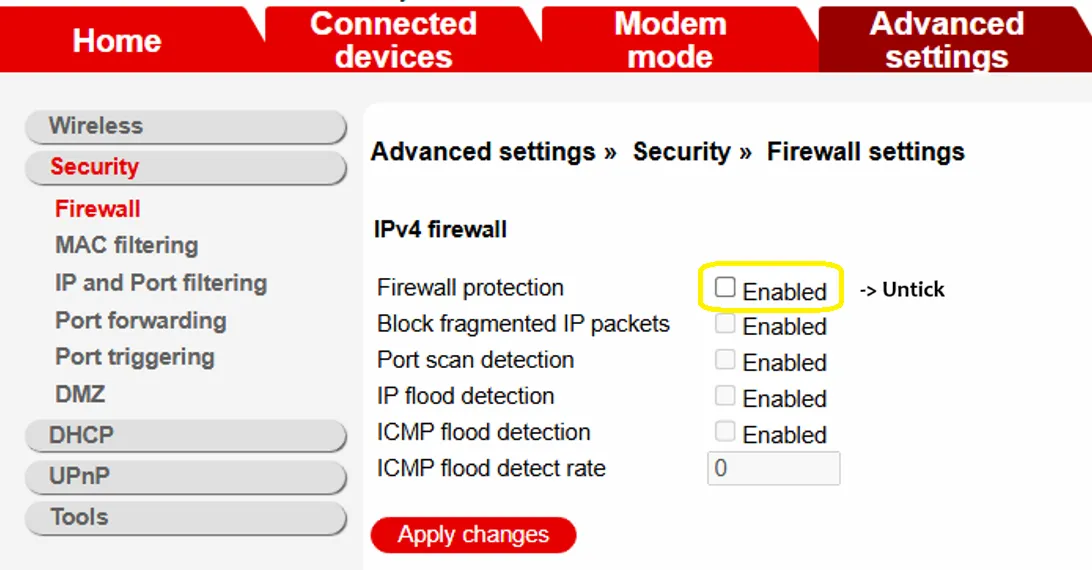
- Proceed with disabling (or at least minizing) firewall capabilities on the WAN router to not clash with the one provided by OPNSense.
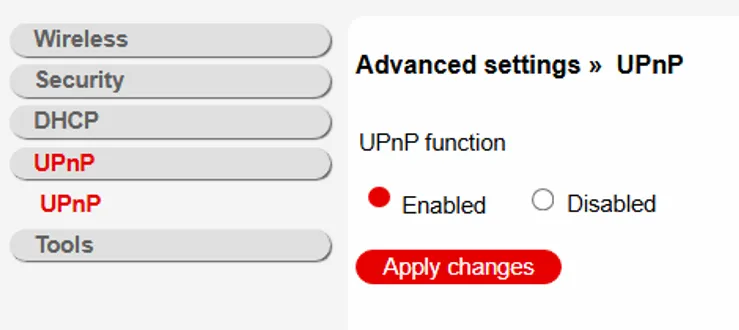
- For the same reason, enable UPnP:
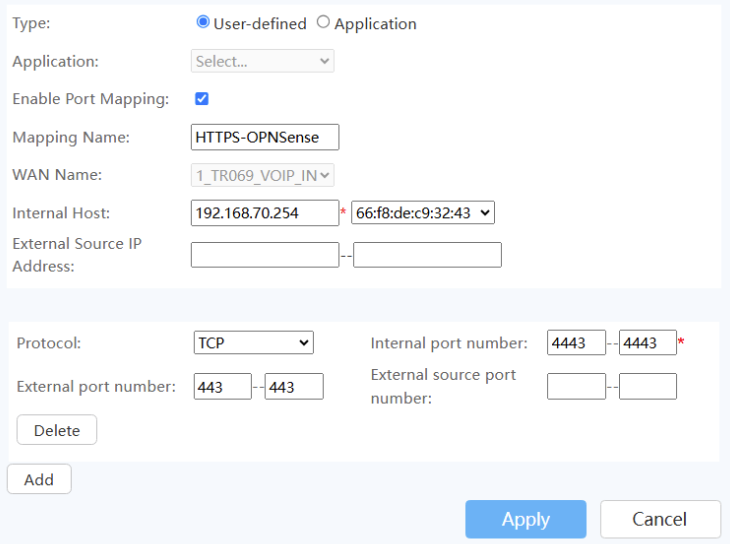
- If you need to port forward other services such as for web hosting (ports 80 + 443), you will need to set it up in such as way that the external incoming port is then changed to a different internal incoming port to match that of your reverse proxy. For instance, for an HAProxy service to that is already running on your OPNSense units to not clash with the RPC-XML service that ensures config sync between your OPNSense nodes, it is possible to set communication on port 8080 (HTTP) and 8443 (HTTPS) to arrive at OPNSense on alternative ports. In addition, on your WAN router, you will need to forward the ports to the virtual IP interface of your OPNSense. Examples are below:
- HTTP – external 80, internal 8080, forward to 192.168.80.254 (= WAN1 virtual IP)
- HTTPS – external 443, internal 8443, forward to 192.168.80.254 (= WAN1 virtual IP)
- SMTP (mail exchange) – external 25, internal 25, forward to 192.168.80.254 (= WAN1 virtual IP).
- SMTPS – 465
- IMAP – 993
- …and anything else you need…
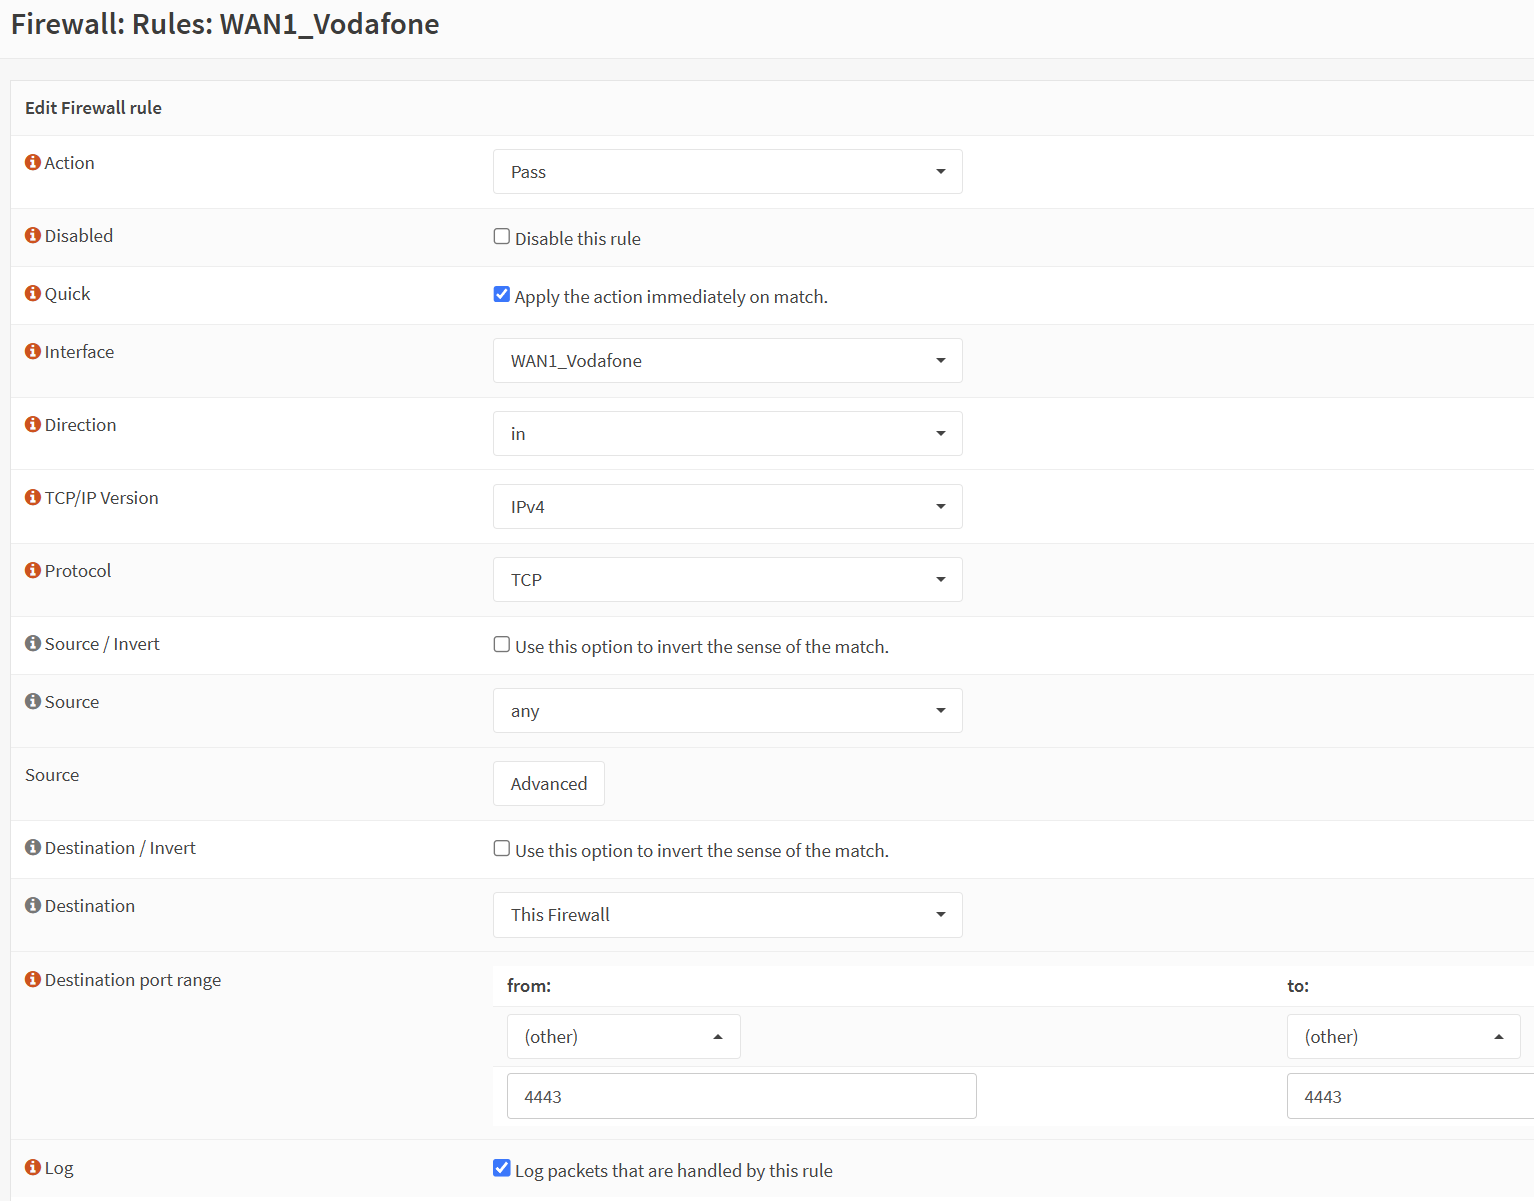
- Then remember to change the firewall rule on your OPNSense units, accordingly.
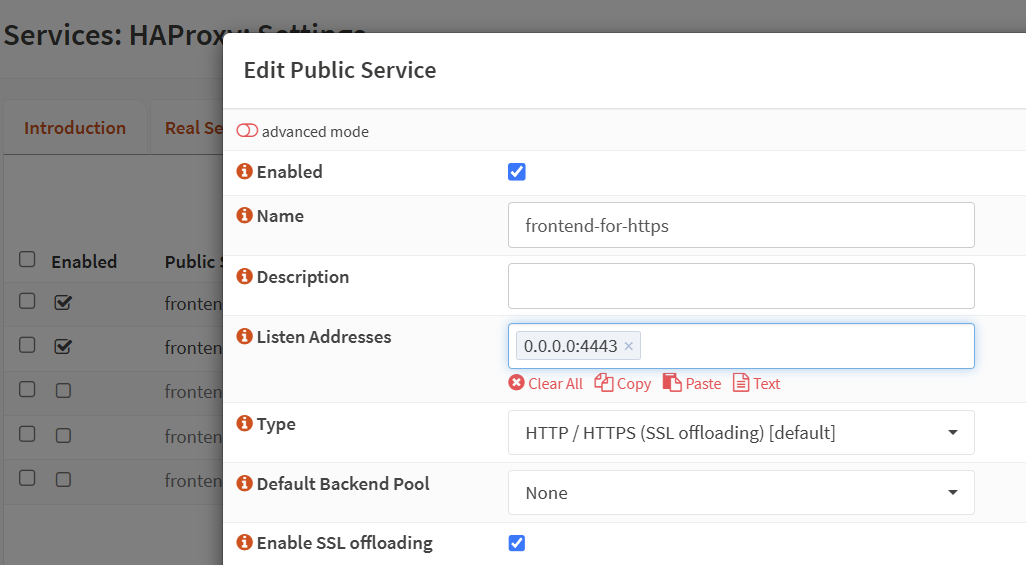
- And your HAProxy will need to receive communication NOT on port 443 (as that is used for XML-RPC to sync configs between OPNSense nodes) but modified to the port that you are forwading from the WAN router(s). To modify that, go to ‘Services’ -> ‘HAProxy’ -> ‘Settings’ -> ‘Virtual Services’ tab -> ‘Public Services’.
Troubleshooting
- Please note for cases when you run a self-hosted mail server: some ISP routers do not allow you to set up port forwarding for port 25 (TCP). Without it, mail exchange between mail servers will not work. If you are affected by that, then you have the following options:
- Option 1: Switch your ISP device to a bridge mode (essentially as a modem only) and connect a non-managed L2 switch to it. From the switch, run an ethernet cable to each OPNSense box. This is because typically, an ISP device in bridge mode will only accept one device to be connected to that will receive a public IP address, so we connect one L2 device and then spread it. Then you would need to set up the connected WAN interface of each OPNSense box with the same MAC address (i.e. clone the MAC of primary on the backup(s)). With CARP, only one device will respond to traffic. In my experience, it works reliably, but it may take some time before traffic starts being sent to the backup unit of your OPNSense (so you may face an outage that is several minutes instead of a few seconds long).
- Option 2: Get a managed L2 switch that allows MAC filtering. Connect it to the ISP device and then to your OPNSense unit. Let the switch determine which traffic to allow and block the rest, even if more devices are connected to it. This is more reliable but the hardware is slightly more expensive and it is another device to manage and set up.