Bachelor Tech
  • Home
  • Tutorials
  • Portfolio
  • About Jan
  • Contact Jan

Design an on-boarding form (WordPress + Gravity Form)

by Jan Bachelor August 24, 2021

Last Updated on August 24, 2021 by Jan Bachelor

Length: 10 minutes
An idea of how can an on-boarding form look like

Put together a list of requirements

Ask yourself and other teams in the organization that are involved with on-boarding about what is essential for them to be able to start the on-boarding process. Yes, talking to people is vital in getting it right! Examples usually include:

  • Name of the new hire (Name field)
  • Title (Single text field)
  • Username (Single text field with limited char length)
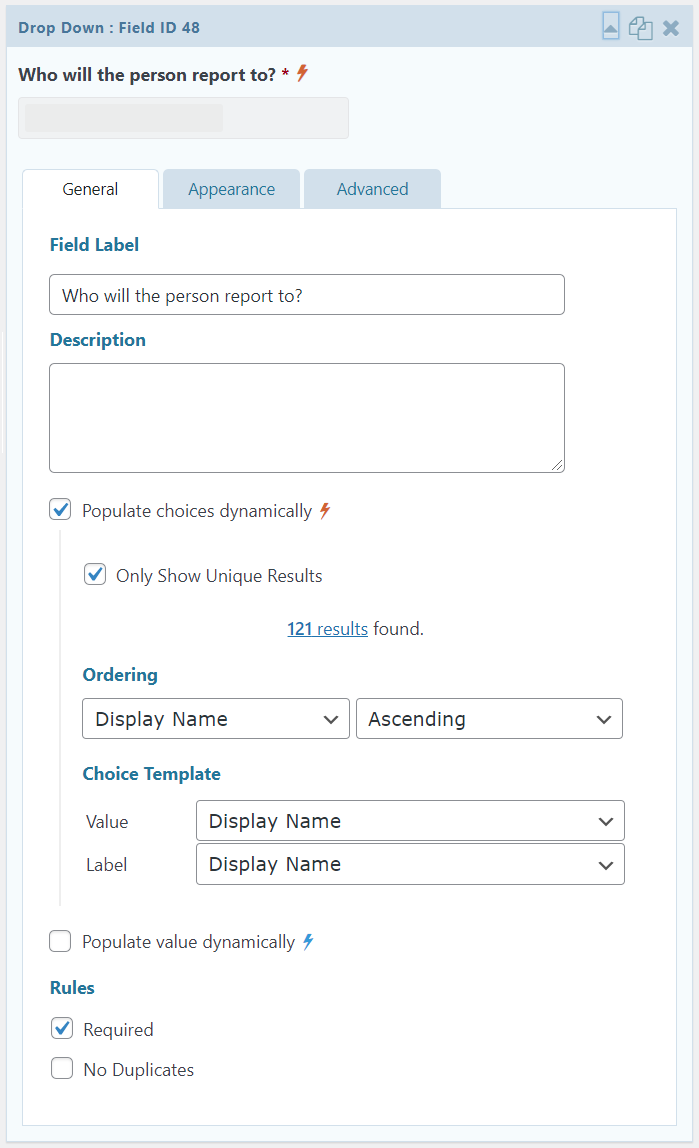
  • Hiring Manager’s name (Drop-down field with dynamically populated choices using Gravity Populate Anything plugin – assuming that all your users are present in WordPress. If not, there are ways of populating a drop-down from a Google spreadsheet!).
  • Start date (Date field)
  • Team / Department (Drop-down field)
  • Company sub-organization /. subsidiary – in case you have more branches (Drop-down field)
  • Will laptop shipment be required? (Yes / No) – if yes, provide an address field
  • Access levels – list of items (Checkboxes type)
  • Private email field – to send Okta’s activation email to (Email field)
  • What equipment will the new hire need (Checkboxes type)
  • Upload profile picture (File upload field)
  • Additional notes (Paragraph field)
  • Submitee’s name – set default value of the field as {user:display_name}

Create the Gravity form

In WordPress, create a new Gravity form with the fields that you identified that will be needed. Some tips include:

  1. Make sure that required fields are marked as required.
Remember to mark vital fields as marked
  1. For fields that are sensitive to character length like usernames, limit them to avoid workflow failures.
Limit character length based on what you system supports to avoid failed workflows.
  1. For lists of people or accesses that change a lot (e.g. when selecting an Hiring Manager or allowing HR to select which shared drives should the person get access to), instead of hard-coding the items in a drop-down list, load them dynamically from a spreadsheet that can be administered by a less IT savvy person or another workflow. Alternatively, if you have all users in your WordPress instance, load their list dynamically using the Gravity Populate Anything plugin.
Dynamically populate fields to avoid having to manually maintain them (Gravity Populate Anything plugin)
  1. Make the form accessible only to signed-in users. Since we will be checking later on who is it that submitted the form, we need to know who it was, not just the submittee’s email address. You can set it up in the ‘Form Settings’ page (not when modifying fields on the form).
Enforce users to be logged in
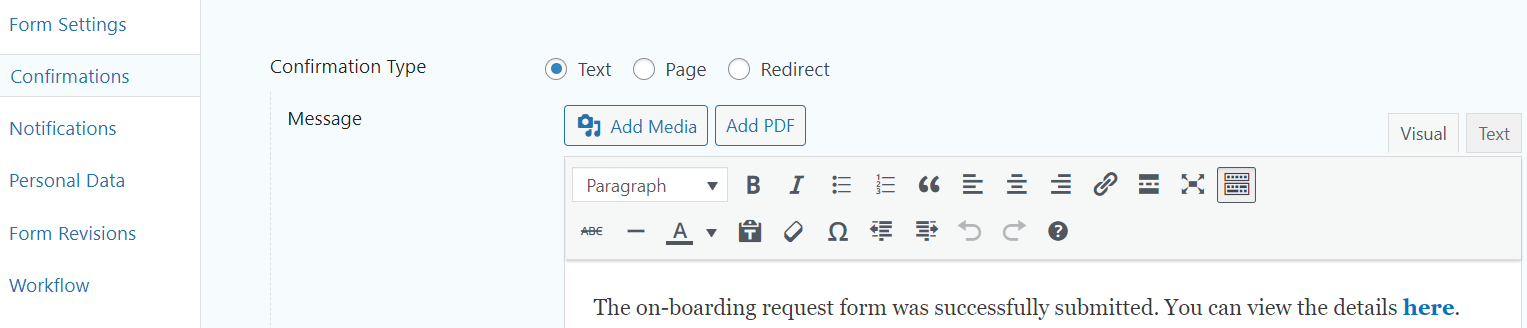
  1. Create a confirmation for the sumittee to thank them for the submission and direct them at the newly submitted workflow. The URL under ‘here’ is https://yourdomain.tld/workflow-status/?page=gravityflow-inbox&view=entry&id={form_id}&lid={entry_id} .
Expected infrastructure / software in the organization
HR confirmation (if not submitted by HR)
Back to: Automate on-boarding workflow in your organization (Gravity Forms + Flow, Integromat, Okta, Google Workspace) – TISAX compliant!

Leave a Comment Cancel Reply

Save my name, email, and website in this browser for the next time I comment.

This site uses Akismet to reduce spam. Learn how your comment data is processed.

0 comment 0 FacebookWhatsappEmail

Automate on-boarding workflow in your organization (Gravity Forms + Flow, Integromat, Okta, Google Workspace) – TISAX compliant!

  • Previous
  • Next
Collapse
Expand
  • Expected infrastructure / software in the organization
  • Design an on-boarding form (WordPress + Gravity Form)
  • HR confirmation (if not submitted by HR)

Search for articles

Other Tips

  • How to mount an NFS share (such as from FreeNAS) from an Android box
  • How to download a Windows 10 ISO on a Windows device – easy work-around

Other Tutorials

  • Build Your Own Router - Proxmox, OPNSense, OpenVPN server and a VPN client all in one!
    12 Steps
  • Dynamically Populate Gravity Forms from Google Sheets (GSheets APIv4)
    6 Steps

Recent Comments

  • Jan Bachelor on Use Integromat to get computer IDs from user email in JamF ProHi Robert, the static groups were created in the p…
  • Robert Petitto on Use Integromat to get computer IDs from user email in JamF ProCan you share how you'd use Make (integromat) to a…
  • Martin on Part 1 – What do we want to do + Required technology (bank feed)This tutorial deserves more credit, I've not seen…
  • Jan Bachelor on WAN / LAN Set Up (Before OPNSense Installation)Hi Ed, I have not tested it with PCI passthrough y…
  • Ed on OPNSense VM Set UpIn step 4 firewall you turned off firewall, should…

Tags

chrome iso windows

Categories

  • Android
  • FreeNAS
  • Linux
  • Windows

Recent Posts

  • How to mount an NFS share (such as from FreeNAS) from an Android box

  • How to download a Windows 10 ISO on a Windows device – easy work-around

Facebook Twitter Instagram Pinterest Linkedin Youtube

@2019 - All Right Reserved. Designed and Developed by PenciDesign

Bachelor Tech
  • Home
  • Tutorials
  • Portfolio
  • About Jan
  • Contact Jan