Part 3 - Harden Postfix, verify deliverability and connect your email client
Go to previous section Download Markdown
August 15, 2025
Table of Contents
A Theory Crash Course On Postfix (OPTIONAL)
-
Sources:
-
Postfix provides these two main services:
- smtpd → an SMTP daemon (i.e. background process) for handling incoming mail and routing to the appropriate internal location.
- smtp → an SMTP daemon that delivers mail out to the world → we plan to set it up for use with an SMTP relay.
-
Therefore if port 25 is not enabled on firewall, postfix cannot receive emails from other mail servers to handle them internally.
-
When viewing logs located in /var/log/mail.log, you may come across these commands / expressions:
- Client → the connecting HOST information (not the from/to directives in the header of an email).
- Sender → the envelope email address supplied in the ‘mail from’ command (this is different from the From directive in the header of an email).
- HELO → the original command that initiates the SMTP session (includes domain name or the IP of the mail server).
- EHLO → extended HELLO, to tell the server that it is an SMTP client (newer standard) and what does it support (mime / auth)
- STARTTLS → TLS handshake information - when used, the SMTP connection is reset back to EHLO and the receiving mail server provides a TLS certificate and its public encryption key. The email client (the one connecting machine that wants to deliver email) verifies it legitimacy and generates shared secret key used in the session. The receiving mail server decrypts the key and indicates ETRN (i.e. that it is ready to receive DATA/BDAT).
- Explicit (opportunistic) TLS → communication starts un-encrypted and the sending email client requests to switch to TLS after the initial EHLO.
- Implicit (forced) TLS → the sending email client requires TLS at the start of the exchange in the initial EHLO. Communication does not continue unless the receiving mail server can confirm that this is supported.
- ETRN → is used during the communication exchange between the sending and receiving mail server. It is a separate connection from SMTP via which an email is delivered. It is used to indicate that the mail server is ready to receive traffic. Originally used by sites that had intermittent internet connection.
- DATA → once EHLO and ETRN are established, the client (i.e. the connecting machine) asks the receiving mail server to supply the mail data via SMTP. The receiving server responds with 354 response code to confirm and the transfer starts with the header (inc. the date, from, subject, to) and the body of the email text - line by line until a dot is reached to indicate the end.
- BDAT → similar to DATA, a product of MS Exchange. Has to arguments - length of data chunk in octets + the content. Does not use the dot at the end to indicate the end since it is provided by the count of the data chunk in the first argument.
- RCPT → recipient (addressed to)
- VRFY → verify if the given mailbox does actually exist in the destination (receiving) mail server. Can be used by an intruder (spammer) to find out whether the address exists or not. Therefore, security hardening is important here.
- EXPN → similar to VRFY but used with mail lists (groups) - with the same security hardening requirements.
- RSET → erases buffers and returns the SMTP connection to its original state with a response code 250.
- QUIT → terminates the SMTP session with the sending mail server. The receiving mail server sends code 221.
-
Understanding general spoofing protection types:
-
SPF → a TXT DNS record that identifies which IP addresses are authorized (trusted) to send emails out from your domain (i.e. from your mail server). The receiving email client (to which you are delivering email from your mail server) can then verify that is coming from the authorized origin. The process has three steps:
- Step 1 - policy establishment (as per our TXT DNS record) - which hosts can send emails out
- Step 2 - DNS server lookup - the receiving mail server verifies that the IP matches the DNS name
- Step 3- Response - the receiving mail server either accepts, flags or rejects the email
- Tags (some of them):
- <v=spf1> → spf version
-
→ authorized incoming mail servers for the domain -
→ other systems authorized to send on behalf of the domain. -
→ all other trusted external domains that can send on behalf of our domain (such as Mail Chimp, Brevo). -
→ catch-all mechanism for anything not caught in the other rules (typically all else is not authorized)
- Example simple record: "
v=spf1 mx ~all” → SPF version 1, allow all mail servers under the MX record and for all others, mark them as suspicious.
-
DKIM → Domain Keys Identified Mail is a digital certificate supplied with an outgoing email from your mail server. It allows the receiving client to verify that the header or body of the email was not modified during transmission. The receiving mail server fetches the public part of the key from the DNS record.
- Tags (some of them):
- <v=1> → version
- public key
-
→ time stamp - <a=rsa-sha256> → cryptographic algorithm used for creating the signature
→ selector tag for finding the public key in the DNS record- <d=domain.com> → accompanies the selector tag by specifying the (sub)domain name used by the sender (our mail server)
- Example record:
subdomain_domainkey TXT 3600 "v=DKIM1; a=rsa; p=MA0GCSqGSIb3DQEBAQUAA4GNADCBiQKBgQDU2+0C4M94mNWIk..."
- Tags (some of them):
-
DMARC → leverages both SPF + DKIM alignment tests but specifies its own policy (set of instructions to the receiving mail server where we are sending an email to on how to proceed). Policy is either ‘none’ (do nothing), ‘quarantine’ (keep for a while, evaluate) and ‘reject’ (do not deliver).
- The receiving mail server will then return a report of all the emails that were not delivered (as feedback). It includes a number of tags:
-
→ % of failed policy should comply with (e.g. only certain % to quarantine) - value 1 to 100 -
→ specific policy for emails from subdomains (e.g. p = none means no subdomains) -
→ level of strictness DMARC should use for DKIM. Default is ‘relaxed’ (only SPF or DKIM needs to pass), ‘strict’ is another option -
→ same as adkim but for the SPF requirements - strict/relaxed options (e.g. are emails from subdomain allowed or do emails have to match the ‘from’ envelope from the domain with the ‘return-to’ address? -
→ how often to receive aggregate reports (in seconds - default is 86400 = every 24 hours). -
→ settings for forensics report. Value 0 = send a report if all checks fail (DKIM + SPF), 1 = if one of them fails, D = if DKIM fails, S = if SPF fails. Default is 0. -
→ aggregated reports; sent daily by default with no personal identifiable information (PII), supplied in XML -
→ forensic reports; individual report sent instantly after a failure to meet policy, it contains PII information, the format is in plain text
-
- Example: "
v=DMARC1; p=quarantine; pct=100;rua=mailto:[email protected]" → version 1, if policy is not met then quarantine, screen 100% of emails, send reports of emailing failing the policy to this address.
- The receiving mail server will then return a report of all the emails that were not delivered (as feedback). It includes a number of tags:
-
Postfix’s Configuration Security Hardening Directives
-
Typically available in
/etc/postfix/main.cf -
smtpd_sender_restrictions → restrictions in the context of the MAIL FROM information, i.e. from the envelope email address supplied by the sender (e.g. [email protected]). Note that this is not the FROM directive in the header of the email as that is part of the DATA stream - see above. Postfix’s Directive Explanation reject_sender_login_mismatch An alias to two parameters if SASL auth is passed but the MAIL FROM does not match. reject_non_fqdn_sender A numerical response to rejecting the request when the RCPT TO address specifies a domain that is not in fully-qualified domain form. reject_unlisted_sender Rejects mail from unknown sender addresses, even when no explicit reject_unlisted_sender access restriction is specified (default is 'no', this sets it to 'yes'). permit_mynetworks Lookup the variable $mynetworks and treat the IP addresses of those clients as trusted. permit_sasl_authenticated Respond with a pass to a client that is successfully authenticated via the RFC 4954 (AUTH) protocol. reject_unauth_destination Proceed only if the RCPT TO domain matches what we have defined in $relay_domains (if forwarding) or $mydestination (if delivering). reject_invalid_helo_hostname Reject if EHLO is malformed (may need to add 'smtpd_helo_required = yes' as it only works if HELO/EHLO are sent). reject_unknown_sender_domain Reject if Postfix is not the final destination for the sender and the MAIL FROM domain has either no DNS MX record, no DNS A record, or has a malformed MX record. reject_unauth_pipelining Reject the request if the email client sent SMTP commands before asked (such as piping EHLO commands or ESMTP commands before asked). -
smtpd_client_restrictions → restrictions in the context of the connecting HOST (e.g. mail.domain.com) - to set boundaries related to the client connection request.
-
-
| Postfix’s Directive | Explanation |
|---|---|
| permit_mynetworks | Lookup the variable $mynetworks and treat the IP addresses of those clients as trusted. |
| permit_sasl_authenticated | Respond with a pass to a client that is successfully authenticated via the RFC 4954 (AUTH) protocol. |
| reject_unauth_destination | Proceed only if the RCPT TO domain matches what we have defined in $relay_domains (if forwarding) or $mydestination (if delivering). |
- Do you find it hard to believe that these restrictions are important? Just review your mail.log after a few days of it being online:
sudo grep -E '(reject|warning|error|fatal|panic):' /var/log/mail.logSecuring Your Mail Server (Postfix)
- Sources:
- The next item on the list related to postfix is to ensure that unauthorized senders outside of our domain cannot use our SMTP as an open relay. If you were to start receiving undeliverable emails related to mails you never sent out, it is most likely due to that.
sudo nano /etc/postfix/main.cf

# Find this directive and match it to the following:
smtpd_sender_restrictions =
        reject_sender_login_mismatch,
        reject_non_fqdn_sender,
        reject_unlisted_sender,
        permit_mynetworks,
        permit_sasl_authenticated,
        reject_unauth_destination,
        reject_invalid_helo_hostname,
        reject_unknown_sender_domain,
        reject_unauth_pipelining

# Add a new directive that verifies the client (i.e. the connecting machine) as well
smtpd_client_restrictions = permit_mynetworks, permit_sasl_authenticated, reject_unauth_destination

# Exit nano and perform a check + reload the config
sudo postfix check
sudo systemctl reload postfix
SMTP Relay with Brevo
- While we could set up DKIM, SPF and DMARC DNS records for our mail server / domain, the likelihood is that your public IP is on one of the MX blacklists and you will struggle getting unlisted. What is more, if you are running your mail server on a ISP-provided non-static IP address, the address may change over time and you would face issues again. For this reason, it is best to use an SMTP relay.
- The advantage of using Brevo (formerly Sendinblue) is that they allow for 300 emails a day for free, an offering that is unmatched by other providers (like MailTrap, MailChimp, etc.).
- Once you create a free account on Brevo.com:
- Go to to Senders, Domains & Dedicated IPs page.
- Click on the ‘Add domain’ button and add your domain.

- If you use CloudFlare or a similar provider that Brevo supports, you can have Brevo add the required DNS records for you. Once done, you may have to wait a few hours for DNS to propagate.

- To set up your SMTP relay login with Brevo:
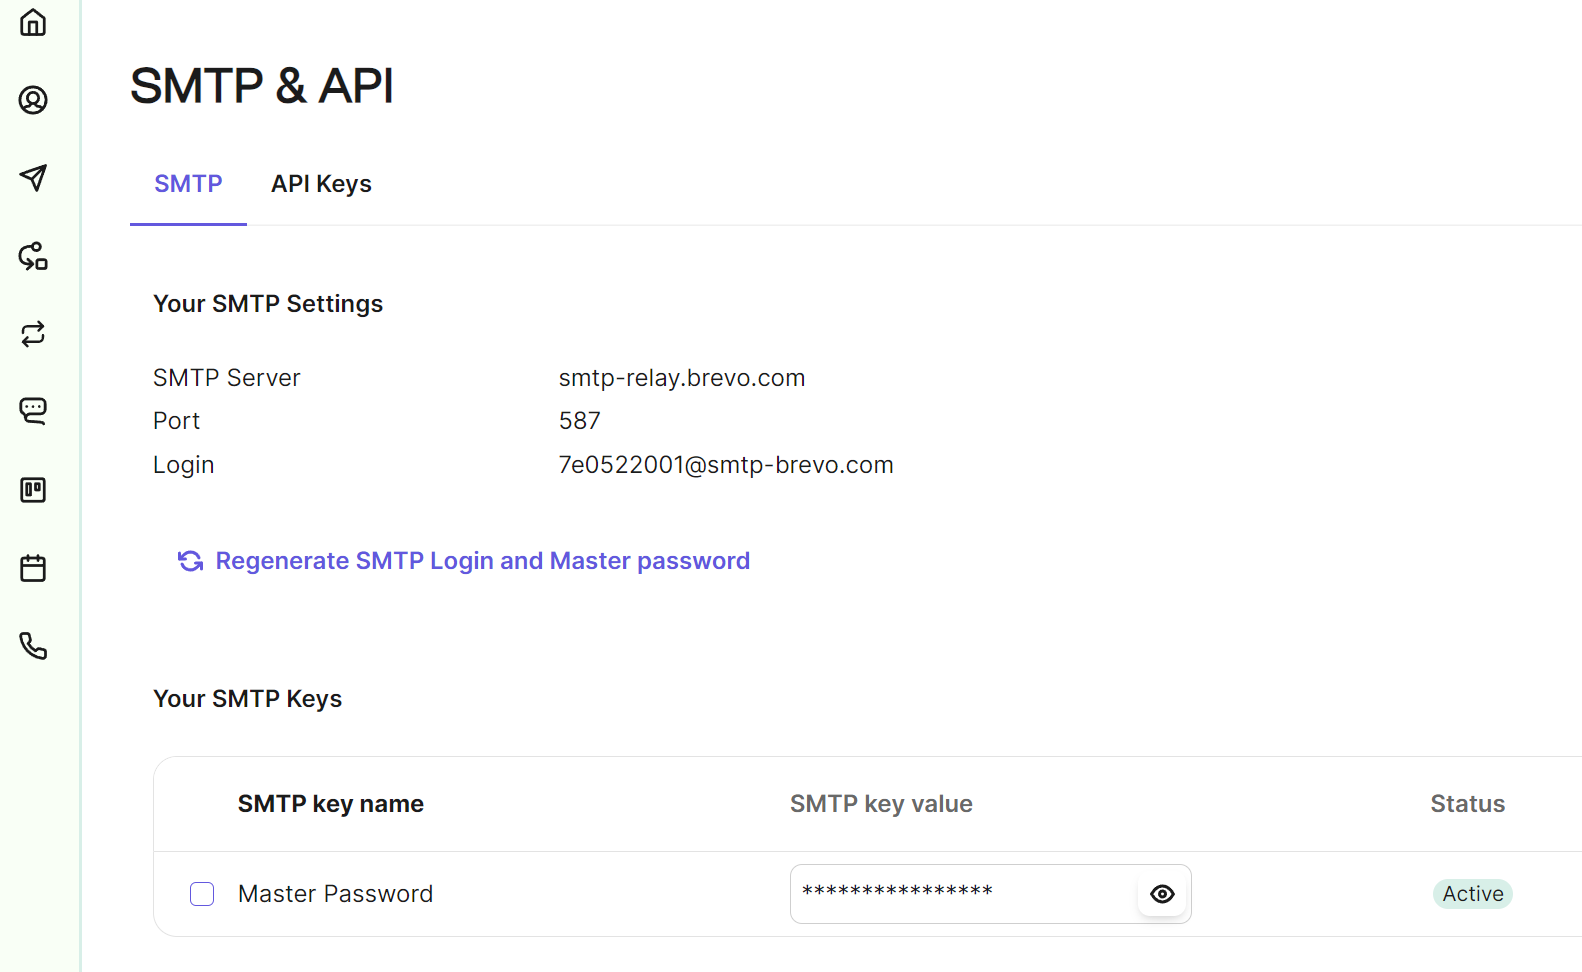
- Proceed to the SMTP & API keys section.
- Click on the button to ‘Generate SMTP Login and Master password’ (unless created already).
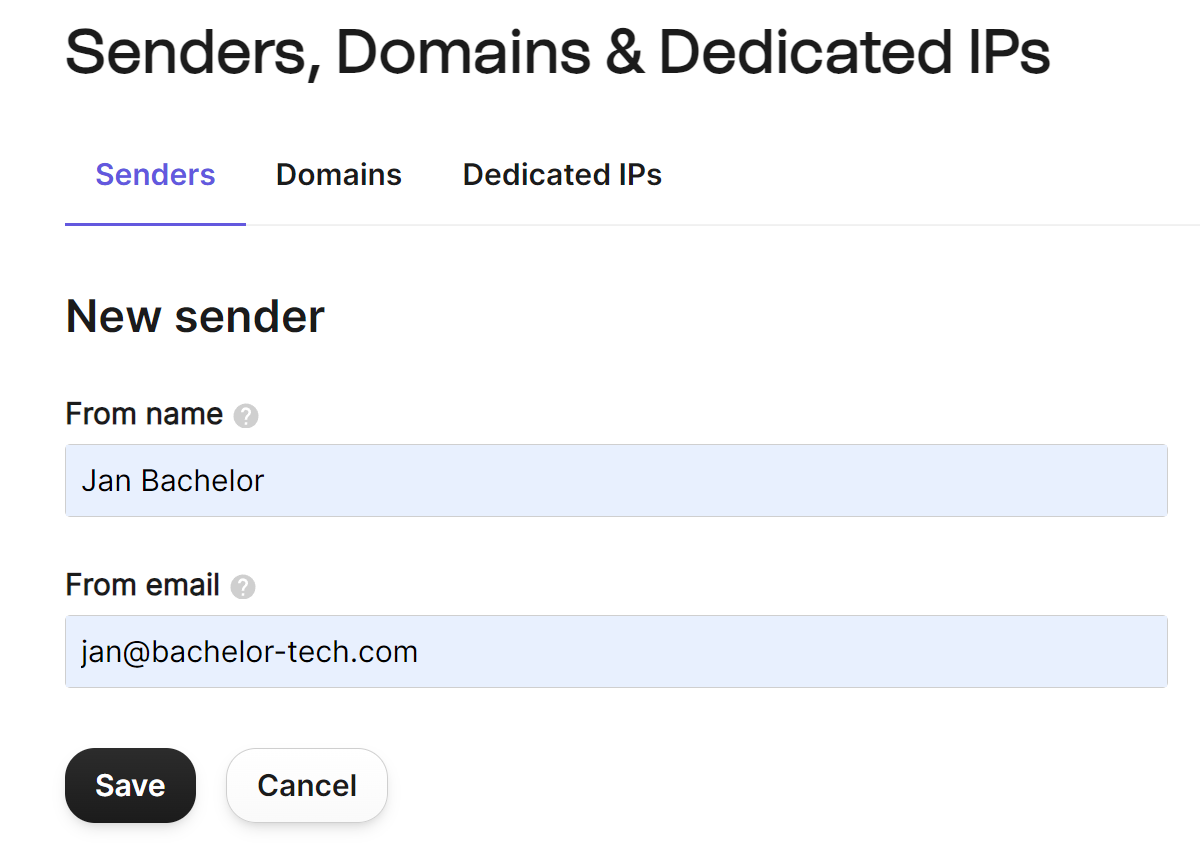
- Go to the ‘Senders’ section and add an authorized sender from your domain:
- Configure SMTP transactional relay with Brevo
- Go to Transactional → Email → Real time (here)
- Find the notice at the bottom in orange - click on the ‘Complete my profile’ button and provide the required details.

- Once you're done, proceed to the verification step so that Brevo is awaiting some traffic. Leave the window open.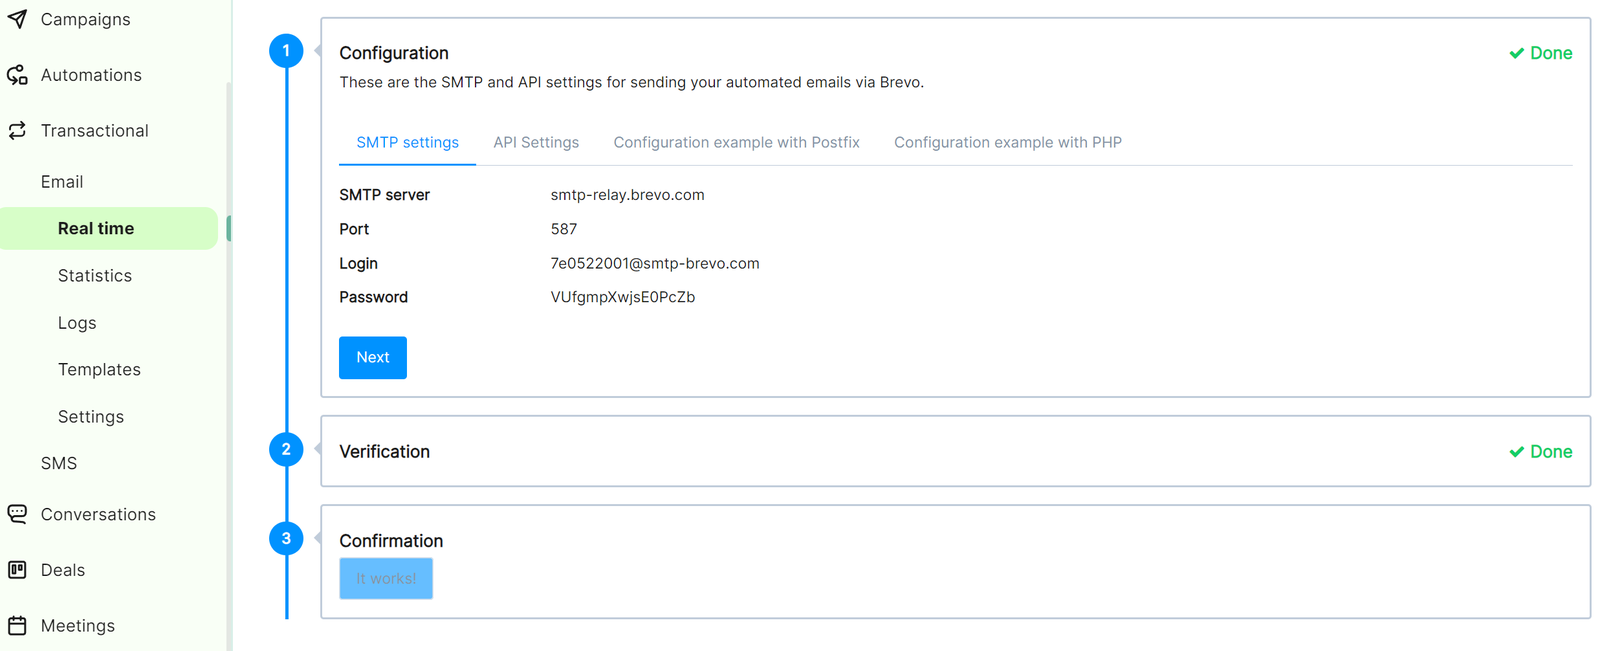
- Head to your Postfix’s main configuration file and scroll to the button to add the following:
sudo nano /etc/postfix/main.cf

# Brevo set up as SMTP relayhost + configuration

# Host and port numbers:
relayhost = [smtp-relay.brevo.com]:587
# Enforce SASL authentication
smtp_sasl_auth_enable = yes
# Location of the username and password
smtp_sasl_password_maps = hash:/etc/postfix/sasl_passwd
# Forbid anonymous use
smtp_sasl_security_options = noanonymous
# Opportunistic TLS - ask if available
smtp_tls_security_level = may
# Max header size limit (1 MB)
header_size_limit = 1048576
# Max email size limit (19 MB). Brevo's limit is 20 MB
message_size_limit = 19922944- Check that your config is visible:
sudo postconf header_size_limit
sudo postconf message_size_limit- In case you get a warning message that one of these parameters are being overridden, it means that the main.cf file contains this directive already - please remove the duplicates.
- Define the credentials:
sudo nano /etc/postfix/sasl_passwd

[smtp-relay.brevo.com]:587 [email protected]:your_password- Create the SASL database (for new mail servers) and change ownership to limit access:
sudo postmap sasl_passwd
sudo chmod 0600 /etc/postfix/sasl_passwd /etc/postfix/sasl_passwd.db- Run last check in case something is wrong:
sudo postfix check- Restart postfix:
sudo systemctl restart postfix- Now log into Roundcube and attempt to send out an email

- After sending it, check the log by running
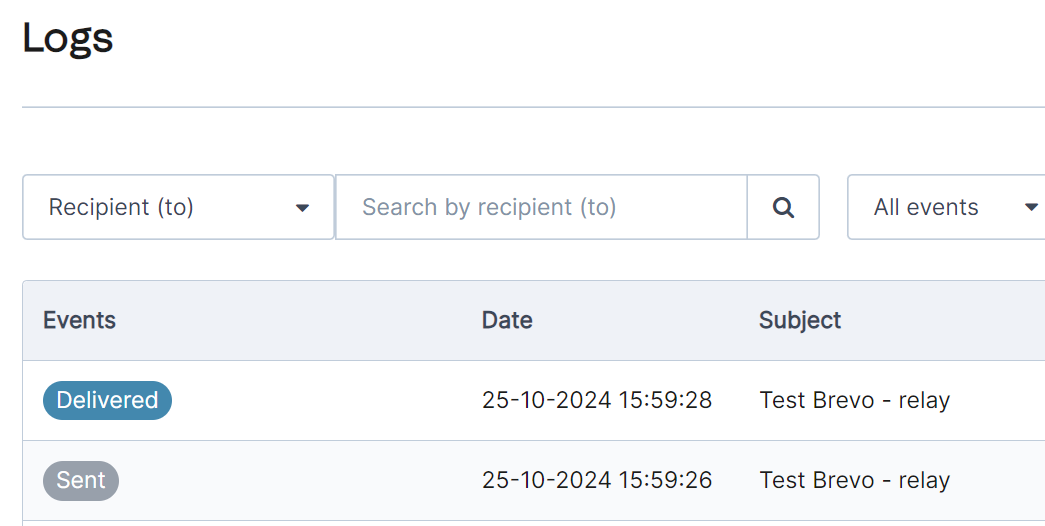
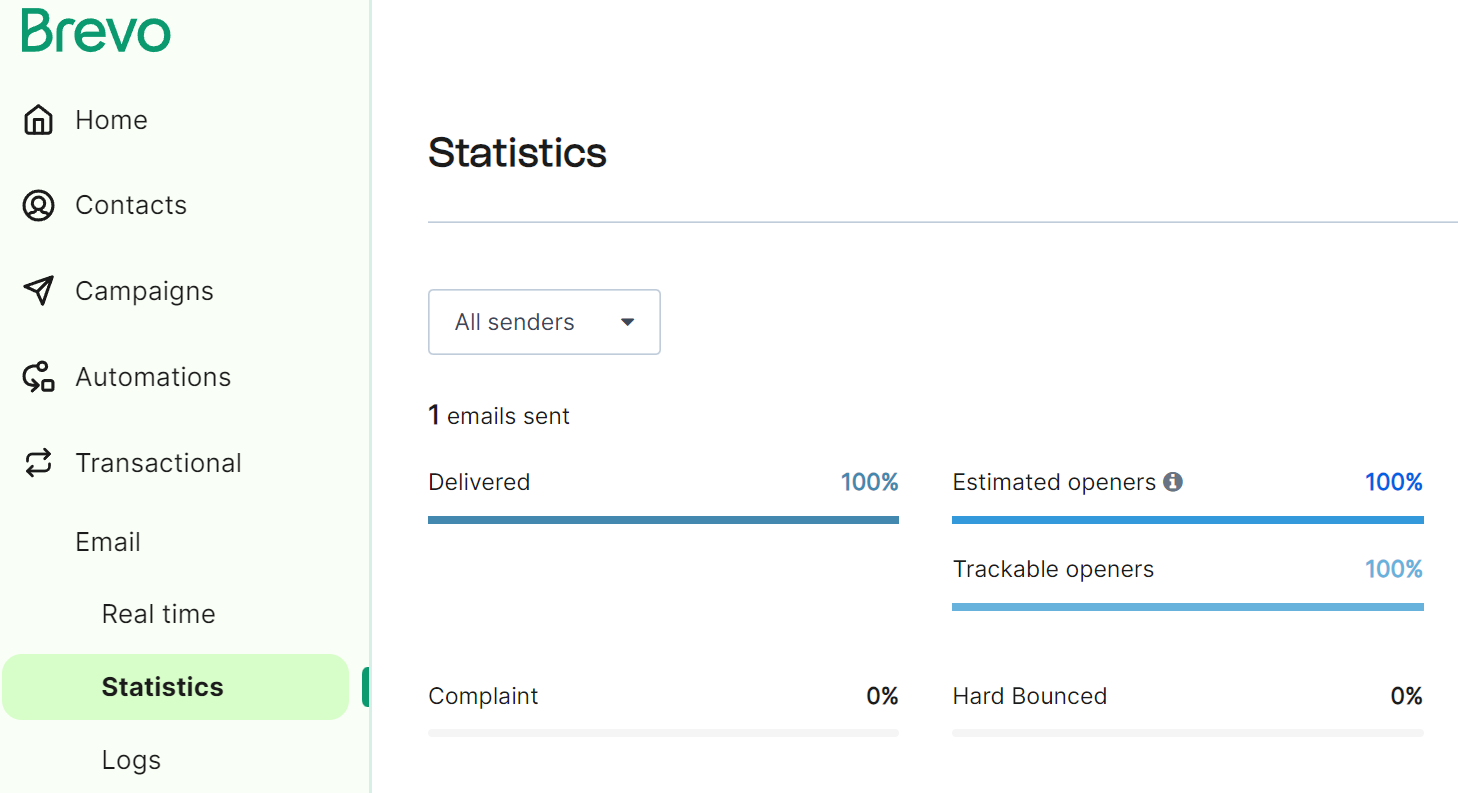
sudo vi /var/log/mail.log(press SHIFT + G to go to the end; then to exit the vim text editor, type : followed by q! and press enter to confirm the exit). - You can also check the Logs and Statistics section in Brevo:
- Other useful commands:
# To rebuild the index file if you make changes to the sasl_passwd file:
sudo postmap /etc/postfix/sasl_passwd

# Flush an existing email queue
sudo systemctl restart postfix

# Remember to restart postfix after changes to the config files
sudo systemctl restart postfix
Enable logging for ClamAV
- Open the ClamAV’s config file and uncomment the LogFile.
- Set a max size of your log file.
sudo nano /etc/clamav/clamd.conf

#LogFile /var/log/clamav/clamav.log --> uncomment this line by removing the # sign
LogFileMaxSize = 20M

# Reload ClamAV's daemon
sudo systemctl reload clamav-daemon
Test Your Outgoing Email Ranking
- You can use mail-tester.com for up to three tests in 24 hours.
- Once you reach the website, you will be asked to send an email to a unique email address / hostname.
- Save the email address and create a new email, for example via Roundcube

- Then click on the ‘Check your score’ button to see what you get:

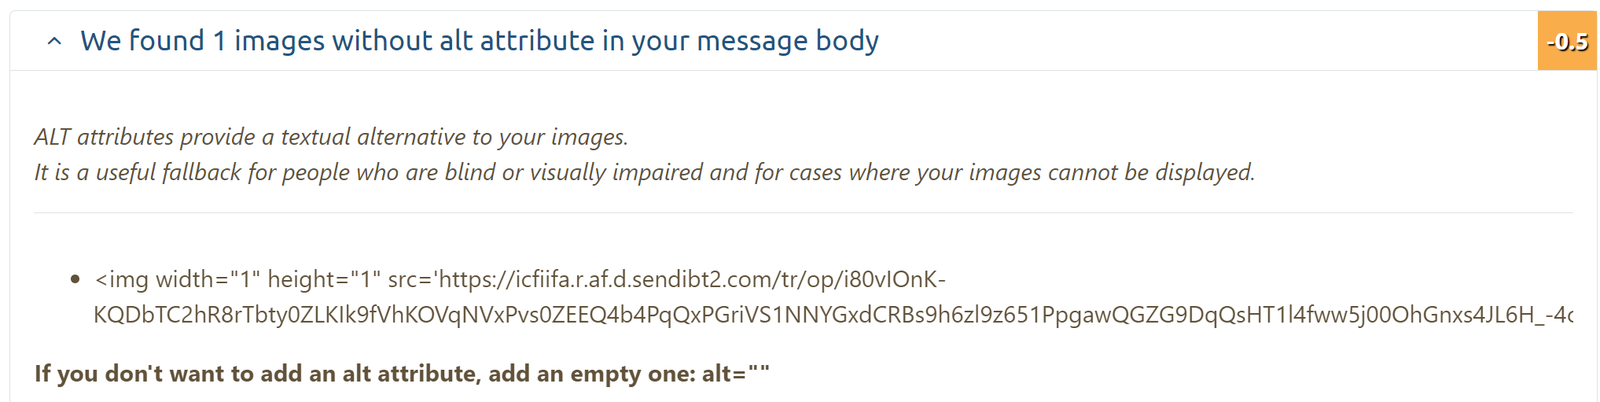
- Hopefully the boat has successfully travelled to new lands and the score is close to 10. With the free version of Brevo, an invisible tracking pixel is inserted by the relay and for some reason, it does not contain an alt tag, which lowers the score:
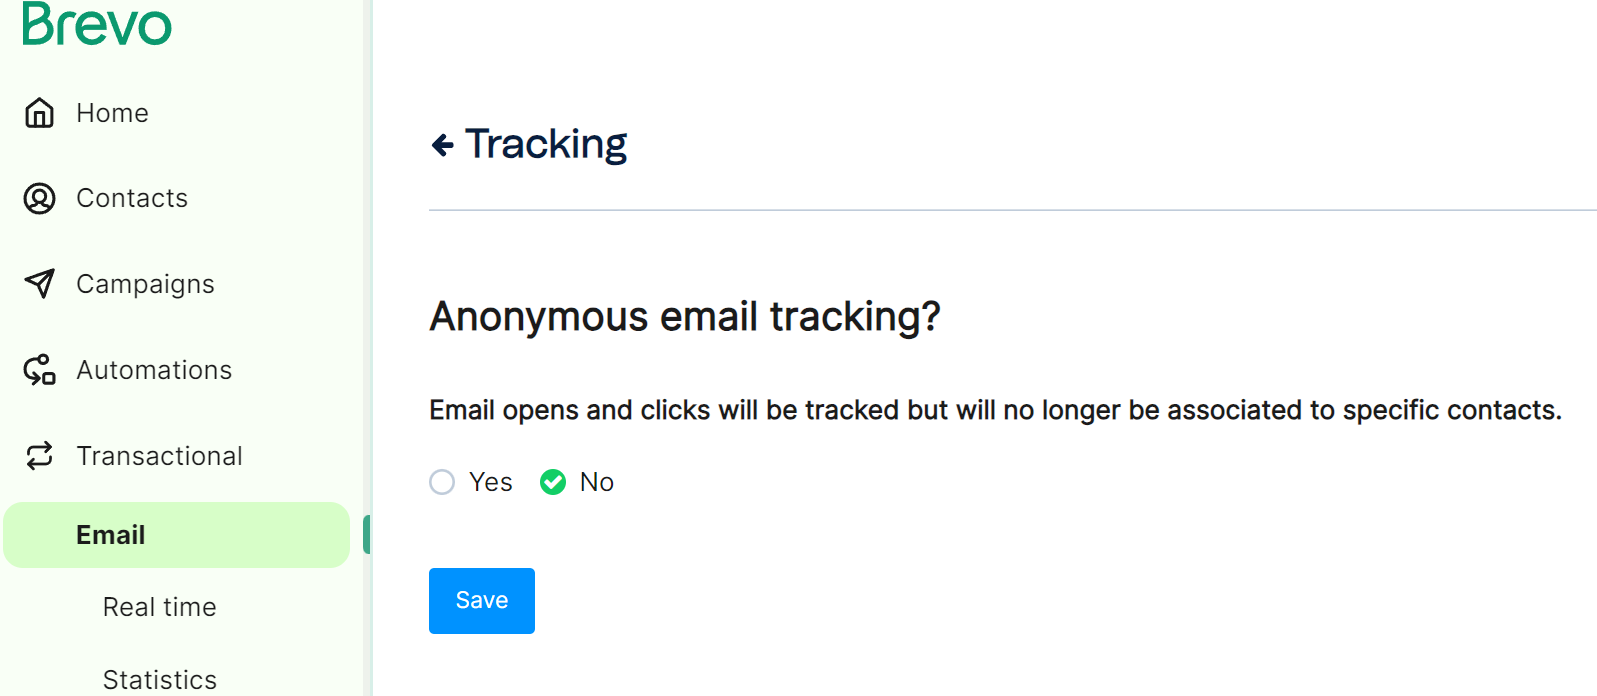
- The issue of the tracker is discussed a lot on their forum since late 2023. It seems to be present even when anonymous tracking is disabled:
- While in my tests, emails to all major providers inc. Google and O365 were delivered fine, if you encounter issues, reach out to Brevo’s support to manually remove the tracking from all transactional emails.
- An alternative is to sign up for another provider. For instance, Mailer Lite provides 3,000 emails per month for free.
Connect Your Device To The Mail Server Via Email Client
- While the choice of an email client is beyond the scope of our article, we will at least verify that it works using a BetterBird (Windows / Mac OS / Linux).
- Download & install Betterbird (an improved Thunderbird fork) - or use any other email client of your choice.
- Then enter your login details to your mailbox and either click on the ‘Continue’ button if you are feeling lucky or tick the ‘Configure manually’ button. Usually, the email client will be able to detect the port numbers and the host name but will not work out the ‘Username’ field - make sure it is the full [email protected], as shown below:

- Try sending an email out and then replying to it. If one of these two things do not work out, verify the following:
- Firewall and NAT rules
- Check the mail log in
/var/log/mail.log - Make sure dovecot and postfix are running on your mail server
Enjoying this tutorial?
This site is a non-profit project. If it saved you some time, you can support it by getting Jan some coffee.
☕ Buy me a coffee
Comments