Part 2 - Install iRedMail and configure web access with SSL certificates
Go to previous section Download Markdown Go to next section
August 15, 2025
Table of Contents
iRedMail installation:
- Update + set up the desired hostname
sudo apt update && sudo apt upgrade
sudo hostnamectl set-hostname mail.your-domain.com

# Modify the hosts file like this:
sudo nano /etc/hosts
127.0.0.1       mail.your-domain.com localhost

# Check that it is correct:
hostname -f- Install iRedMail and related tools (check the latest version here)
# Download the package
https://github.com/iredmail/iRedMail/archive/refs/tags/1.7.1.tar.gz

# Unpack it and go in
tar xvf 1.7.1.tar.gz
cd iRedMail-1.7.1

# Make the bash file executable and run it (it will download more packages):
chmod +x iRedMail.sh
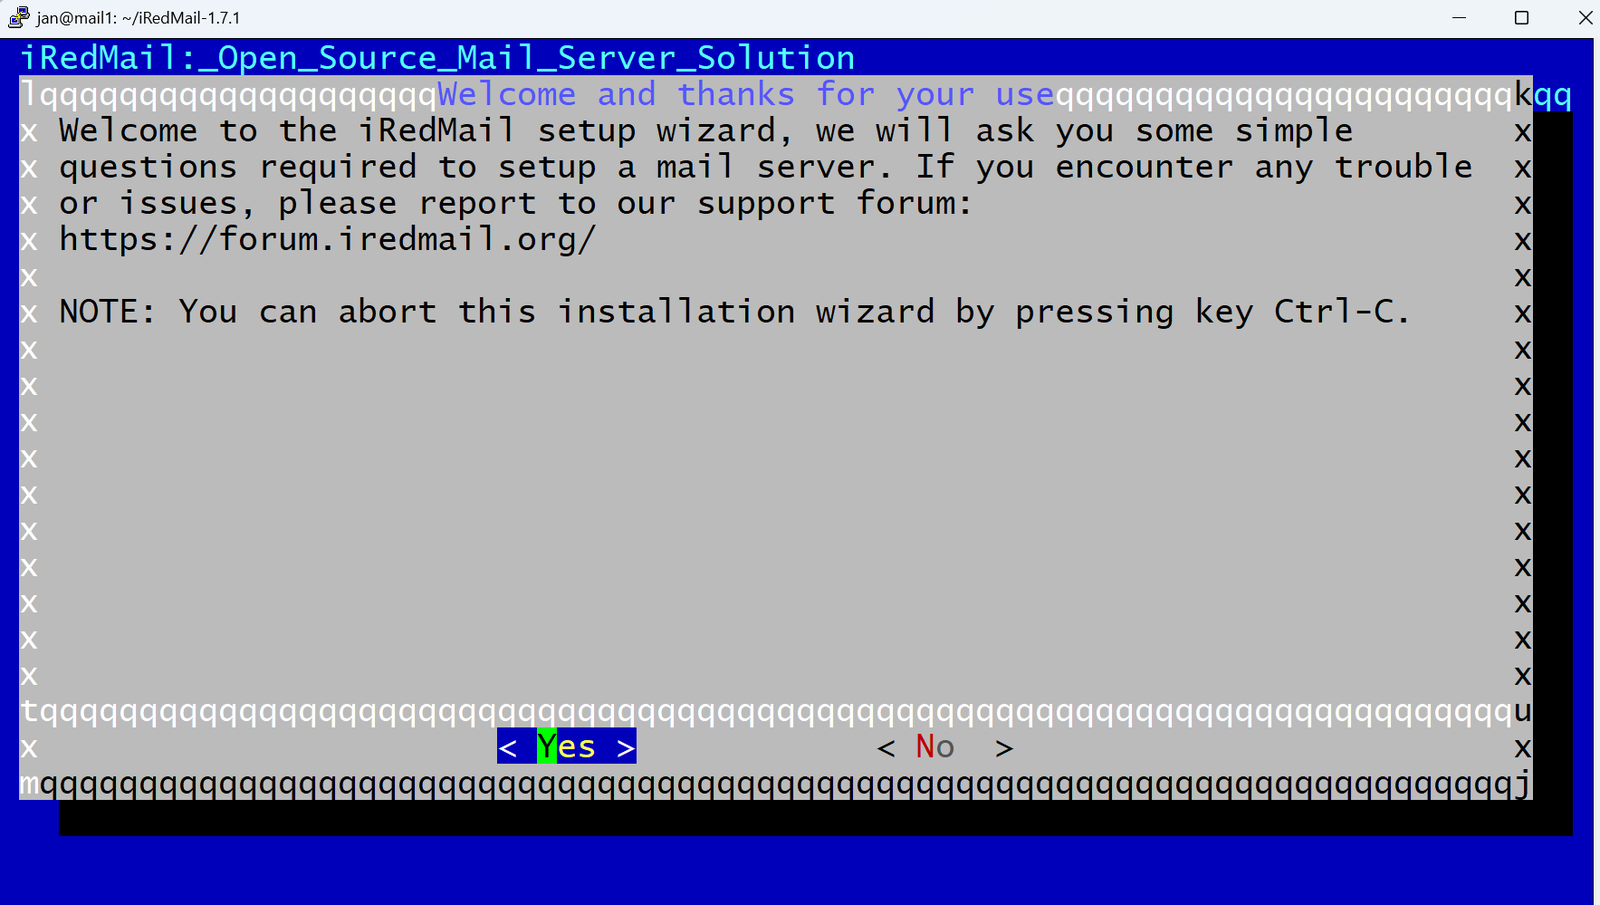
sudo bash iRedMail.sh- A wizard will be launched, eventually. Click on ‘Yes’ to proceed.
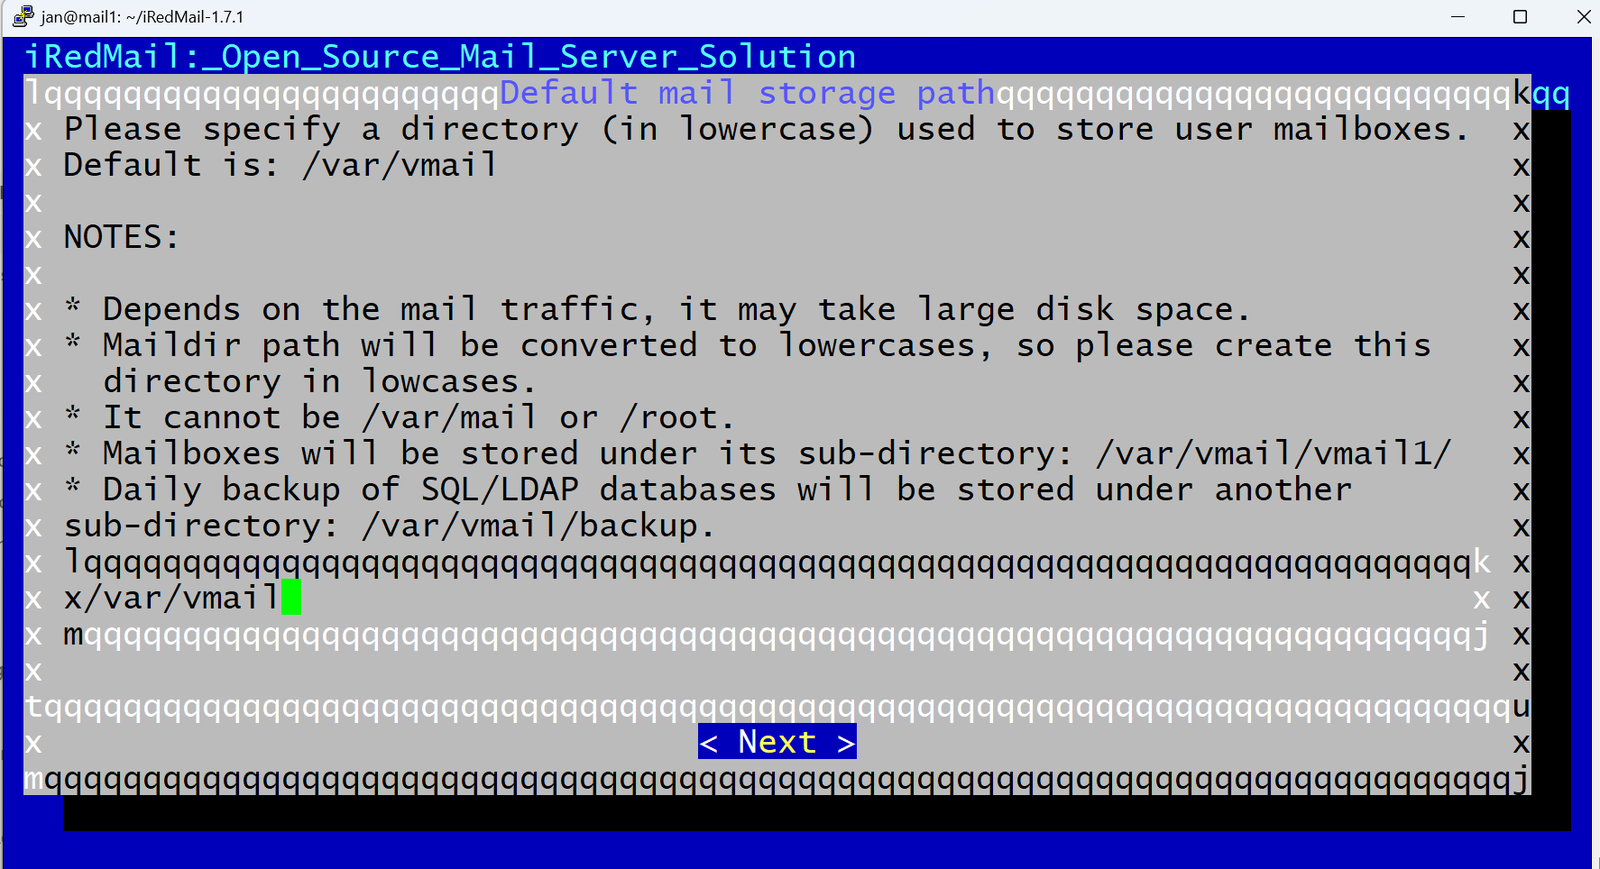
- Next, you will be asked for where to store emails - the default location is /var/vmail (as /var/mail cannot be used) - you can confirm the default, unless preferred otherwise.
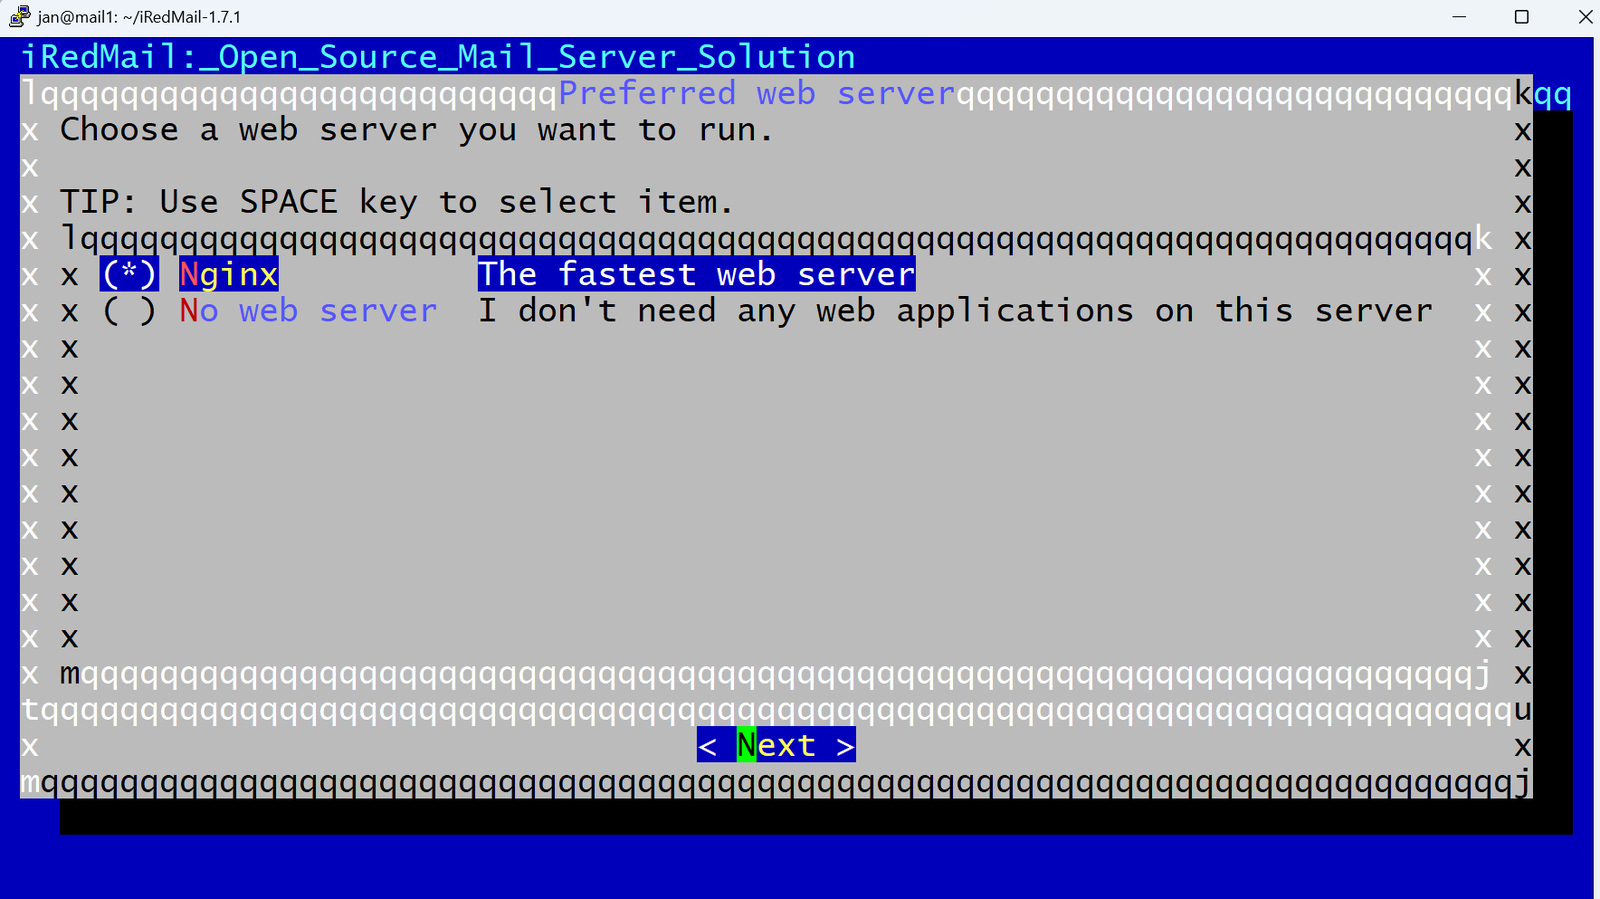
- Web server step - Nginx is the default (in the past, it was Apache) - this allows you to set up mailboxes as admin and will be used for RoundCube webmail, so it is definitely recommended.
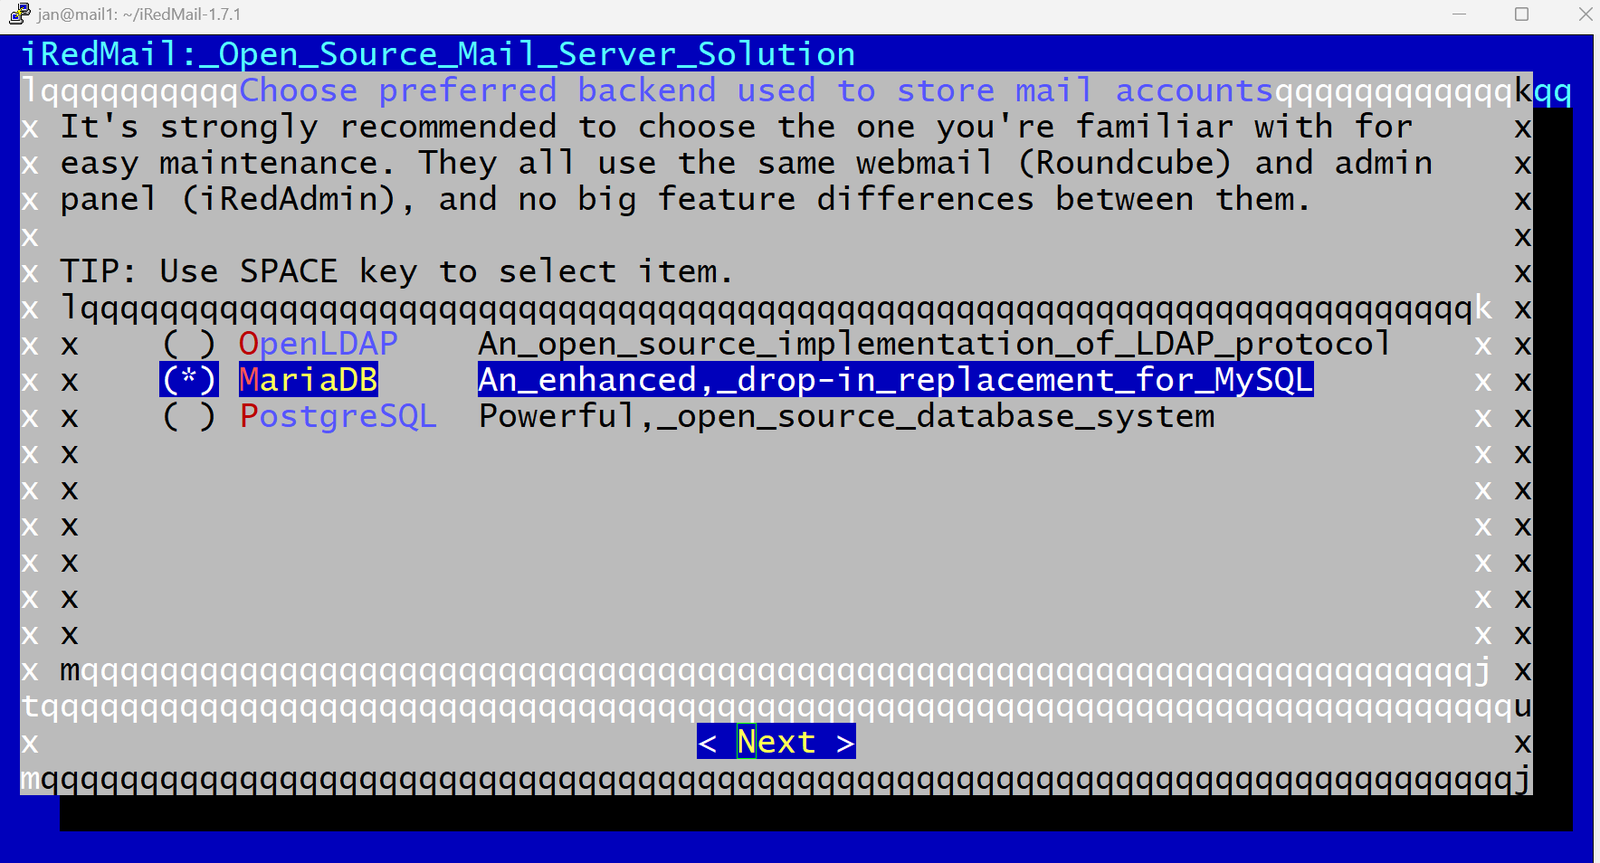
- Database menu - for our use, MariaDB is more than enough.
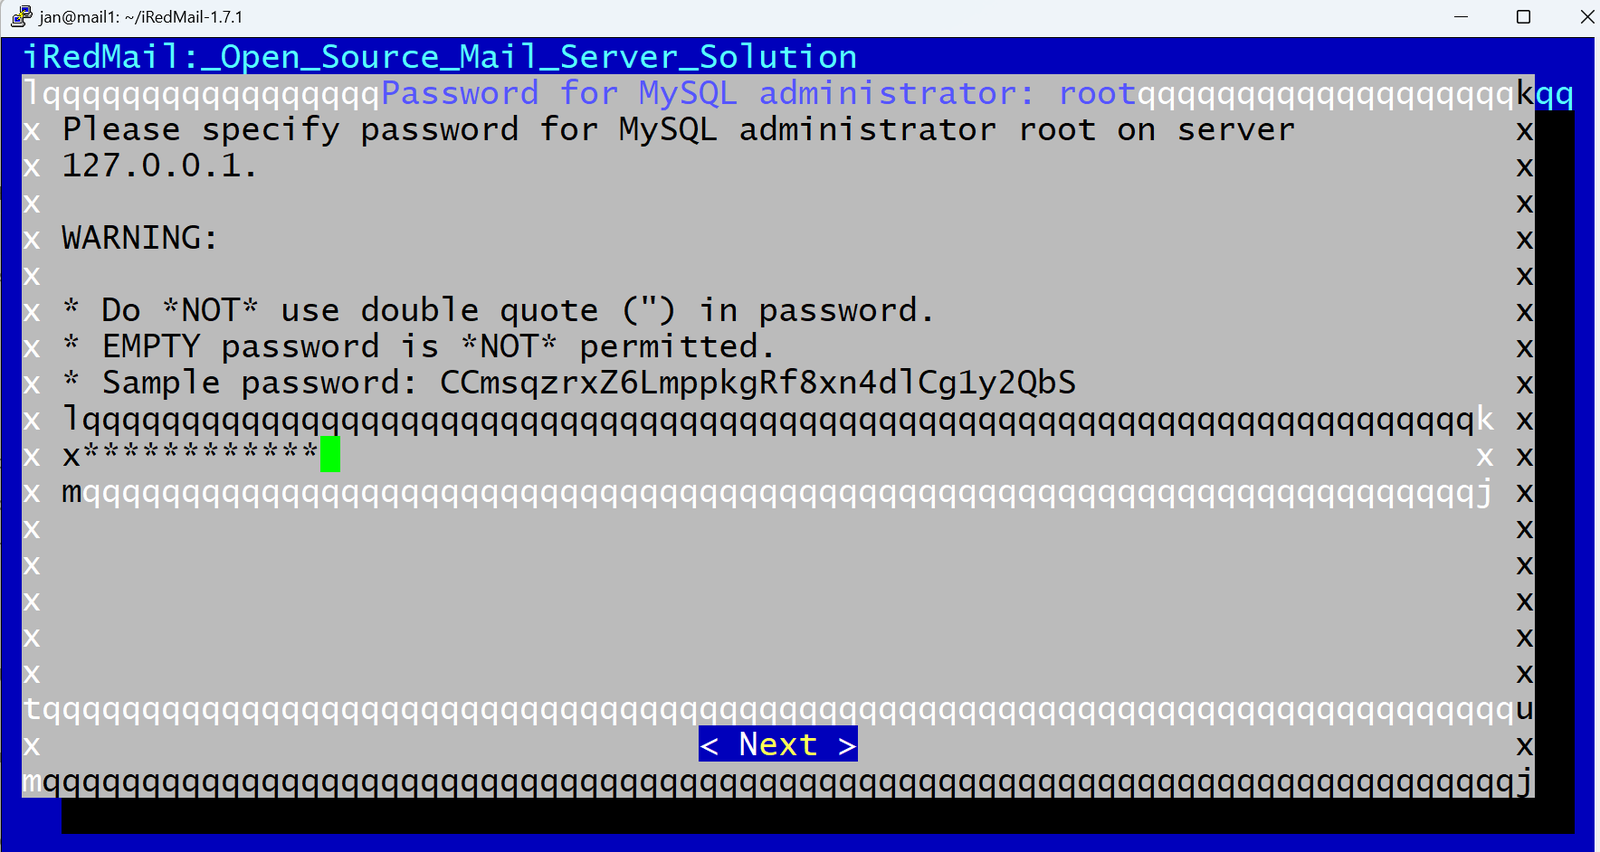
- Database root password - be careful to type it correctly, as you do not get to see what you are typing and there is no re-type confirmation.
- First domain name - what is the first (and could be the only) domain that you will want to be receiving emails on? This can be different from the hostname’s domain.

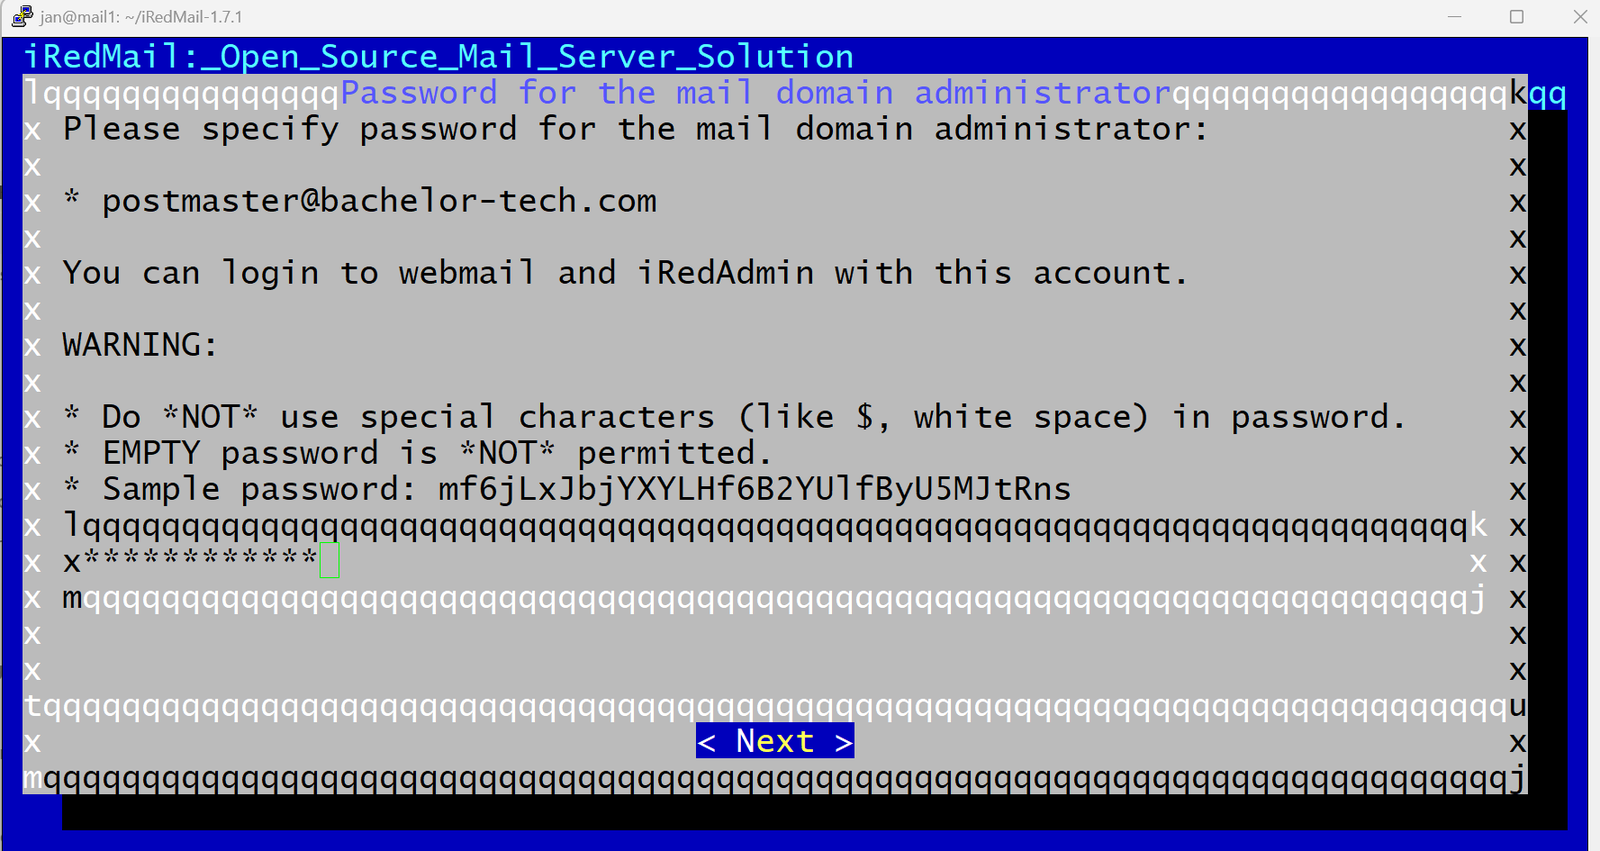
- Postmaster’s email admin password - again, keep track of what you enter. It should be different from the DB root password.
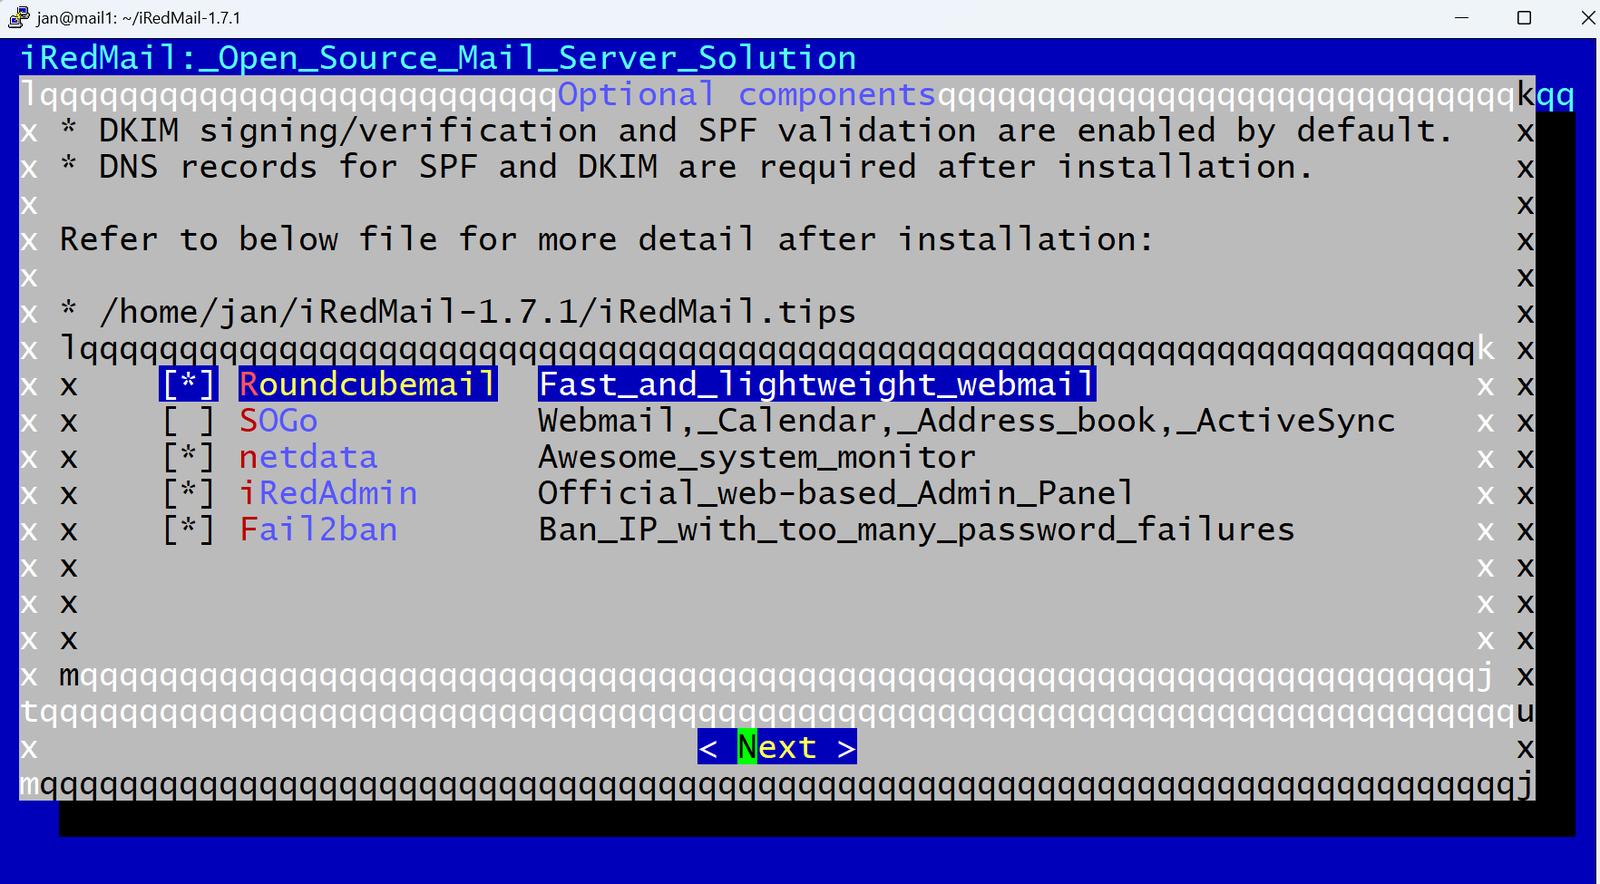
- Additional components - Roundcube replaces SoGo in terms of webmail capabilities (SoGo still runs on Apache). Others are good to install.
- At the end of the wizard, confirm ‘y’ to proceed with the installation.
- Once configured, you will be asked to confirm your SSH port for the firewall to ensure that you do not get locked out and then to restart the firewall:

- Before restarting, take a look at the tips file to confirm that you have got the passwords typed correctly and know the interfaces:
nano iRedMail.tips- Reboot your VM.
Nginx configuration for iRedMail behind reverse proxy:
- By default, nginx is configured to forward traffic from HTTP (80) to HTTPS (443). However, in our case, we terminate SSL on HAProxy and are operating on an unencrypted port 8082. So we need to tweak the config a bit to make it work.
- Essentially, we can just comment out the redirect and copy over the content of the 00-default-ssl.conf file and merge it with what we have 00-default.conf. Your resulting 00-default.conf file should look as follows:
sudo nano /etc/nginx/sites-available/00-default.conf

#
# Note: This file must be loaded before other virtual host config files,
#
# HTTPS
server {
    listen 8082;
    listen [::]:8082;

    #root /var/www/html;
    #index index.php index.html;
    #server_name _;
    #Redirect all insecure http:// requests to https://
    #return 301 https://$host$request_uri;

    server_name _;
    root /var/www/html;
    index index.php index.html;
    include /etc/nginx/templates/misc.tmpl;
    include /etc/nginx/templates/ssl.tmpl;
    include /etc/nginx/templates/iredadmin.tmpl;
    include /etc/nginx/templates/roundcube.tmpl;
    include /etc/nginx/templates/sogo.tmpl;
    include /etc/nginx/templates/netdata.tmpl;
    include /etc/nginx/templates/php-catchall.tmpl;
    include /etc/nginx/templates/stub_status.tmpl;

}- Verify the config and reload nginx:
# Verify the nginx config:
sudo nginx -t

# Restart the nginx config
sudo systemctl reload nginx- Since we changed the default port on nginx, we need to update nftable’s config (firewall)
# Check the status of nftables:
sudo systemctl status nftables.service

# Show existing rules (port 80 will likely be there)
sudo nft list ruleset

# Change port 80 to 8082 (or whatever you chose on OPNSense under Real Servers
sudo nano /etc/nftables.conf

# Reload nftables:
sudo systemctl reload nftables.service- To get RounCube work unencrypted, go to the following path and change the force HTTP directive to ‘false’. No services need to be restarted after that.
sudo nano /opt/www/roundcubemail/config/config.inc.php

# Change the following directive from 'true' to 'false:
$config['force_https'] = false;- Now you can finally try all three management interfaces:
# iRedAdmin:
https://your-domain.tld/iredadmin/
# Roundcube webmail:
https://your-domain.tld/mail/
# Monitoring
https://your-domain.tld/netdata- If you encounter difficulties, you can review the following logs
- HAProxy logs (e.g. on OPNSense) → is the traffic being passed to the right back-end?
- HAProxy → Is SSL offloading box ticked in the Virtual Services → Public Service?
- nginx logs → check
sudo tail /var/log/nginx/access.loganderror.log. - Confirm that nginx is listening on the desired ports →
ss -tlnto confirm. - Have you re-configured and reloaded the firewall? Run
sudo nft list ruleset.
Access iRedAdmin
- Now iRedAdmin should become reachable on https://mail.your-domain/iredadmin/
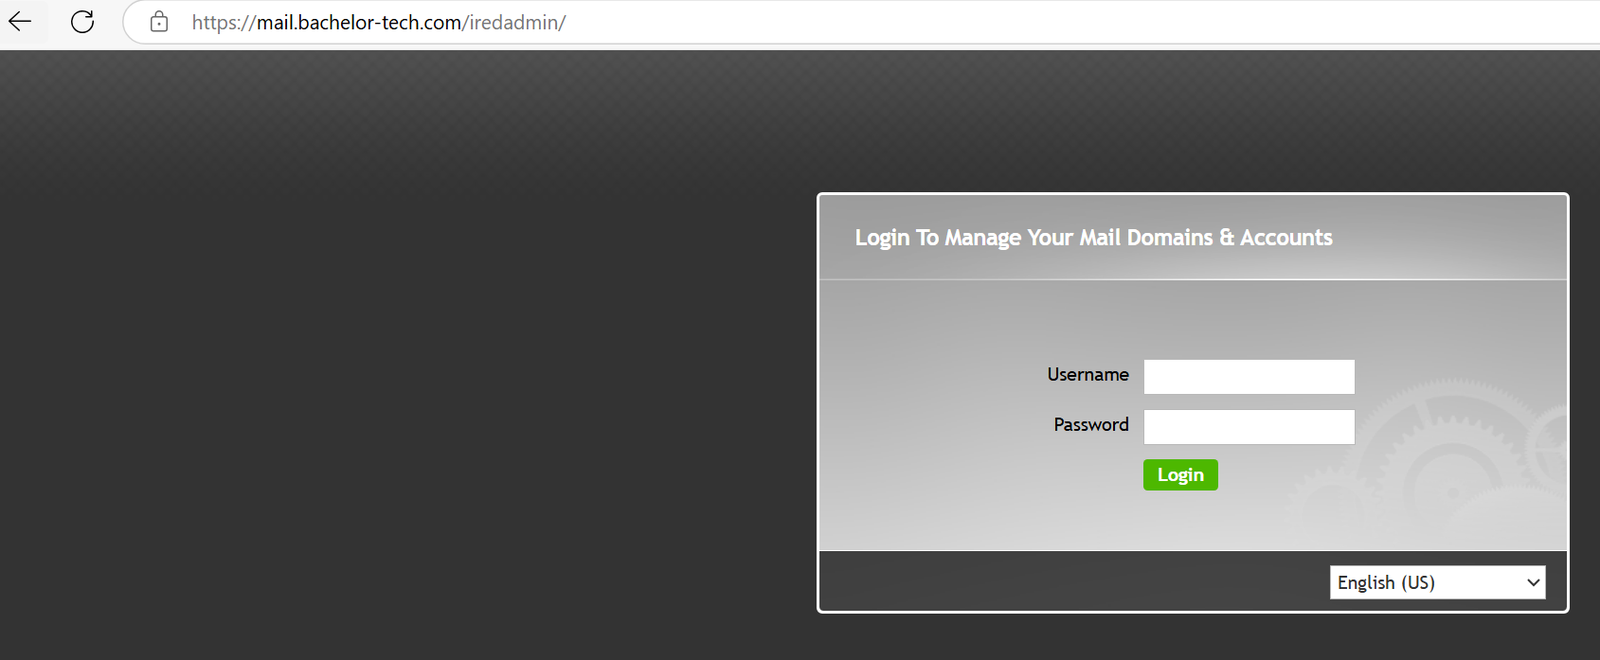
- You can log in with your postmaster@your-domain.tld login and password.
- Find a list of users for your domain:

- Add a new user:

Configure Roundcube
- Just to repeat from earlier, with HAProxy in place to decrypt incoming SSL communication, in order to access RoundCube on what seems from the mail server’s point of view as HTTP, you need to disable the
force_httpsdirective in the Roundcube config file:
sudo nano /opt/www/roundcubemail/config/config.inc.php

# Find this part under //SYSTEM
$config['force_https'] = false;- Access the web interface on https://mail.your-domain.tld/mail/
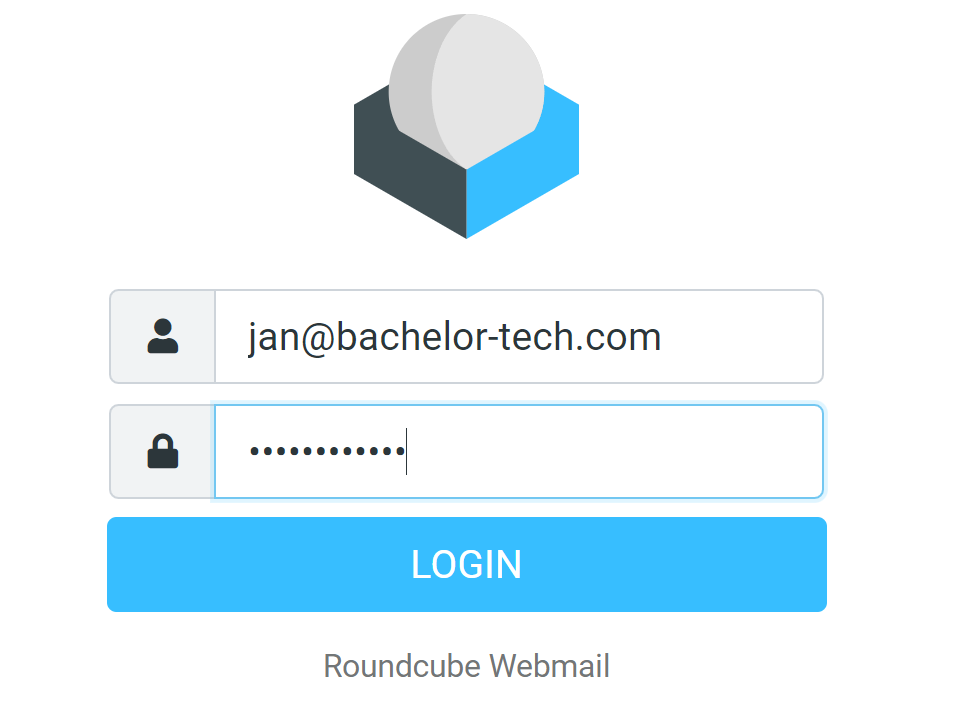
- Try logging in with the details you created earlier in the iRedAdmin interface.
- You can observe your login (or a failure to login) by looking at the end of this file:
sudo tail -n 3 /var/log/mail.log- At this point, you can try sending an email to your new mailbox from outside - providing that port 25 on your firewall is unblocked and points to the IP address of your mail server on the LAN.
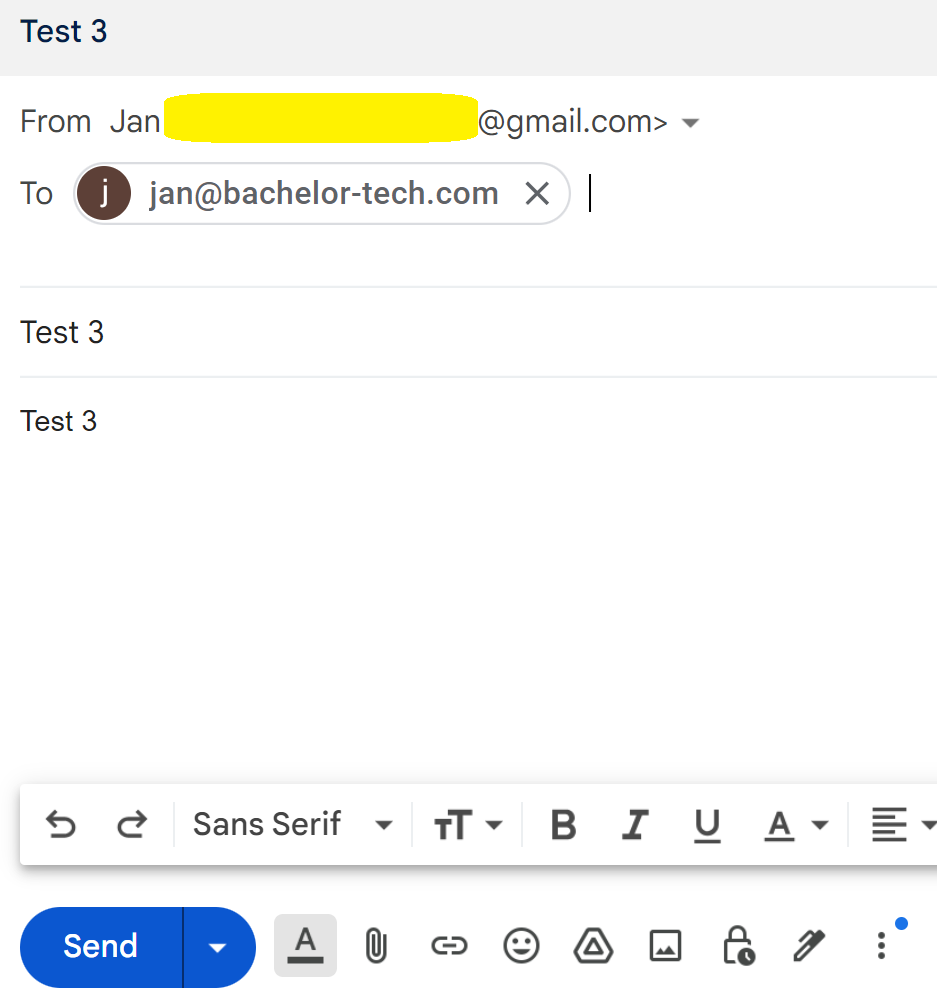
- If the email is not arriving into your mailbox and there is nothing in the
/var/log/mail.logfile, it is likely being blocked by your firewall.- If you use OPNSense, you can check it in the section called Firewall → Log files → Live view.
- Expand the view to at least a 100 items and watch it as you send an email to your mailbox.
- Add two filters - one that is ‘Action - is - block’ (click on the + sign) and then one that says dst_port (destination port) - is - 25 (again click on the + sign).
- If you see repeated attempts to reach port 25 then you know that your firewall rule is not set up correctly.

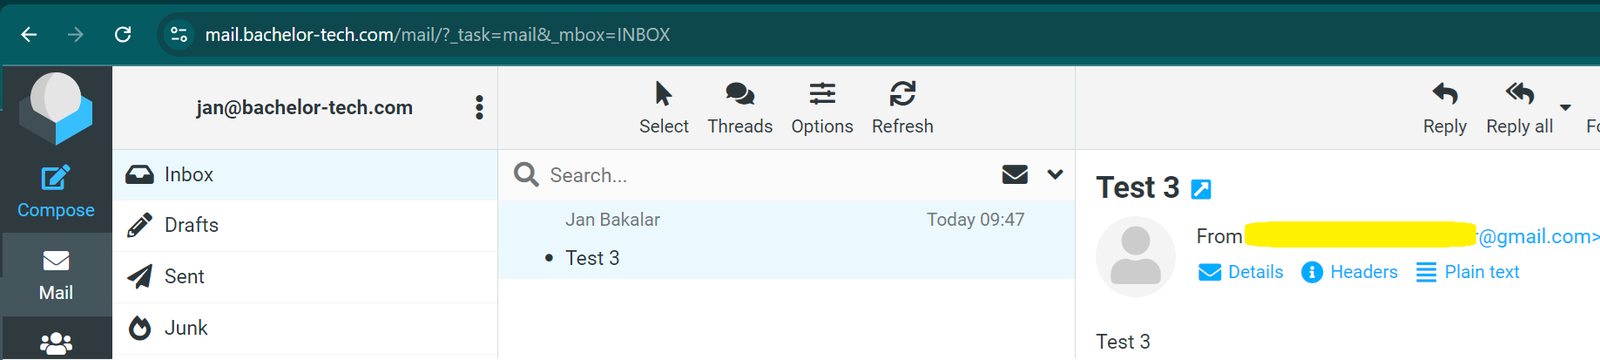
- If the email arrives correctly, you will be able to access it in RoundCube:
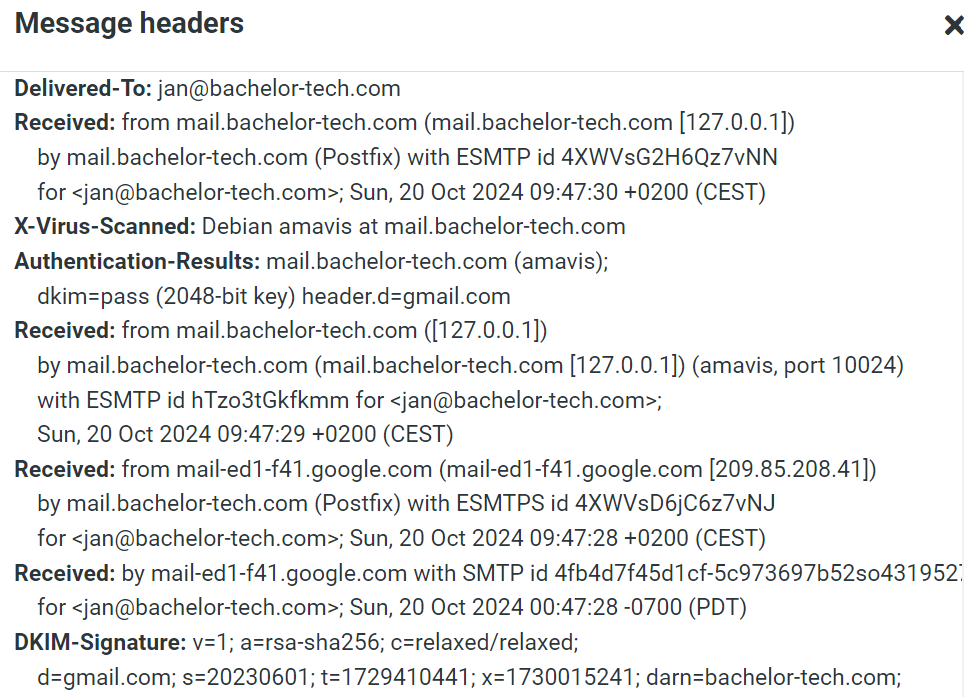
- You can review the test mail’s header to confirm that amavis service on our mail server provided virus scanning (together with SpamAssassin):
- This does not yet mean that you can send emails out, as your mail server and domain does not have its own DKIM, SPF and DMARC DNS records set up, nor have we set up an SMTP relay yet.
CertBot Certificate Creation
- Up to this point, we did not need to handle SSL on the mail server. However, in order to securely handle mail exchange, we will need to provide a cert.
- If you would like to check all the services running on your mail server up to this point, run
sudo service --status-allto ponder on your achievements so far. - Sources:
- There are two ways of how to install and configure certbot - either by using your distributions default package manager, which means always being on an older version that may not support the newest features but is easier to maintain, OR by using a virtual python environment where you can stay away from the default package manager (i.e. APT).
- In our case, since we plan to use the CloudFlare plugin using API token (that we used earlier for OPNSense), as of the time of writing the article (10-2024), the package distribution version only supports the global API key, which is less safe. For the purpose of this article, both ways are provided:
- OPTION 1: Use API token (recommended)
# WITH TOKEN

sudo apt install python3-pip
sudo apt install python3-venv

# Create a new virtual environment for python3
sudo python3 -m venv /opt/certbot/

# Upgrade pip to the newest version
sudo /opt/certbot/bin/pip install --upgrade pip

# Install certbot in the virtual environment (to get the most recent version versus APT)
sudo /opt/certbot/bin/pip install certbot certbot-dns-cloudflare

# Make the certbot command reachable globally
sudo ln -s /opt/certbot/bin/certbot /usr/bin/certbot

# Create an .ini file and protect it to store the API key:
sudo mkdir /root/.secrets
sudo chmod 0700 /root/.secrets/
sudo touch /root/.secrets/cloudflare.ini
sudo chmod 0400 /root/.secrets/cloudflare.ini

# Open the file and append this line - replace XYZ with your actual API key:
sudo nano /root/.secrets/cloudflare.ini
dns_cloudflare_api_token = "XYZ"

# Automate updates to pip + certbot + certbot-dns-cloudflare via crontab
sudo nano crontab -e

# Append the following two lines:

# Update pip + certbot + CloudFlare plugin monthly
@monthly sudo /opt/certbot/bin/pip install --upgrade pip certbot certbot-dns-cloudflare >/dev/null 2>&1- OPTION 2: Use Global API key:
# WITH GLOBAL API KEY

# Install certbot
sudo apt install -y certbot python3-certbot-dns-cloudflare

sudo mkdir /root/.secrets
sudo chmod 0700 /root/.secrets/
sudo touch /root/.secrets/cloudflare.ini
sudo chmod 0400 /root/.secrets/cloudflare.ini
sudo nano /root/.secrets/cloudflare.ini

dns_cloudflare_email = "your-cloudflare-email-address"
dns_cloudflare_api_key = "your-global-api-key-not-token"

# Create a cert via the CloudFlare DNS route
sudo certbot certonly --dns-cloudflare --dns-cloudflare-credentials /root/.secrets/cloudflare.ini -d mail.your-domain.tld --preferred-challenges dns-01
- Review your certificates - you will see that those are symlinks that lead to the archive directory.
sudo ls -lah /etc/letsencrypt/live/mail.your-domain.tld/- There are four .pem files:
- cert.pem → the public part of the key
- chain.pem → an additional intermediary certificate in order to validate the server certificate
- fullchain.pem → all certs inc. the server certificate
- privkey.pem → the private part of the key that is only known to your server
- Automate the renewal by the following:
# Test a renewal
sudo certbot renew -w /var/www/html/ --dry-run

# Open crontab
sudo crontab -e

# Append the following two lines:
# Certbot: Check if renewal is needed weekly and reload affected services
@weekly certbot renew -w /var/www/html/ --quiet && systemctl reload dovecot postfix nginx
Apply the certificates - Nginx
- While for nginx, we do not need to apply the cert, since we terminate SSL at HAProxy, it may still be a good practice in case we implement SSL termination at the mail server in the future, instead.
- Edit the following ssl template file:
sudo nano /etc/nginx/templates/ssl.tmpl

# Find the following:
ssl_certificate /etc/ssl/certs/iRedMail.crt;
ssl_certificate_key /etc/ssl/private/iRedMail.key;

# Replace them with:
ssl_certificate /etc/letsencrypt/live/mail.your-domain.tld/fullchain.pem;
ssl_certificate_key /etc/letsencrypt/live/mail.your-domain.tld/privkey.pem;- Run a syntax check and reload nginx:
sudo nginx -t
sudo systemctl reload nginx
Apply Certificates - Dovecot (IMAP)
- Since we plan to connect to the mail server directly to sync emails with an email client via IMAPS, we will need to set the certificates on Dovecot to secure the communication over SSL port 993 (instead of unencrypted 143). POP3 is rarely used anymore (although port 995 would do the job for that).
sudo nano /etc/dovecot/dovecot.conf

# Find these two lines
ssl_cert = </etc/ssl/certs/iRedMail.crt
ssl_key = </etc/ssl/private/iRedMail.key

# Replace them with:
ssl_cert = </etc/letsencrypt/live/mail.your-domain.tld/fullchain.pem
ssl_key = </etc/letsencrypt/live/mail.your-domain.tld/privkey.pem

# Exit nano and reload the config
sudo systemctl reload dovecot
Apply Certificates - Postfix
- While we plan to use an SMTP relay, in order to support SMTPS to connect to our mailbox from an external device, we need to set up the certificates.
sudo nano /etc/postfix/main.cf

# Find these three lines:
smtpd_tls_key_file = /etc/ssl/private/iRedMail.key
smtpd_tls_cert_file = /etc/ssl/certs/iRedMail.crt
smtpd_tls_CAfile = /etc/ssl/certs/iRedMail.crt

# Replace them with:
smtpd_tls_key_file = /etc/letsencrypt/live/mail.your-domain.tld/privkey.pem
smtpd_tls_cert_file = /etc/letsencrypt/live/mail.your-domain.tld/cert.pem
smtpd_tls_CAfile = /etc/letsencrypt/live/mail.your-domain.tld/chain.pem

# Exit nano and reload the config
sudo systemctl reload postfix
With iRedMail installed and reachable over HTTPS, the last part covers hardening Postfix, verifying deliverability, and connecting an email client.
Enjoying this tutorial?
This site is a non-profit project. If it saved you some time, you can support it by getting Jan some coffee.
☕ Buy me a coffee
Comments