- Insert the micro SD card back into the Pi and boot from it.
- You do not need to connect it to a screen / keyboard / mouse, as it will reboot a few times and get you straight into the terminal login screen. So you can simply SSH in.
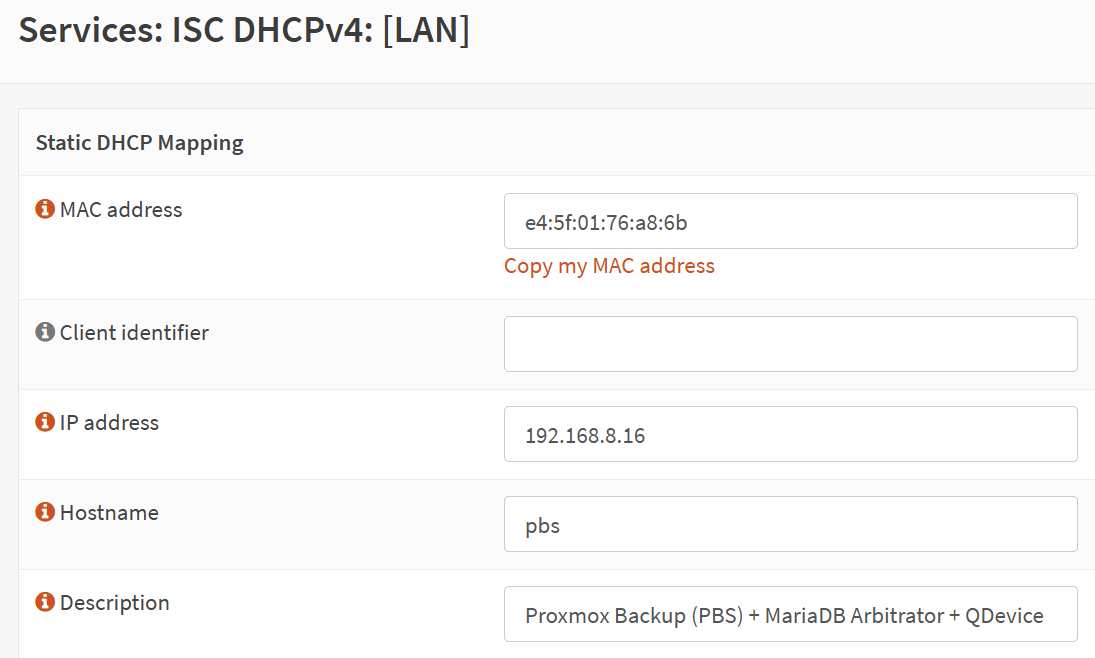
- In case you do not know its IP address, check your DHCP server. For example, in OPNSense, I found it due to the hostname provided in the installer and then added it into a static lease and gave it a description:
- At the time of writing this tutorial, Debian 13 (Trixie) was not available officially for the RPI. So I downloaded Debian 12 and then performed an upgrade:
sudo apt update && sudo apt upgrade -y
sudo nano /etc/apt/sources.list
# Replace 'bookworm' with 'trixie'

# Repeat this process for any files within /etc/apt/sources.list.d/, such as raspi.list
sudo nano /etc/apt/sources.list.d/raspi.list

# Perform an update and then full upgrade
sudo apt update
sudo apt full-upgrade
# You will be prompted a few times for replacing packages with new ones.
# Since this was a clean installation without custom config, feel free to press 'Y'.
sudo reboot
- Install git and pbs
sudo apt-get install git -y
git clone https://github.com/wofferl/proxmox-backup-arm64.git
cd proxmox-backup-arm64
./build.sh install
- This script will download all the required package files and use
aptto install them, handling dependencies automatically. - If some dependencies cannot be met, you will see the following screen:

- Let’s download that dependency directly, even though it must cause issues in the future updates:
wget http://deb.debian.org/debian/pool/main/s/sg3-utils/libsgutils2-1.46-2_1.46-3_arm64.deb
sudo dpkg -i libsgutils2-1.46-2_1.46-3_arm64.deb
- Then resume the installer by running ‘
./build.sh install’ again. During the process, you might hit a window that warns you about incompatibility of licensing:
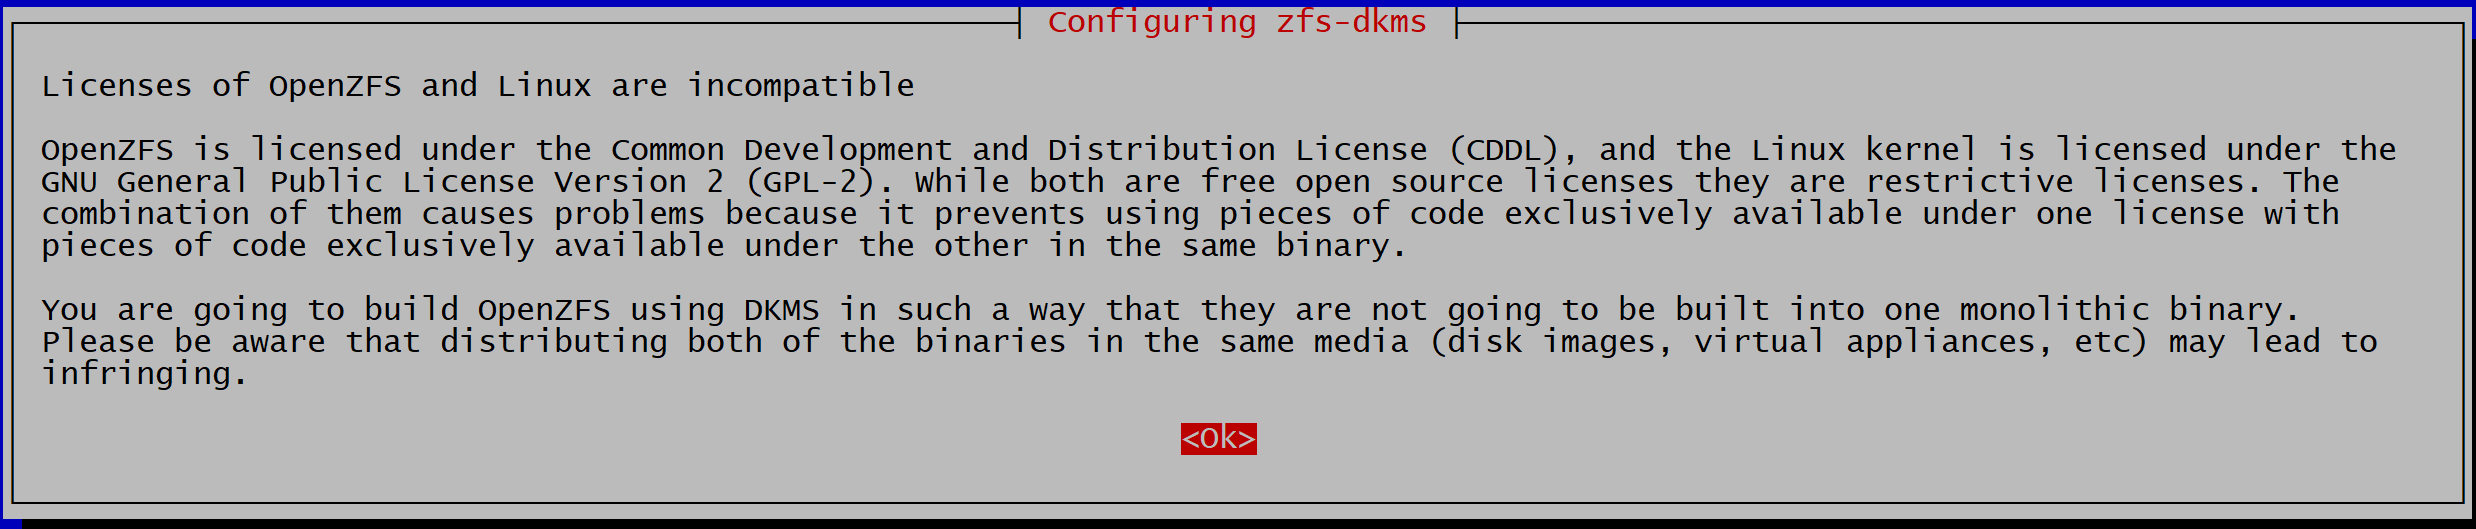
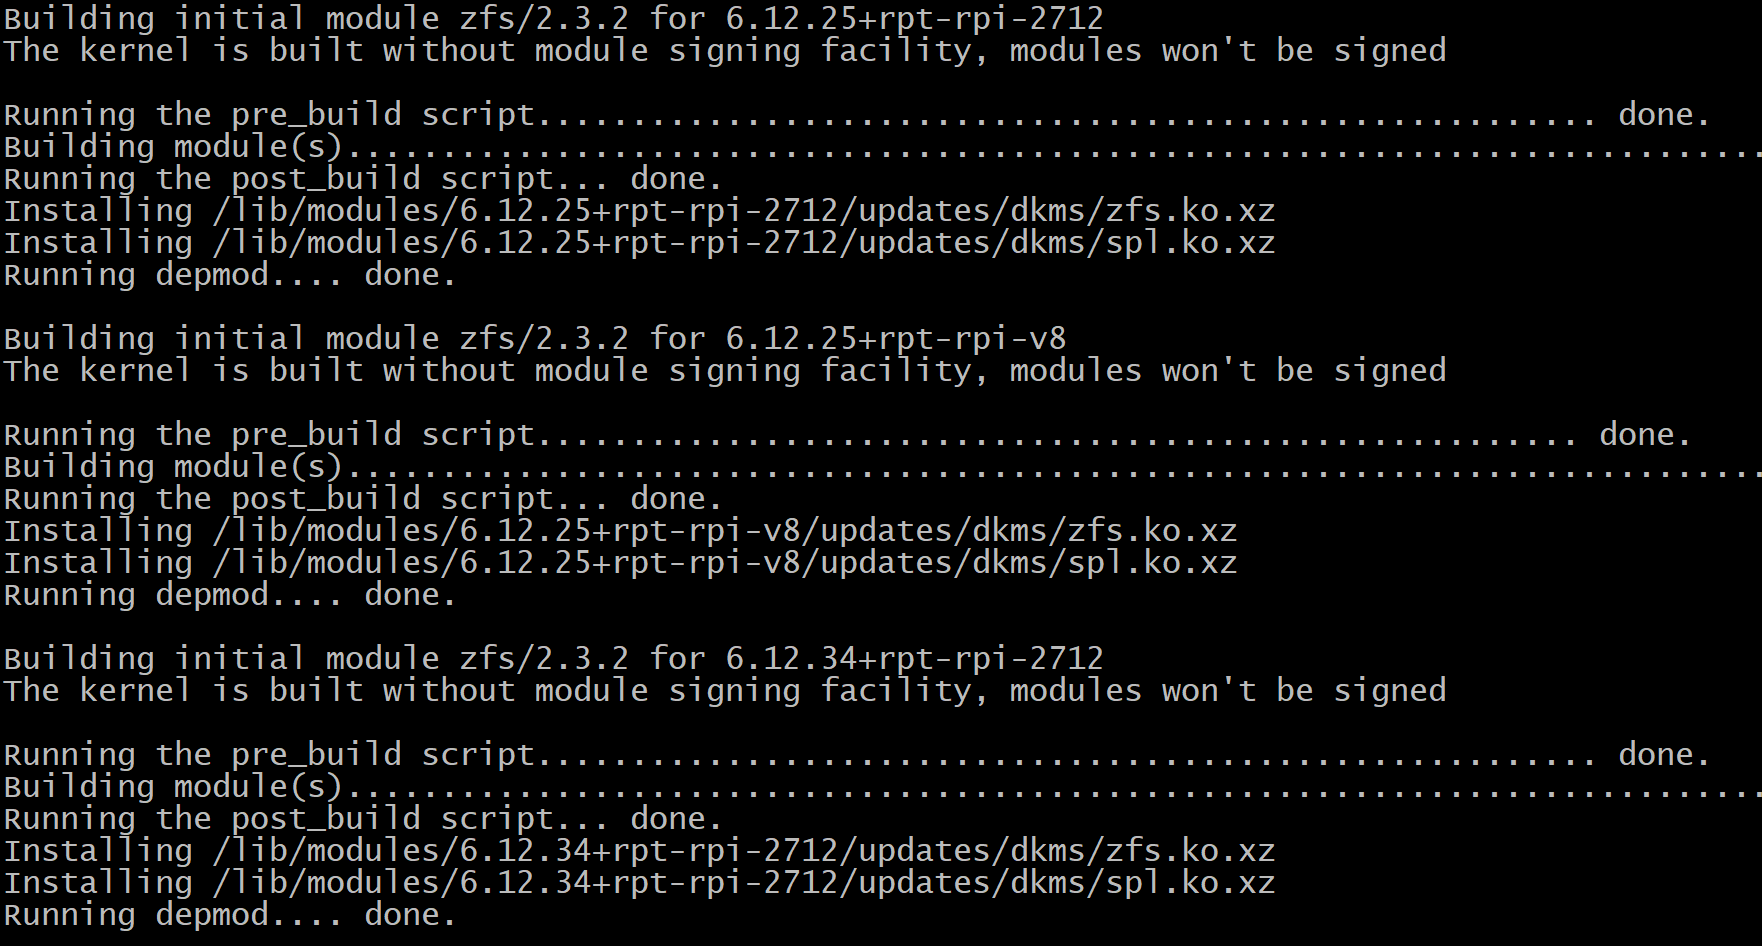
- Not much we can do there, confirm it and the installation will continue. Please be aware that the the system will build the ZFS module for all present kernels. In my case, I had four of them present. The RPI is not particularly fast with these operations, esp. if you use a micro SD card instead of a mounted SSD, so give it even an hour to complete.
- Based on a feedback from others who followed these steps, it is necessary to set up a password for ‘root’ if you have not done so already. This will be used when logging into PBS later.
sudo -u root passwd
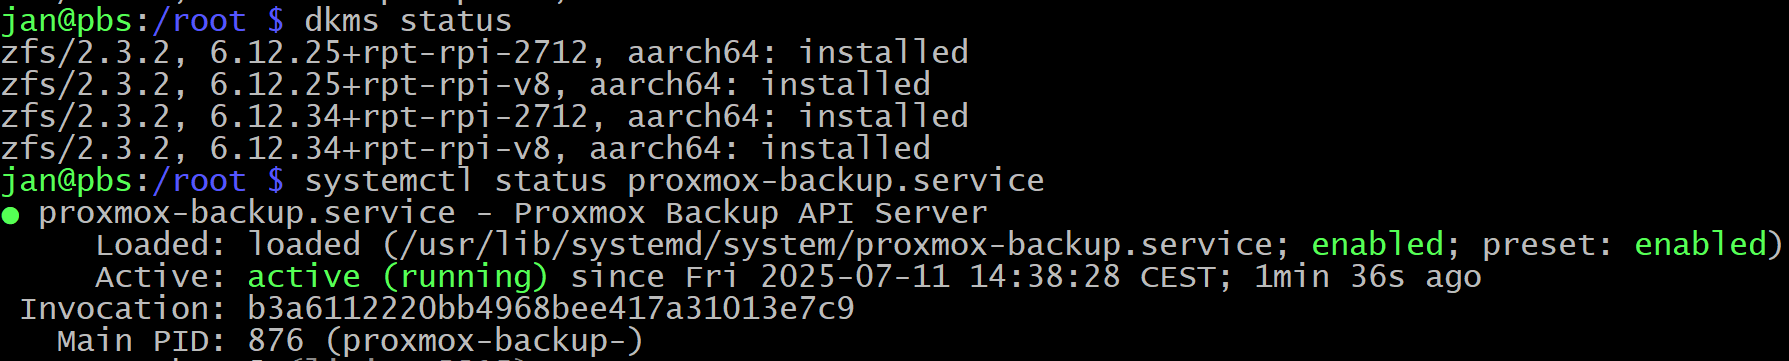
- Once the installation is done, run the following commands to ensure that you are good to go.
# The expected output is that zfs is installed for each kernel you have.
dkms status

# Verify that the service is running:
systemctl status proxmox-backup.service
- Awesome, the heavy lifting is done! Let’s get into PBS’s web interface in the next step.
4 comments
helpful command for line 2 and 6 above:
sudo sed -i ‘s/bookworm/trixie/g’ /etc/apt/sources.list
sudo sed -i ‘s/bookworm/trixie/g’ /etc/apt/sources.list.d/raspi.list
or even better one:
sudo find /etc/apt/sources.list.d -type f -exec sed -i ‘s/bookworm/trixie/g’ {} \;
All went OK, but does not let me login via GUI??? Tried everything, any ideas?
Hi Rik, I have updated the guide, thank you for the catch.