Bachelor Tech
  • Home
  • Tutorials
  • Tips
  • Portfolio
  • About Jan
  • Contact Jan

Prepare a Debian-based RPI image

by Jan Bachelor July 13, 2025

Initial set up:

  • An RPI 4 or higher with 8 GB RAM or more
  • An attached storage – either an external USB drive OR an SSD mounted via a HAT or a large micro-SD A2-grade type of card (at least 512 GB depending on your needs). In my case, I went a bit hardcore and got a Samsung Evo Plus 1 TB micro-SD card (A2). Determine the size based on how many VMs and containers you have times at least 3 for having weekly backups for three weeks at a minimum (most people want more than that – monthly, weekly, daily).
  • A downloaded image creator from RaspberryPi.com

Prepare a Debian-based RPI image

  • For the purposes of Proxmox Backup Server (and potentially as a QDevice), there is no need to install the full OS with its GUI – the ‘OS Lite’ version that is headless (terminal only) will work.
  • Run the RPI Imager and select your RPI device to prepare an image for, the OS and the storage to install the image on. This would typically be the micro SD card that is inserted into the Pi to boot from.

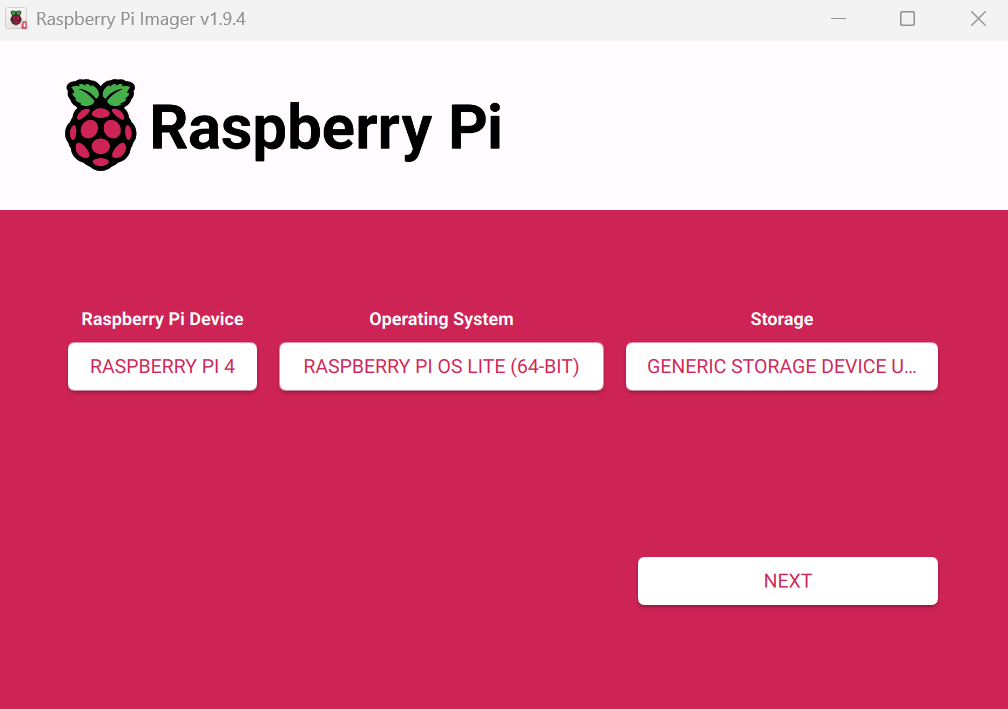
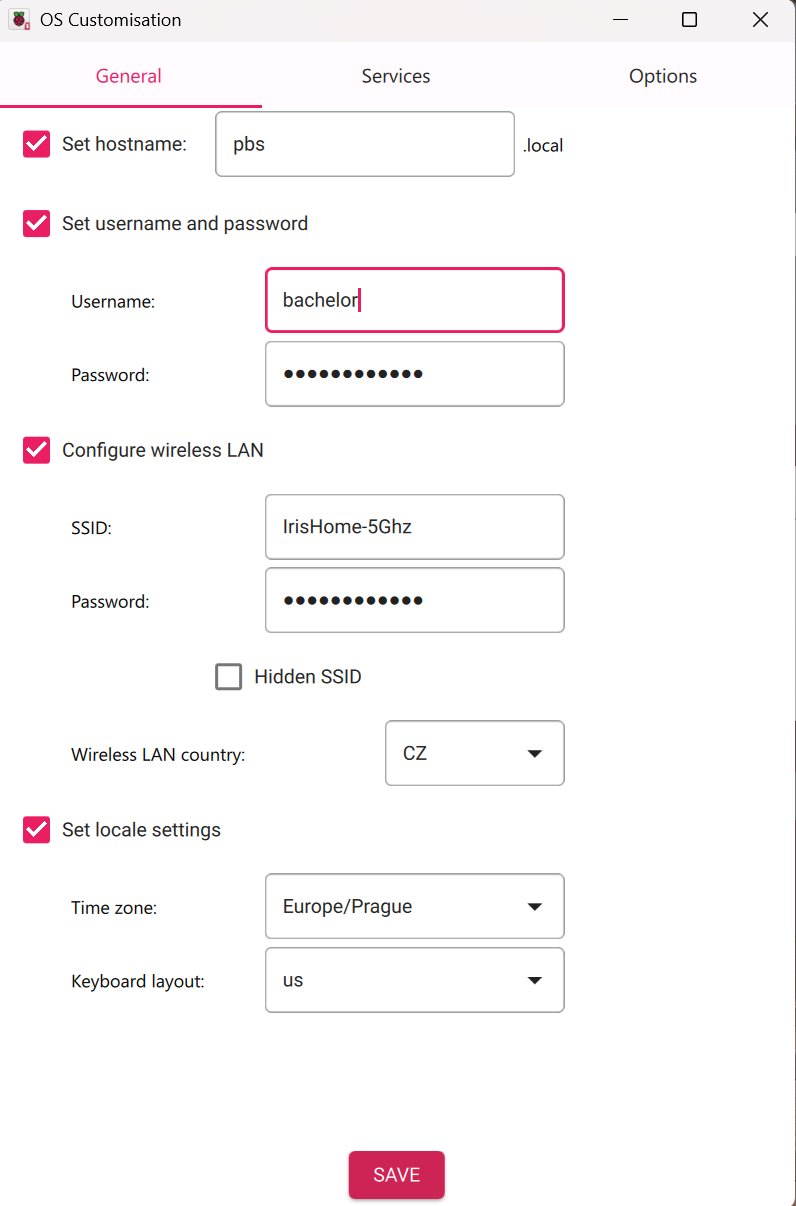
RPI Imager – cutomize your image!

  • Apply any customizations of choice to the image and proceed with ‘burning it’:
Customize your image – then boot straight from it!
  • Once done, you do not need to connect a screen and a keyboard/mouse to your RPI, you can treat it as a headless machine that you will SSH in once it boots up (note: it will reboot a few times when you boot from it, so give it a few minutes).
Upgrade to Trixie + PBS Installation
Go back to course overview: Turn your Raspberry Pi into a Proxmox Backup Server

Leave a Comment Cancel Reply

Save my name, email, and website in this browser for the next time I comment.

This site uses Akismet to reduce spam. Learn how your comment data is processed.

0 FacebookWhatsappThreadsBlueskyEmail

Course Steps

  1. Prepare a Debian-based RPI image
  2. Upgrade to Trixie + PBS Installation
  3. Initial PBS Configuration
  4. Performance Monitoring - Read & Write Operations
  5. Additional Fine Tuning of your PBS & Best Practices
  6. Storage Health Monitoring
  7. Security Hardening Considerations for your PBS
Previous Next

Recent Comments

  • Jan Bachelor on Dynamic DNS Set Up with DuckDNS on OPNSenseHi Jake, that's awesome, congratulations on getting…
  • Jake on Dynamic DNS Set Up with DuckDNS on OPNSensefollowed guide above to the T and all is working. i…
  • Fastbrain on Dynamic DNS Set Up with DuckDNS on OPNSenseThanks for the guide. For some reason, after follow…

Other courses

Turn your Raspberry Pi into a Proxmox Backup...

July 13, 2025

OPNSense in HA with CARP with dual WANs

June 30, 2025

Never again forget about important dates with MIND!

June 30, 2025

Install iRedMail Mail Server As Proxmox VM With...

October 31, 2024

Remote Bucket Storage for Proxmox VM Backups

August 16, 2024

Recent Posts

  • How to get LXC containers for Proxmox outside of ready-made templates

  • How to join two Proxmox nodes into a cluster (PVE 8.x)

  • How to Rename a Proxmox Node

Facebook Twitter Instagram Pinterest Linkedin Youtube

All Rights Reserved. The theme was customized from Soledad, see PenciDesign

Bachelor Tech
  • Home
  • Tutorials
  • Tips
  • Portfolio
  • About Jan
  • Contact Jan