- The final state of files in Gitea should look like this:

- We can now join the provisioning and the configuration jobs together. Once the VPS is provisioned in Hetzner, it will then be configured with the S2S VPN details as well as
garbdconfig. - In AWX, go to Templates → click on the Add button and choose ‘Add workflow template’ from the drop-down button.
- Name:
H0 - Workflow - Provision + Configure Galera Witness - Description:
Executed on Hetzner - a VPS is created and set up - Inventory:
Hetzner
- Name:
- Then you will be taken to the Visualizer.
- Add the jobs from H1, H2 to H3.
- Chain them with the condition for the next step to be triggered only ‘on success’ after the previous job finished.

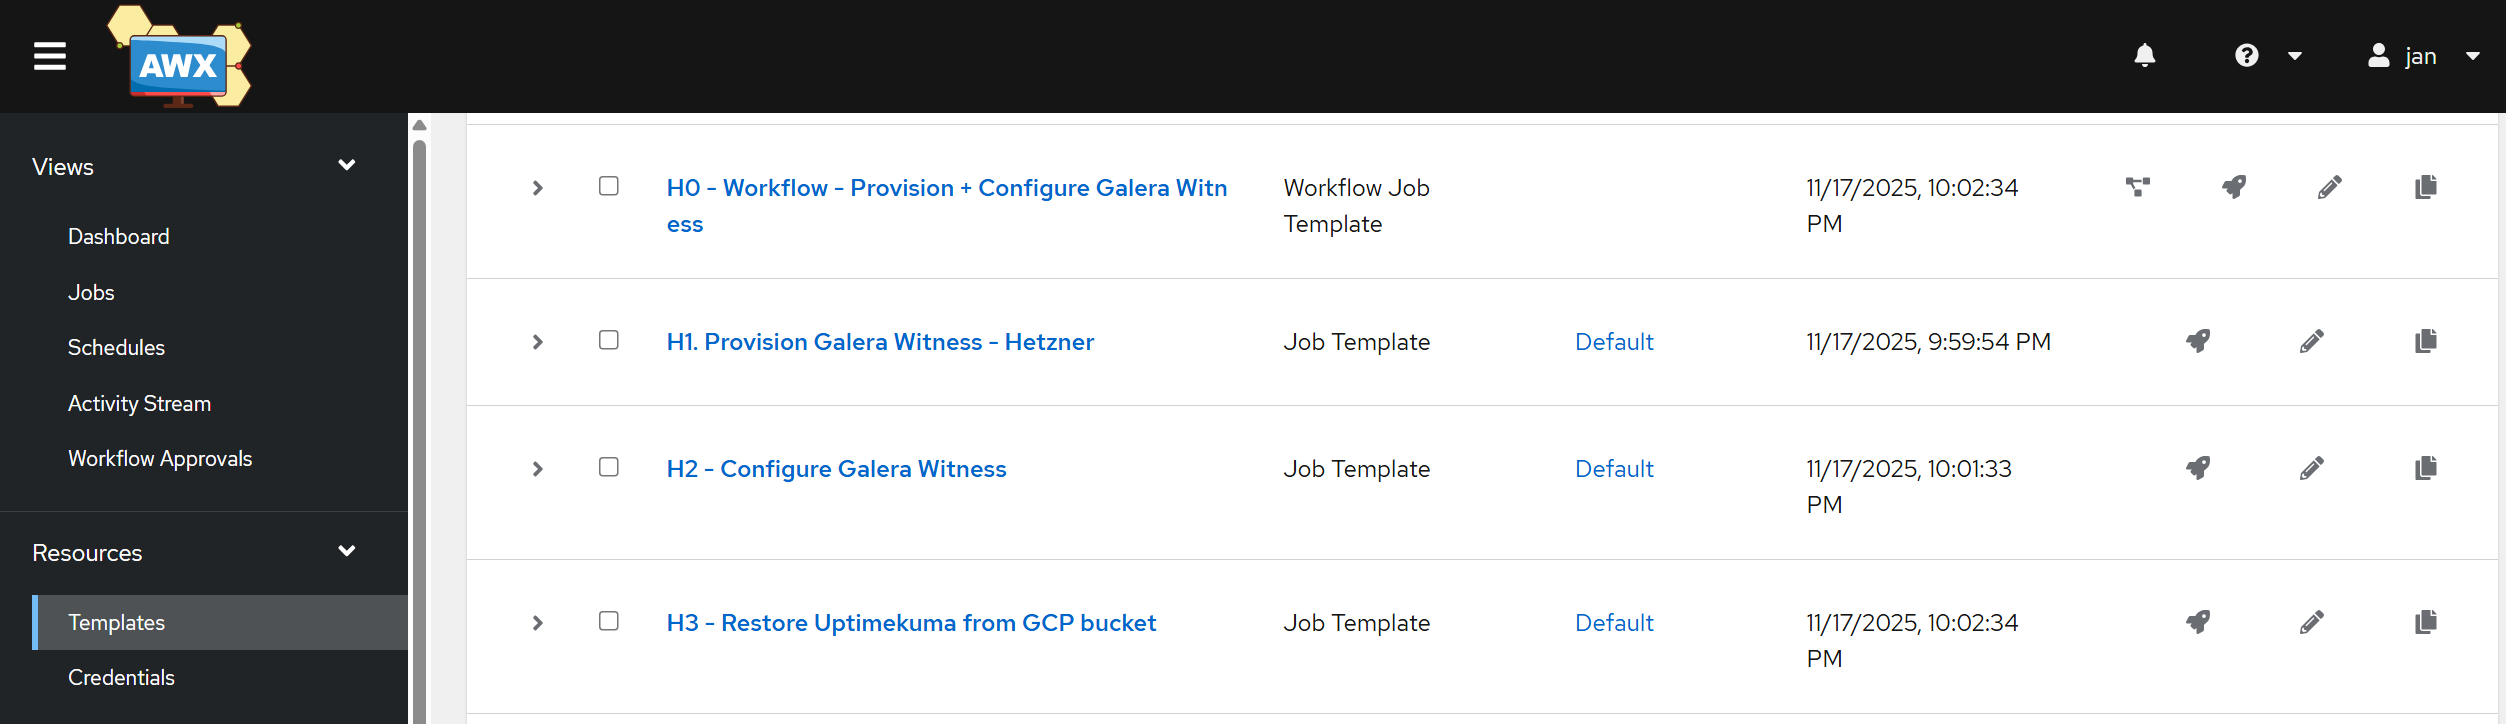
- If you got back to Templates, it may look something like these four below:
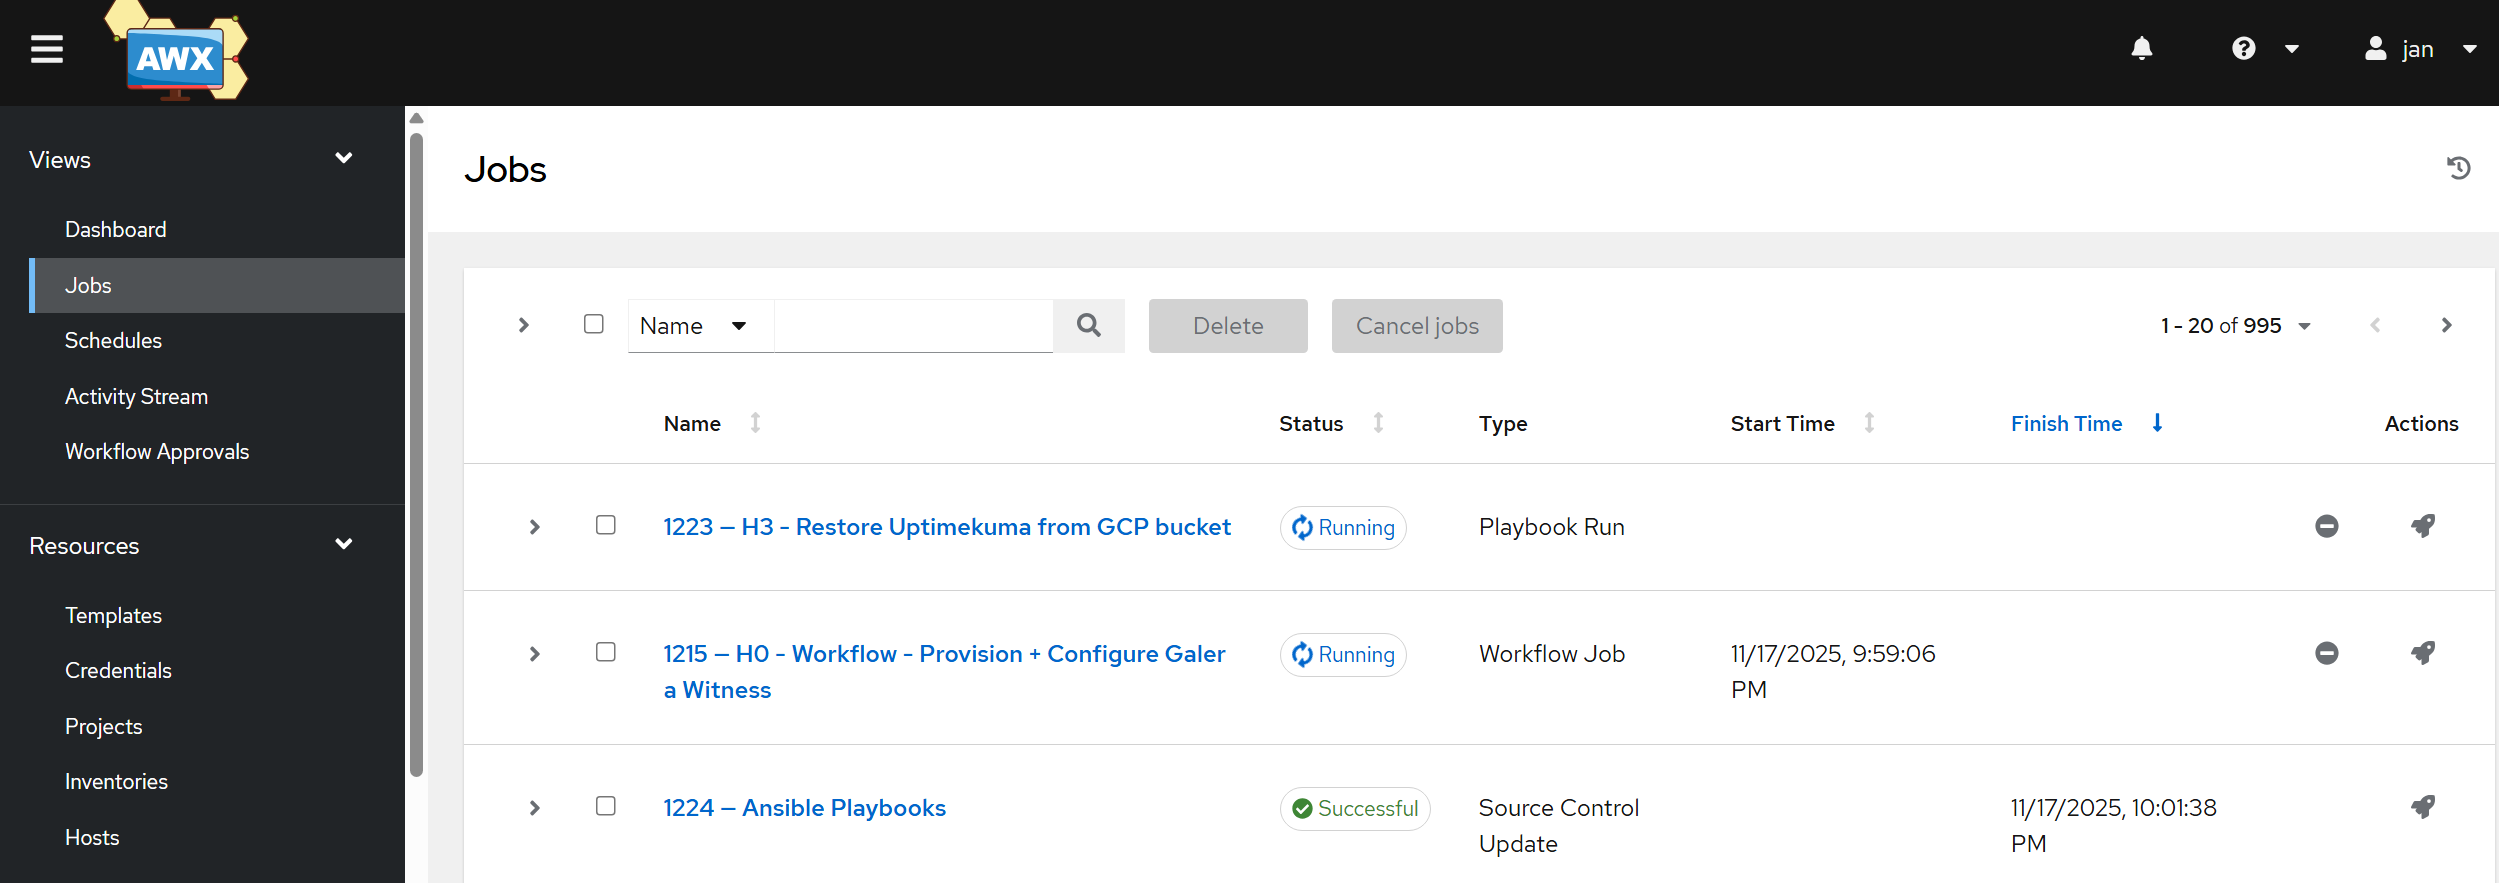
- Then finally, LAUNCH the workflow template!
- The second template will take the longest time to run (about 3 minutes) because it waits for the first one to finish running the
cloud-inittemplate before proceeding further.
- Once the third template runs, you can start checking for the Uptimekuma service on
http://public_ip:3001. If you would like to go fancy and have it set up with HTTPS, let me know in the comments and I can update the steps. Upon logging in, if not done already, I would recommend you to set up 2FA, since this service is exposed to the world. - Tell me, is it not absolutely beautiful to deploy a VPS with a click of a button and have it set up with all required services and monitoring? Note the reported cluster size in the Message filed. Isn’t that neat? Anything smaller than 5 will result in an alert about the cluster being down. With all nodes being up, the cluster size should read 9 (4x on Site 1 + 2x on Site 2 + 1x Witness on Site 3).

- Lastly, I recommend verifying that fail2ban for Uptime Kuma works as expected. What you can do is to SSH in and run the following commands while trying to login in repeatedly using bogus credentials.
# Watch the logs as you try logging in with bogus credentials:
sudo tail -f /var/log/syslog | grep uptimekuma

# Once you are jailed, you should be able to see it on the status page:
sudo fail2ban-client status uptimekuma

# Unban your public IP address:
sudo fail2ban-client set uptimekuma unbanip 1.2.3.4
This concludes are rather extensive guide. Hopefully there was something new an interesting in there for you to learn without being overwhelming? In case you are missing some required parts in your infrastructure to make it happen, check out my other Tutorials!
Let me know in the comments below how your journey with Ansible and multi-site deployment of Galera in a hybrid infrastructure environment went 😇