Since we have the infrastructure part prepared, we can head over to installing and setting up Syncthing. Before we do that, let’s look into what is Syncthing and what platforms it supports.
What is Syncthing?
- It is a free and open-source file synchronization application that allows you to securely sync files between two or more computers in real time. Unlike traditional cloud storage services like Dropbox or Google Drive, Syncthing is a decentralized, peer-to-peer solution. This means your files are stored only on your own devices, and you have complete control over your data.
- At its core, Syncthing works by having a “folder” on one device that you want to keep in sync with a folder on another device. Any changes made to the files in one folder are automatically propagated to the other. This process is secure, with all communication encrypted using TLS
Key Features of Syncthing:
- Decentralized: There is no central server that could be a single point of failure or a target for data breaches.
- Private and Secure: Your data is your data alone. All communication is encrypted, and only explicitly trusted devices can connect to each other.
- Open Source: The source code is publicly available, allowing for transparency and community contributions.
- File Versioning: Syncthing can be configured to keep old versions of files, protecting you from accidental deletions or unwanted changes.
- Web GUI: Configuration and monitoring are done through a simple and powerful web-based graphical user interface.
Major supported platforms include:
- Linux: All major distributions are supported, with dedicated packages for many.
- Windows: A native installer is available for seamless integration.
- macOS: Can be installed via Homebrew or by downloading the binary.
- Android: A dedicated application is available on the Google Play Store and F-Droid.
- BSD: Including FreeBSD, OpenBSD, and NetBSD.
- Solaris: Supported through community contributions.
- NAS Devices: Many Network Attached Storage devices, such as those from Synology and QNAP, can run Syncthing.
Install Syncthing on each web server
- Assuming you are on a headless Debian instance, on Web1 VM, perform the following steps to download and install Syncthing (also as per their documentation):
# In case it is not already installed:
sudo apt install apt-transport-https

sudo mkdir -p /etc/apt/keyrings
sudo curl -L -o /etc/apt/keyrings/syncthing-archive-keyring.gpg <https://syncthing.net/release-key.gpg>

# Add the "stable-v2" channel to your APT sources:
echo "deb [signed-by=/etc/apt/keyrings/syncthing-archive-keyring.gpg] <https://apt.syncthing.net/> syncthing stable-v2" | sudo tee /etc/apt/sources.list.d/syncthing.list

sudo apt-get update
sudo apt-get install syncthing
- You need to decide which user will be running the syncthing service – which user to set it up with?
- Option 1 – the service that your web server (such as nginx) runs as – such as
www-data. Yet this user should not have a login shell available and we would need to therefore at least set up its home directory. We will be going with this option. - Option 2 – run it as your own user (not as root for security reasons).
- Option 1 – the service that your web server (such as nginx) runs as – such as
- Let’s create a custom location for syncthing’s configuration that is reachable by whatever user you decided to run it as:
mkdir /opt/syncthing-config
chown -R username:username /opt
Configure systemd with Syncthing
- Let’s modify the service settings by creating an
override.conffile (to ensure that subsequent updates to the Syncthing app will not erase our settings). This way, we can set up a permanent home folder.
sudo systemctl edit [email protected]

### Editing /etc/systemd/system/[email protected]/override.conf
### Anything between here and the comment below will become the new contents of the file

[Service]
ExecStart=/usr/bin/syncthing serve --home="/opt/syncthing-config" --no-browser --no-restart

### Lines below this comment will be discarded
...

# Save and exit

# Reload the daemon & start it
sudo systemctl daemon-reload
sudo systemctl start [email protected]
# Set the daemon to launch on boot
sudo systemctl enable [email protected]
💡 Note: Some guides will be asking you to modify the config.xml file by changing the address on which the instance runs from localhost (127.0.0.1) to 0.0.0.0. This is NOT desired for our set up when we share files between servers. By making the interface available on the LAN, we open up an attack surface that would otherwise not be there.
Yes, this can be mitigated by a firewall service where you whiltelist only certain endpoints to have access to it + fail2ban for repeated failed login attempts (if you set up a username/password for the web GUI) + by enabling the web GUI to run on HTTPS only. For long-term usage, do not utilize this shortcut and rather create a tunnel between the instances.
Access Syncthing from your computer
- Now to access the web GUI when you are on a headless machine without exposing the web GUI to the LAN ,we can create a secure tunnel between your computer and the web server VM.
- Assuming you are on a Window machine, open a terminal (PowerShell) window and run the following:
ssh -p <port> -L 9090:localhost:8384 user@ip

# In my case, this was
ssh -p 2222 -L 9090:localhost:8384 [email protected]
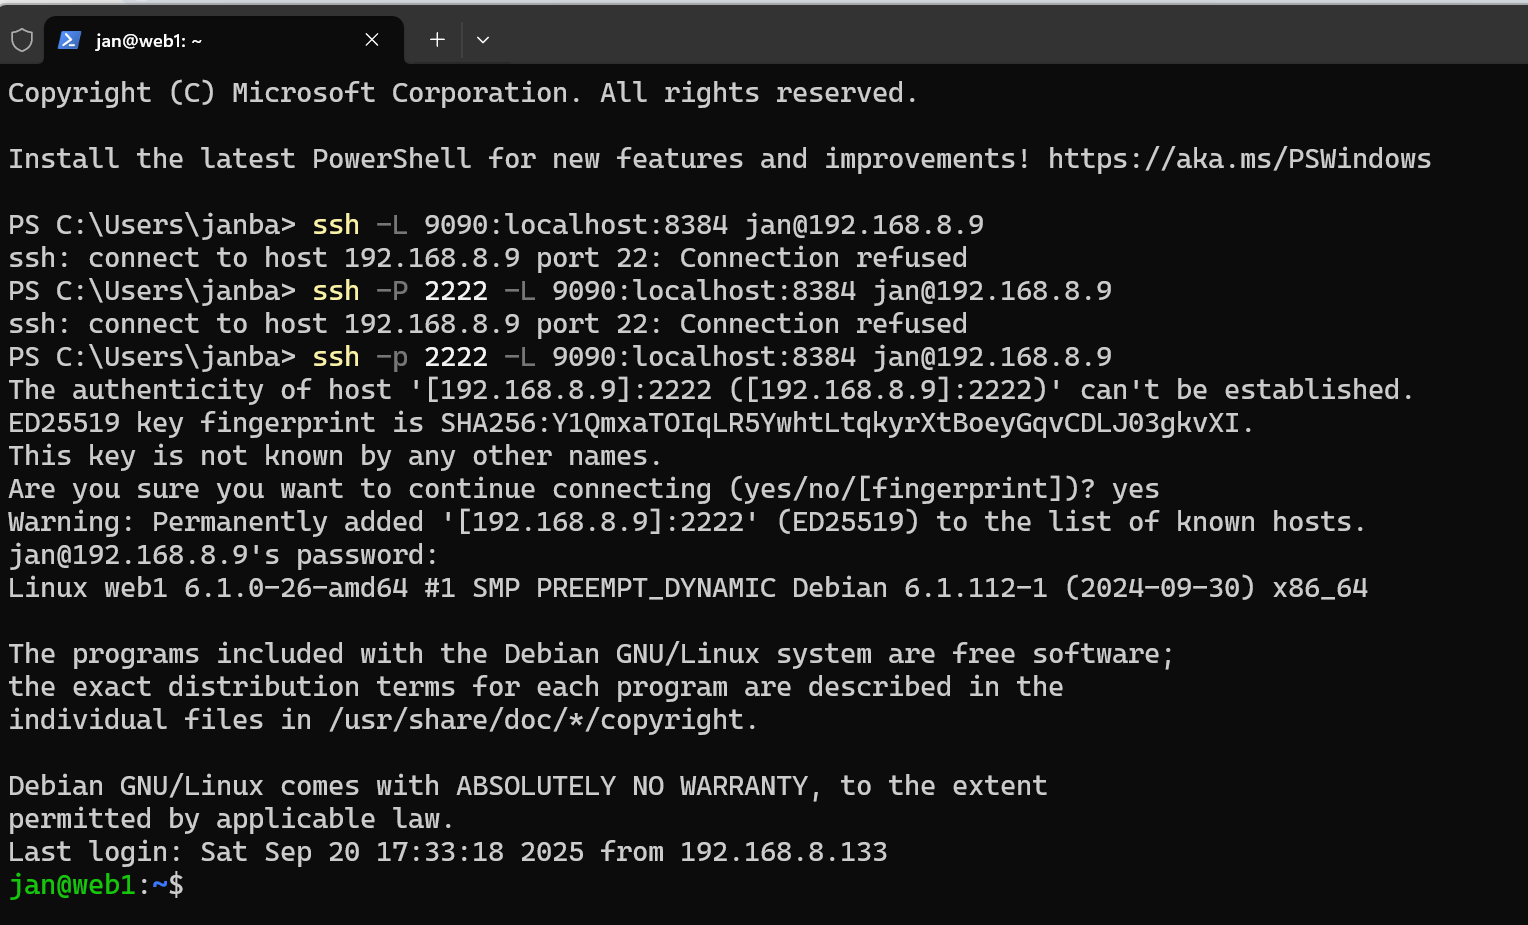
- What we did here was to map the web1’s port 8384 to our own localhost on port 9090. So on your computer, open the web interface and type: http://localhost:9090 .
- Voila! Keep the terminal window open to keep the tunnel operational.
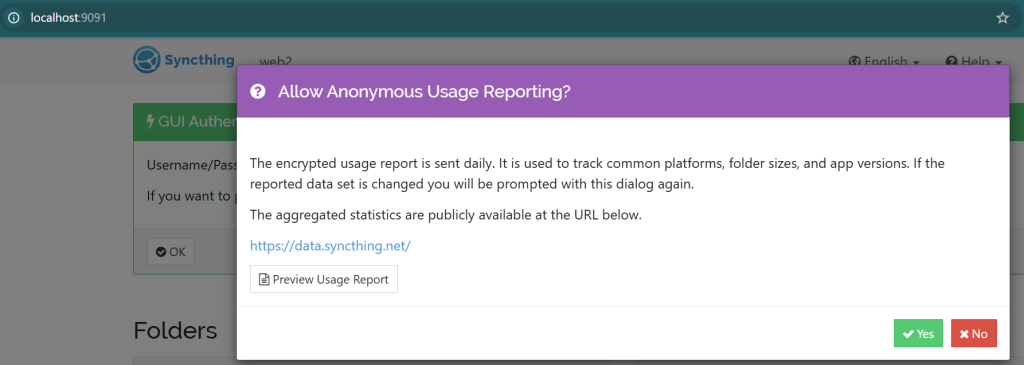
- Now do the same on web2 and any other instances you have, just use another port for your localhost to map into, such as 9091.
Connect the headless Syncthing instances & share Content
- Assuming that you have created a tunnel for each instances on your non-headless computer, you can now reach the web UI of each instance.
- On the
web1web UI, go to Actions > Show ID. A long device ID string will be displayed. Copy it. - On the
web2web UI, click + Add Remote Device on the bottom right. Paste the Device ID fromweb1. Give it a recognizable name, likeweb1. Click Save - Back on the
web1web UI, you will see a notification banner at the top asking to connect toweb2. Click Add Device to approve the connection. - To share a folder – such as the ‘uploads’ folder for WordPress:
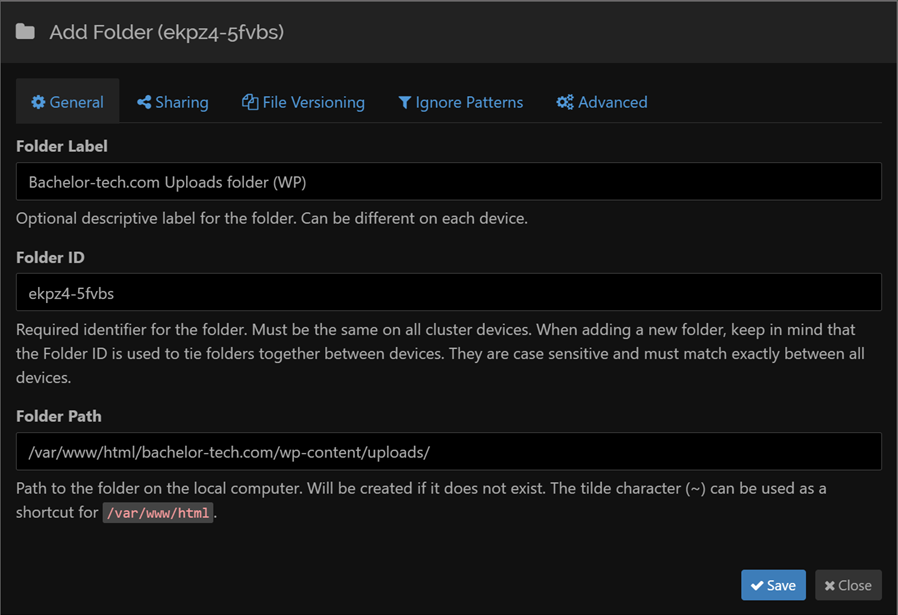
- On web1 (for example), click on ‘Add folder’.
- Fill in the folder label (for you to know what it is in the future)
- As ‘Folder Path’, provide the exact full path – ensure that the user you are running it under has read+write access.
💡 Note: If you ever need to change the user under which syncthing runs, follow this order:
- Stop & disable the syncthing service under the existing user.
- Modify the user in the systemd config – ensure that the user has permissions to access the files.
- There is no need to move the config since we set it up to reside under
/opt/syncthing-config. Yet ensure that this other user has access to it. - Start the service and enable it (for the future reboots).
- Restart the tunnel(s) from your computer for each web server to access it again.
Enable the ‘recycle bin’ function for your shared folders
One highly recommended setting to enable is a “bin” for your shared folders. Imagine a WordPress user accidentally deletes an image from the Media Library, or a plugin update goes wrong and wipes a configuration file. Because Syncthing syncs changes instantly, that file will disappear from all web servers simultaneously.
- To prevent this, we can configure File Versioning.
- Open the Syncthing Web GUI.
- Click Edit on your synchronized folder (e.g.,
wp-content/uploads). - Go to the File Versioning tab.
- Select Trash Can File Versioning.
- Set the number of days (e.g.,
14days).
- Where do the deleted files go? When a file is deleted on one node, Syncthing on the other nodes won’t just permanently delete it. Instead, it moves the file into a hidden folder located at the root of your sync path:
.stversions - How to recover a file: Since this folder is hidden, you won’t see it in a standard file browser. You can access it via the command line to restore lost data. Below is an example:
# Navigate to your sync folder
cd /var/www/html/bachelor-tech.com/wp-content/uploads/.stversions

# List hidden files to confirm the folder exists
ls -la

# Restore it by moving it back one folder above
cp my-deleted-image.jpg ../