- Go to the GCP Console and create a new project.
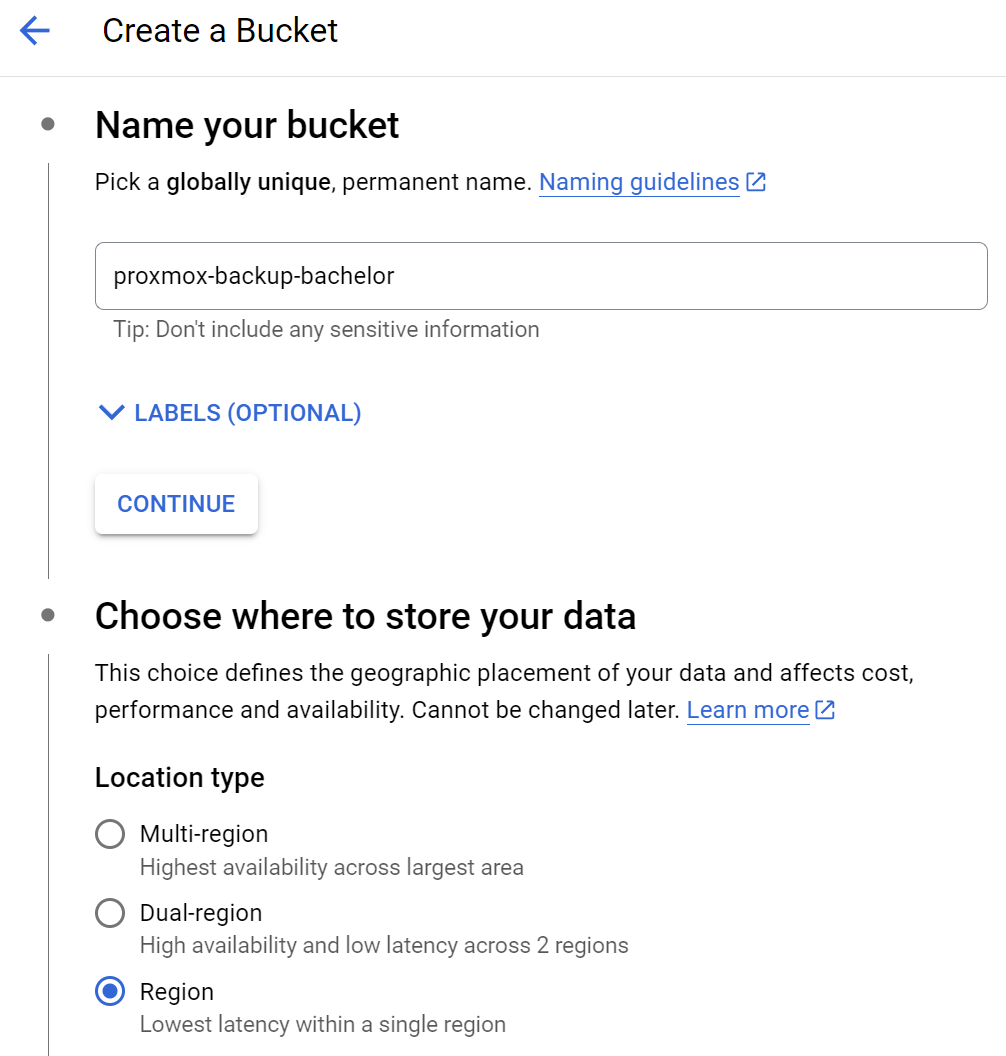
- Then move to the Storage tab and click on the ‘Create’ button to create a new bucket.
- Give a bucket unique name and for where to store your data, choose a single ‘
Region’ to keep the costs down.
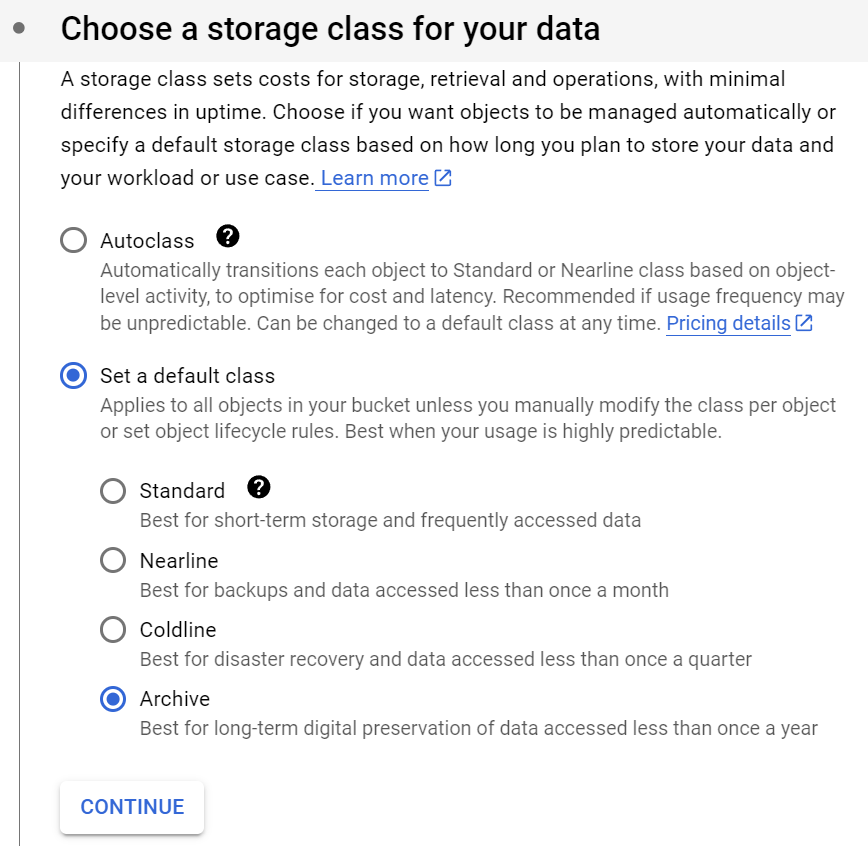
- For Storage Class, choose ‘
Archive’ or ‘Coldline‘ as you prefer.
- Object protection –
Uniformwill be sufficient in our case.
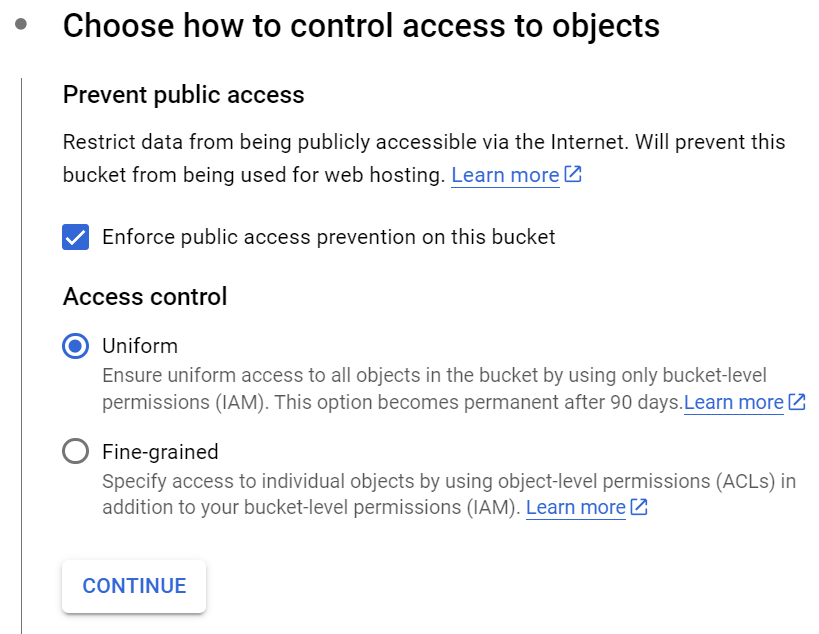
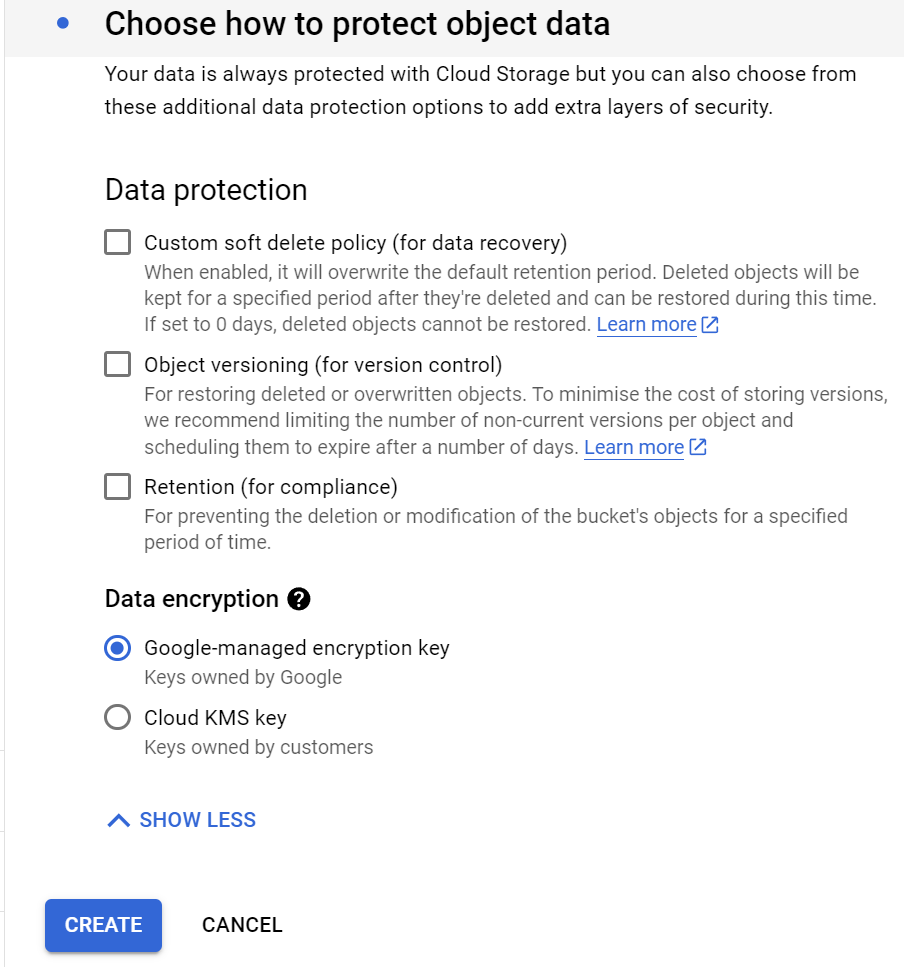
Data Protection→ up to your needs but if we are controlling the backup retention from Proxmox, then we do not need GCP for that. Then click on the ‘Create’ button.- The important take aways are that (a) public access is prevented by default (since this bucket will not be used as a website) and (b) that we have some encryption on it and have selected the right tier.
Congratulations! You now have a Google Cloud Platform bucket with the desired settings! Let’s head to your Proxmox server node (or another Ubuntu-based host) to mount it.