While this is beyond the scope of this tutorial, it is good to consider the following security enhancements and hardening for your PBS:
- SSH – change the default port (such as from 22 to 2222) and make sure that one cannot log in as ‘root’. The config is located under
/etc/ssh/sshd_config(depending on the flavor of your distro).- In the
ssh_configfile, make sure to havePermitRootLogin noand if you prefer to use keys, define a passwordless policy by addingPasswordAuthentication nointo the config file, as well. - Define a user who would be part of the sudo group and SSH in using that user (preferably by using a key that is accompanied with a password).
- In the
- Dedicate user management – instead of using the
root@pamuser to connect from Proxmox VE, a best practice is to create a dedicated user within PBS itself (you can do so under ‘Configuration’ -> ‘Access Control’ -> ‘User Management’). This user can then be assigned a specific role (likePVEAdmin) with access limited only to the necessary datastore, adhering to the principle of least privilege.
- Firewall – on a Debian/Ubuntu set up, you can easily install UFW or another firewall. You can run commands like
ss -tulpnto check what services are being listened to, allow those (esp. SSH!) if legitimate and then lock everything else up, such as as shown below:
Allow your custom SSH port (replace 2222 with your port)
sudo ufw allow 2222/tcp

# Allow Proxmox Backup Server API and web GUI
sudo ufw allow 8007/tcp

# Enable the firewall
sudo ufw enable
- Fail2ban – auto-lock for failed repeated login attempts to SSH and to the Proxmox GUI. Simple and effective. This is still useful even on the LAN even if your PBS is not in any way exposed to the world wide web in case you get an infected endpoint at some point. While SSH is covered out of the box by Fail2ban, the Proxmox login prompts requires a custom jail. If interested, I can post a little tutorial for that.
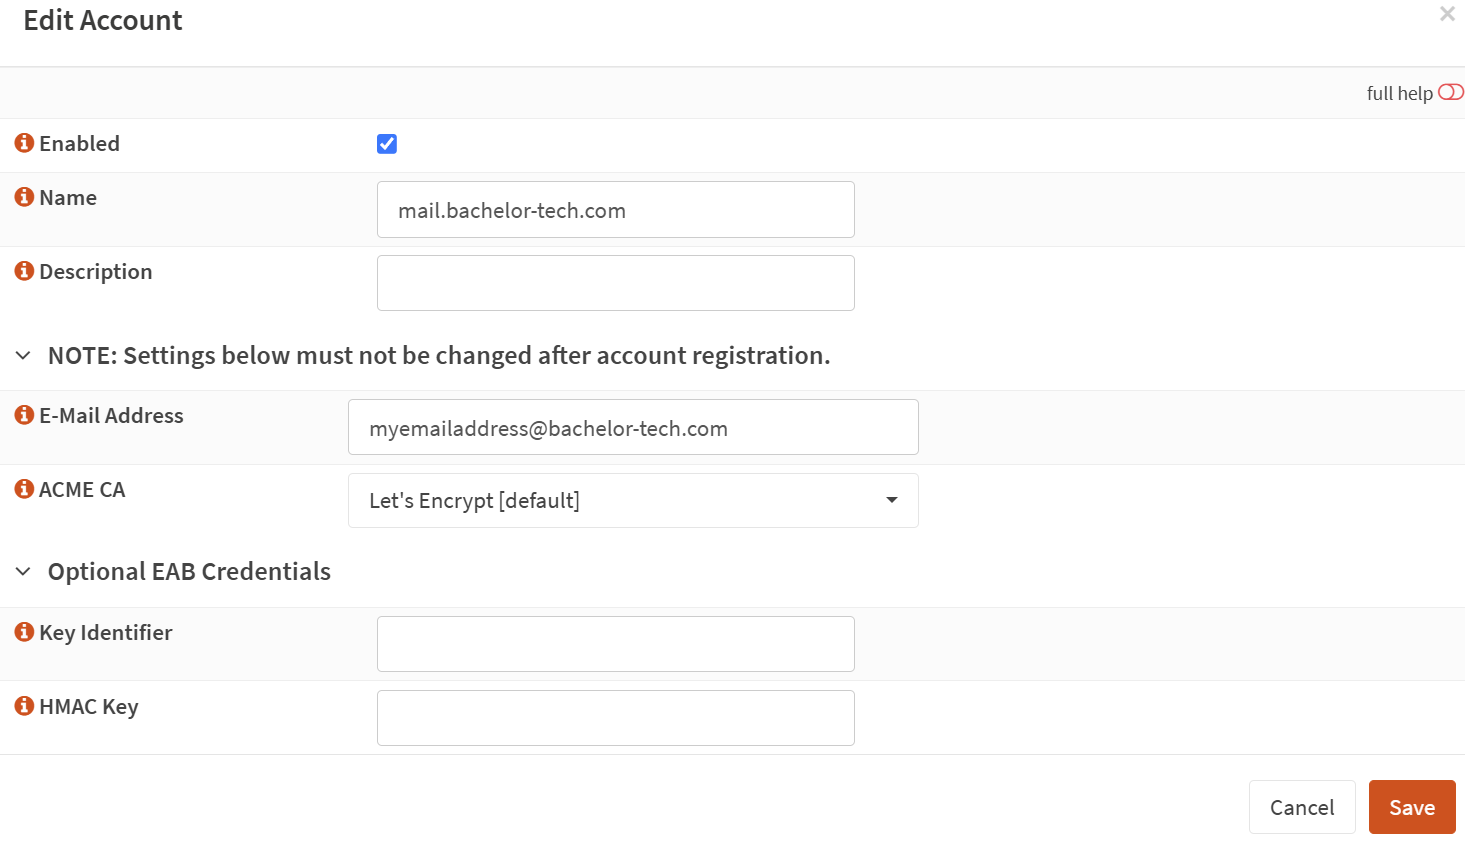
- SSL – Let’s Encrypt is ideal if you need to access your PBS from outside your local network. This can be done easily using OPNSense if you have that one already. Alternatively, for a purely internal, LAN-only server, creating your own private CA with a tool like
mkcertis sometimes simpler and more secure as it requires no internet exposure. Check out my guide on how to install a mail server from scratch where I covered this topic in detail 🙂
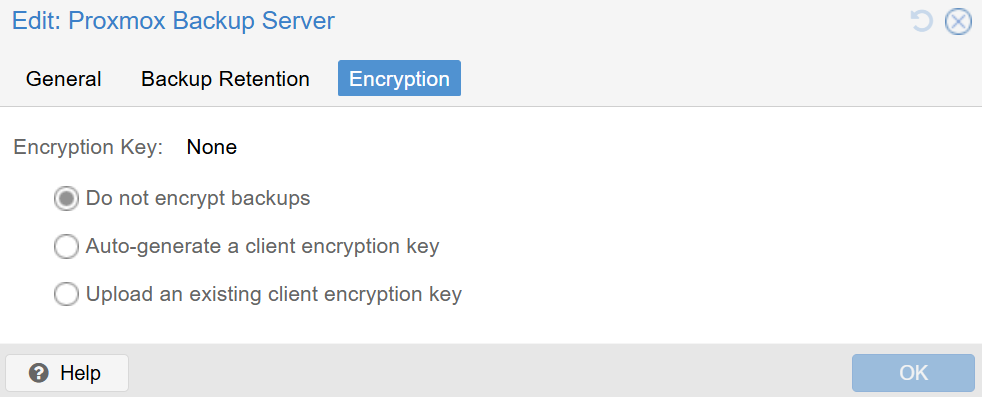
- Backup encryption – in an earlier step when we were setting up PBS as a new backup storage, there is a tab called ‘Encryption’ to enforce client-side encryption (i.e. before the data is even sent to the PBS). If enabled, AES-256 in GCM mode is used by default. Just make sure you securely store your key, as without it, you will not be able to perform a restore.
- As for server-side encryption (to encrypt backups once they reach PBS), if you can utilize ZFS native encryption or encrypt the entire LVM using LUKS.
- Stability – Use only stable versions of your software stack. In this tutorial, we tested PBS on a RPI using an ARM64 unofficial release AND we upgraded it to Debian Trixie, which is done only at one’s risk. It is great to see it working but I would not go this way in production use cases.
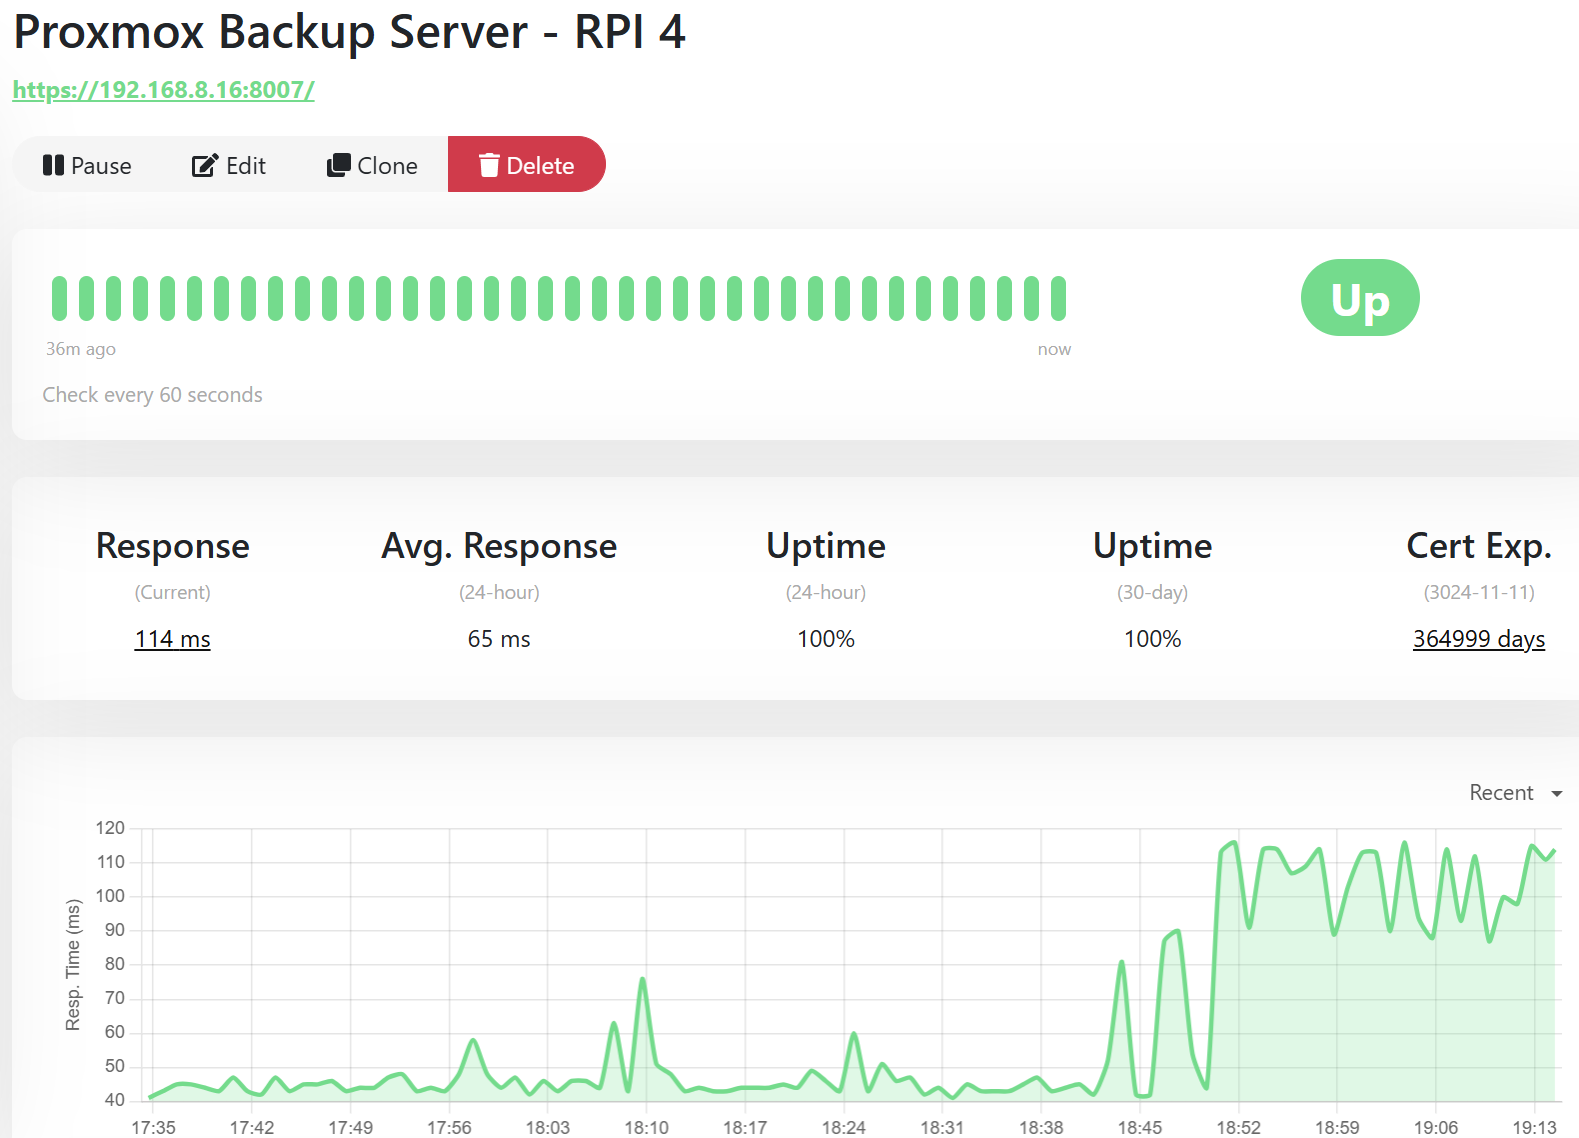
- Monitoring – make sure you add PBS into your monitoring software such as Zabbix, Uptime Kuma, etc. This is crucial in case it goes down, as you may be under a false impression that backups are operational. You can also configure alerts being sent from your Proxmox nodes in case backups cannot be completed. Below you can find an example in UpTimeKuma: