Now since the topology and the specifics of Vaultwarden have been covered, let us move forward with the installation and set up. We will be setting it up on Debian 13 (Trixie) – other versions will likely work in a very similar fashion.
Create a DB on your cluster
- SSH into any of the Galera cluster node (as they will sync) and run the following:
- Replace the ‘
your_secure_password’ string with your own! It is recommended to avoid using special characters for compatibility – the length is what matters the most here! If you do use special chars, you will need to escape them properly later on in thedocker-compose.ymlfile for Vaultwarden. - If you are not sure about the subnet required for the user’s privileges, you can just use ‘
%’ instead of specifying the IP range.
- Replace the ‘
mysql -u root -p

CREATE DATABASE vaultwarden CHARACTER SET utf8mb4 COLLATE utf8mb4_unicode_ci;
CREATE USER 'vaultwarden'@'192.168.%' IDENTIFIED BY 'your_secure_password';
GRANT ALL PRIVILEGES ON vaultwarden.* TO 'vaultwarden'@'192.168.%';
FLUSH PRIVILEGES;

Install dependencies + Vaultwarden itself
- Take a snapshot of each web server before you start the process!
- Install the following on EACH web node you have:
# Update and install basic tools
sudo apt update && sudo apt install -y ca-certificates curl

# Add Docker's official GPG key
sudo install -m 0755 -d /etc/apt/keyrings
sudo curl -fsSL <https://download.docker.com/linux/debian/gpg> -o /etc/apt/keyrings/docker.asc
sudo chmod a+r /etc/apt/keyrings/docker.asc

# Add the repository
echo \\
  "deb [arch=$(dpkg --print-architecture) signed-by=/etc/apt/keyrings/docker.asc] <https://download.docker.com/linux/debian> \\
  $(. /etc/os-release && echo "$VERSION_CODENAME") stable" | \\
  sudo tee /etc/apt/sources.list.d/docker.list > /dev/null

# Refresh apt & install Docker
sudo apt update
sudo apt install -y docker-ce docker-ce-cli containerd.io docker-buildx-plugin docker-compose-plugin

# Enable Docker Systemd service (so containers start on boot)
sudo systemctl enable --now docker
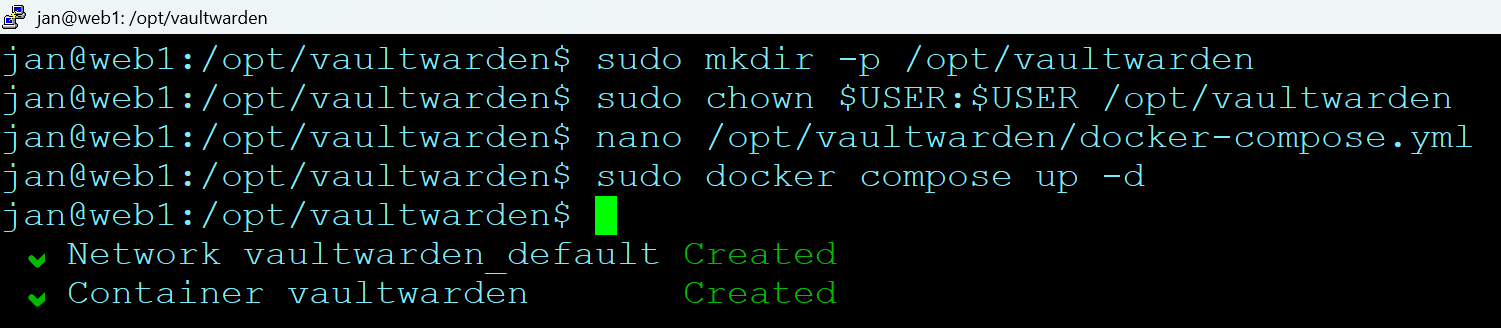
- Create a user, folder and a Docker Compose file:
# Create the directory
sudo mkdir -p /opt/vaultwarden

# Set permissions so your current user can edit files there
sudo chown $USER:$USER /opt/vaultwarden
cd /opt/vaultwarden

# Create the Compose file
nano /opt/vaultwarden/docker-compose.yml
- The
compose.ymlfile:- Note that in my set up, I have a virtual IP set up using OPNSense that I point the web application onto. If you do not have it set up yet, you can check out this part of the tutorial titled **Virtual IP Set Up on OPNSense** (you will then need a service such as HAProxy listening on that IP to receive and forward requests to your Galera cluster nodes).
services:
  vaultwarden:
    image: vaultwarden/server:latest
    container_name: vaultwarden
    restart: always
    ports:
      - "127.0.0.1:8000:80"
    environment:
      - DATABASE_URL=mysql://vaultwarden:[email protected]/vaultwarden
      - DOMAIN=https://vault.yourdomain.com
      - SIGNUPS_ALLOWED=false
      - INVITATIONS_ALLOWED=true
      - IP_HEADER=X-Real-IP
      - LOG_LEVEL=info
      - EXTENDED_LOGGING=true
      # --- SMTP Email Settings ---
      - SMTP_HOST=smtp.gmail.com  # Replace with your provider's host
      - [email protected]
      - SMTP_FROM_NAME=Vaultwarden
      - SMTP_SECURITY=starttls    # Options: starttls, force_tls, off
      - SMTP_PORT=587             # Usually 587 for starttls, 465 for force_tls
      - [email protected]
      - SMTP_PASSWORD=your_app_password
      - SMTP_AUTH_MECHANISM="Plain" # This is safe if used with TLS
    logging:
      driver: "journald"
      options:
        tag: "{{.Name}}"
    volumes:
      # This creates a 'vw-data' sub-folder as a form of persistent storage
      - ./vw-data:/data
- Run it:
cd /opt/vaultwarden
sudo docker compose up -d
- You can check its status after creation by running
sudo docker container ps -a
💡 Once your
docker-compose.ymlfile is launched and you make changes to it, it is best to then re-create the container by runningsudo docker compose up -d --force-recreate
Configure Nginx with Vaultwarden
- Depending on how your nginx instance is already configured, your set up may look like something like this:
- Ensure the path + port number match!
- SSL offloading is handled by HAProxy/OPNSense, so Nginx here listens on 8081. Ensure HAProxy passes the
X-Forwarded-Protoheader so Vaultwarden knows it’s secure.
sudo nano /etc/nginx/conf.d/vaultwarden.conf

server {
    # We listen on 80 because HAProxy handles the SSL/HTTPS before it gets here.
    listen 8081;

    # Replace with your actual FQDN
    server_name vault.yourdomain.com;

    # Replace with OPNSense's actual IP to ensure fail2ban blocks the correct users:
    set_real_ip_from 192.168.0.0/16;
    real_ip_header X-Forwarded-For;
    real_ip_recursive on;

    # Allow large attachments (optional, but good for saving PDFs/Images in vault)
    client_max_body_size 128M;

    location / {
        proxy_pass <http://127.0.0.1:8000>;

        # WebSocket support (used by /notifications/hub)
        proxy_http_version 1.1;
        proxy_set_header Upgrade $http_upgrade;
        proxy_set_header Connection "upgrade";

        # Pass headers so Vaultwarden knows the real IP of the user, not just "127.0.0.1"
        proxy_set_header Host $host;
        proxy_set_header X-Real-IP $remote_addr;
        proxy_set_header X-Forwarded-For $proxy_add_x_forwarded_for;
        proxy_set_header X-Forwarded-Proto $scheme;
    }
- To clarify the ports used (these remain internal and do not need firewall rules):
- Port 8081: What nginx listens on to receive traffic from HAProxy
- Port 8000: The Vaultwarden application (web interface, API, and WebSockets)
💡 Note: In Vaultwarden versions prior to 1.29.0, WebSockets required a separate port (3012). Modern versions serve WebSockets from the main application port, simplifying the configuration.
- Check nginx config and reload it:
# Confirm there is no typo in the syntax before reloading it
sudo nginx -t

# Reload nginx for the changes to take an effect
sudo systemctl reload nginx
Remember to complete the above on all web server nodes, although you may wish to do the first one first and have HAProxy set up just with that one node until you got it working fully.