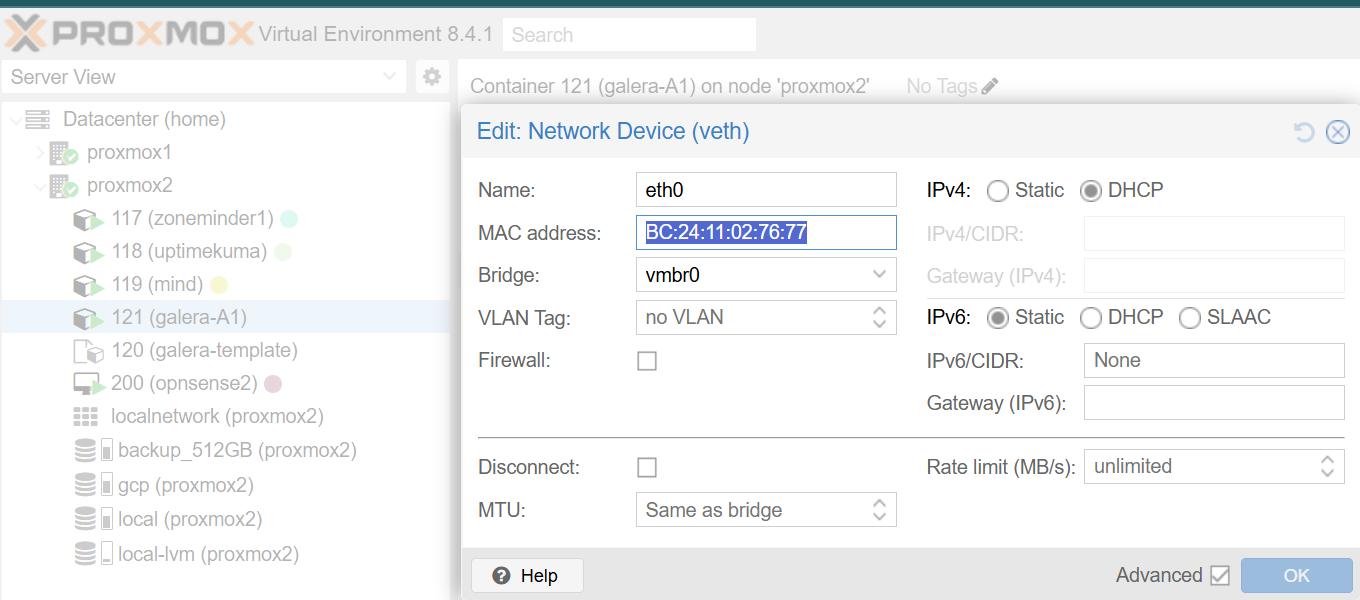
Let’s say that you created your first container. Good! Let’s assign it a static IP.
- Since we are using OPNSense, let’s copy the MAC address in Proxmox and find it in OPNSense to assign it something meaningful for our set up.
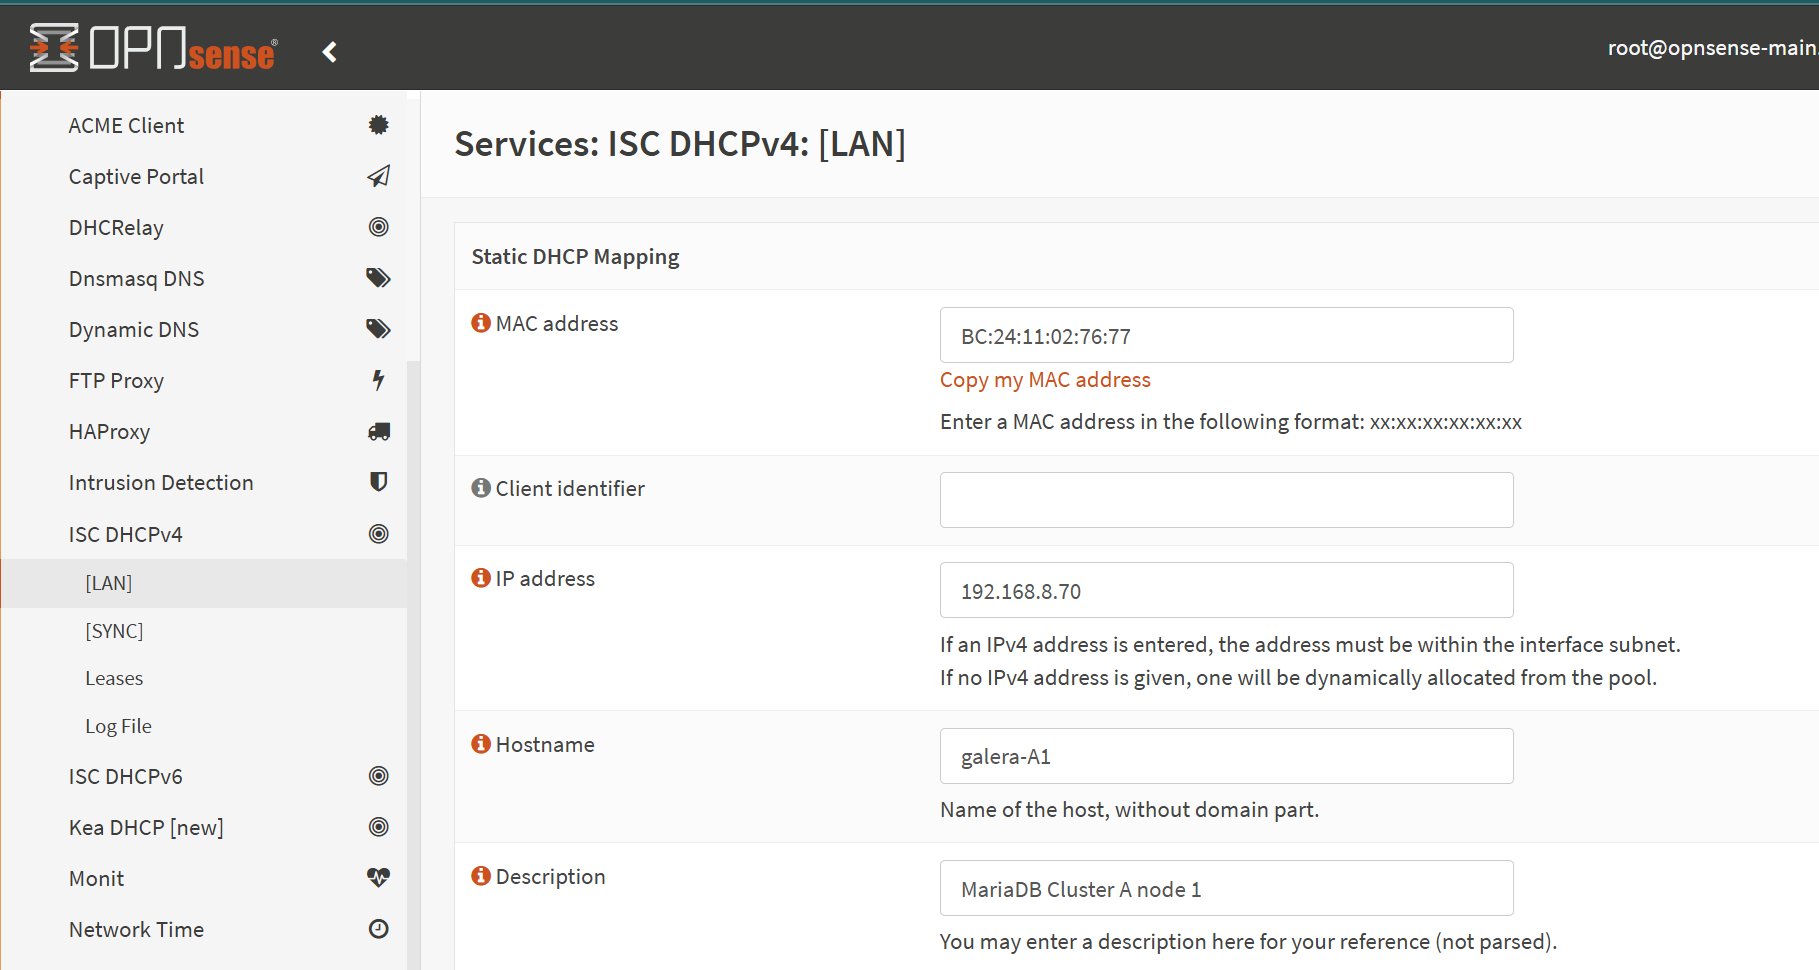
- In OPNSense GUI, head to ‘Services’ > ‘ISC DHCPv4’ > ‘[LAN]’ interface and scroll down to ‘DHCP Static Mappings for this interface.’. Click on the + sign there to add a new MAC address.
- Paste the MAC address and fill in our details like hostname / description, as you prefer. Click on the ‘Save’ button at the bottom of the page and then on the ‘Apply’ button to kick the change into effect.
- Proceed with creating other containers in Proxmox and assigning them static IPs in the same way.
- If you have more Proxmox nodes, move an even number to another one – so for 4 containers, you can have two in proxmox1 and two on proxmox2. Simply right click on the container and click on the ‘Migrate’ button.
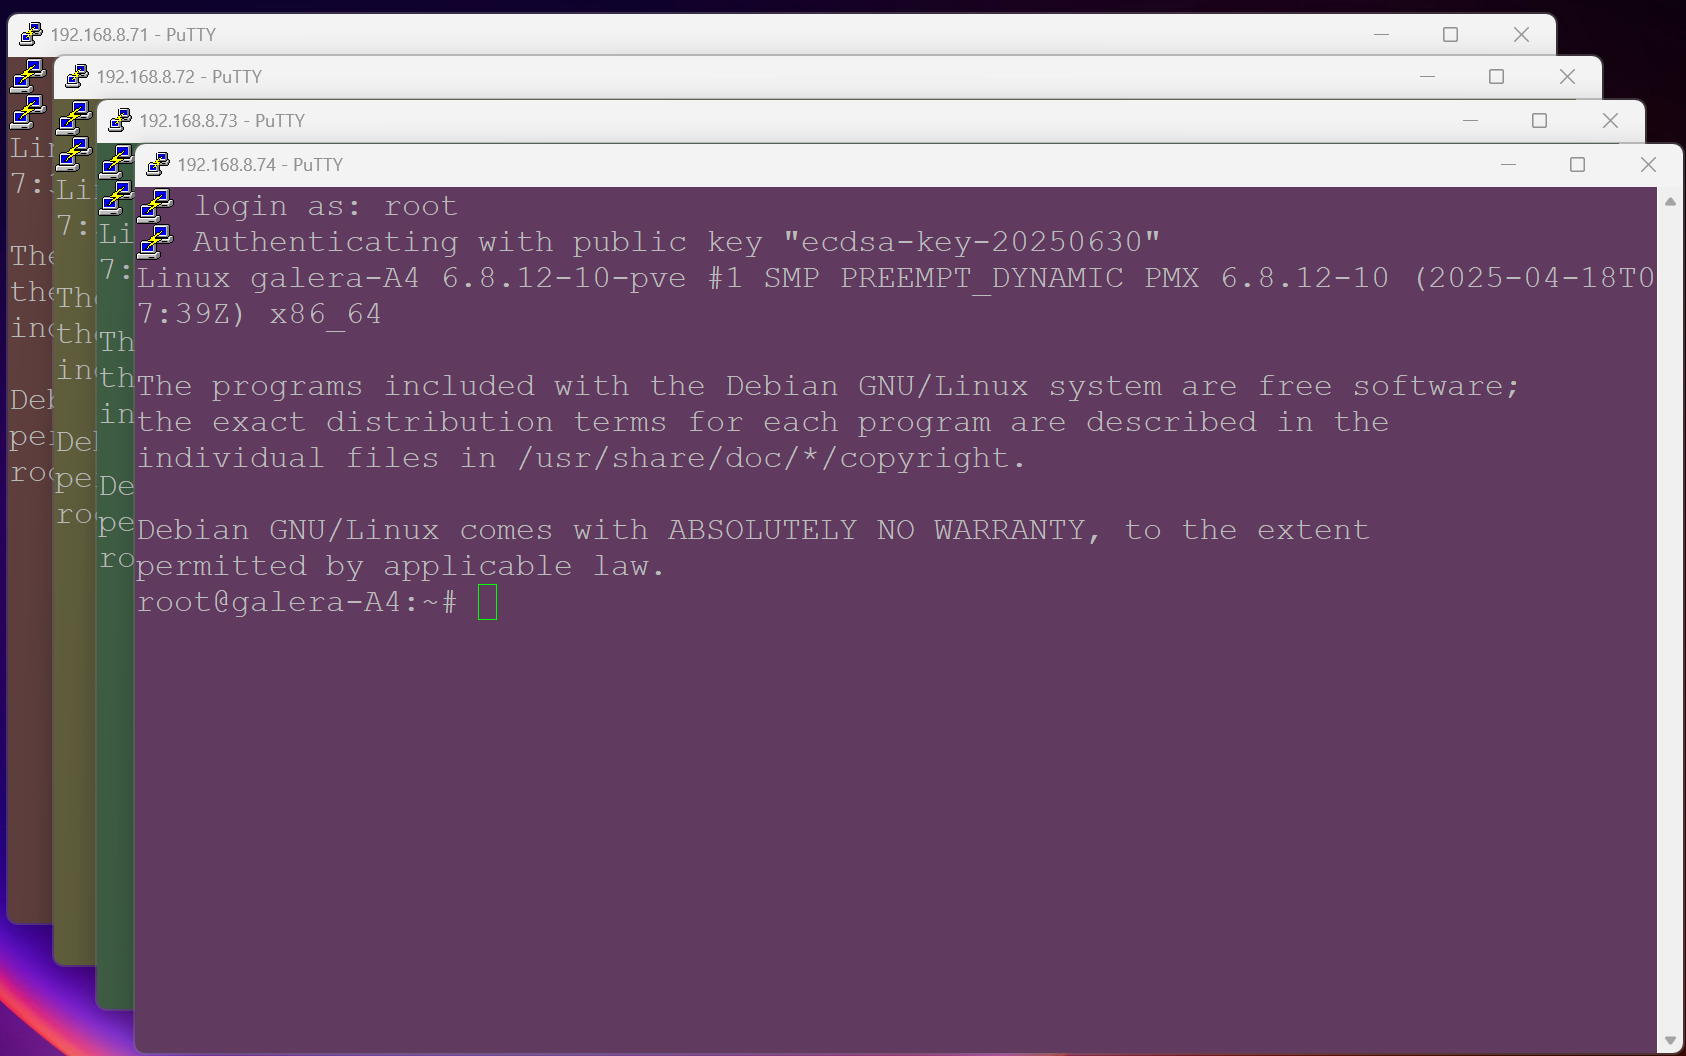
- Then switch the node on (or restart it if it was on arleady) and SSH into each using an SSH key or password using the newly assigned IP address, as per your set up.