We need to create SSH keys and get the public parts deployed to the individual hosts. The challenge here is that the actual Ansible jobs will be run by the awx-instance-task pod, which is a container running inside Kubernetes. This pod needs to have its own private key (so creating one on the VM would not have an impact on it).
We will therefore firstly need to create a key on the VM, deploy it to each host and then add it to AWX for the task pod to use.
- On our VM, create a temporary key:
# 1. Create the key. Use -N "" for no passphrase (AWX needs this)
ssh-keygen -t ed25519 -f $HOME/.ssh/awx_key -N ""

# 2. Display the PUBLIC key. Copy this entire line to your clipboard.
cat $HOME/.ssh/awx_key.pub
- This is the manual, lengthy part if you have a lot of VMs and containers – run this on each to get the key over.
# 1. Create the 'ansible' user with no password.
# -m creates the /home/ansible directory.
# -s /bin/bash sets their shell.
sudo useradd -m -s /bin/bash ansible

# Lock the user - disable password-based login
sudo passwd -l ansible

# 2. Give the user passwordless sudo
sudo visudo
# Add this line at the very end of the file. Save and exit.
ansible ALL=(ALL) NOPASSWD: ALL

# 3. Create the .ssh directory and file as the 'ansible' user
sudo -u ansible mkdir /home/ansible/.ssh
sudo -u ansible chmod 700 /home/ansible/.ssh
sudo -u ansible touch /home/ansible/.ssh/authorized_keys
sudo -u ansible chmod 600 /home/ansible/.ssh/authorized_keys

# 4. Open the file and paste your key
sudo -u ansible nano /home/ansible/.ssh/authorized_keys
ssh-ed25519 your-public-key

# Paste the key from the clipboard. Save & exit.
- Rinse and repeat (including your Proxmox hosts) until you reach all your hosts that you want to manage! Got a non-Linux OS? See below.
Troubleshooting different OS/situations
- In case you the
sudo visudocommand does not work on Linux:
sudo apt install sudo -y # Debian/Ubuntu
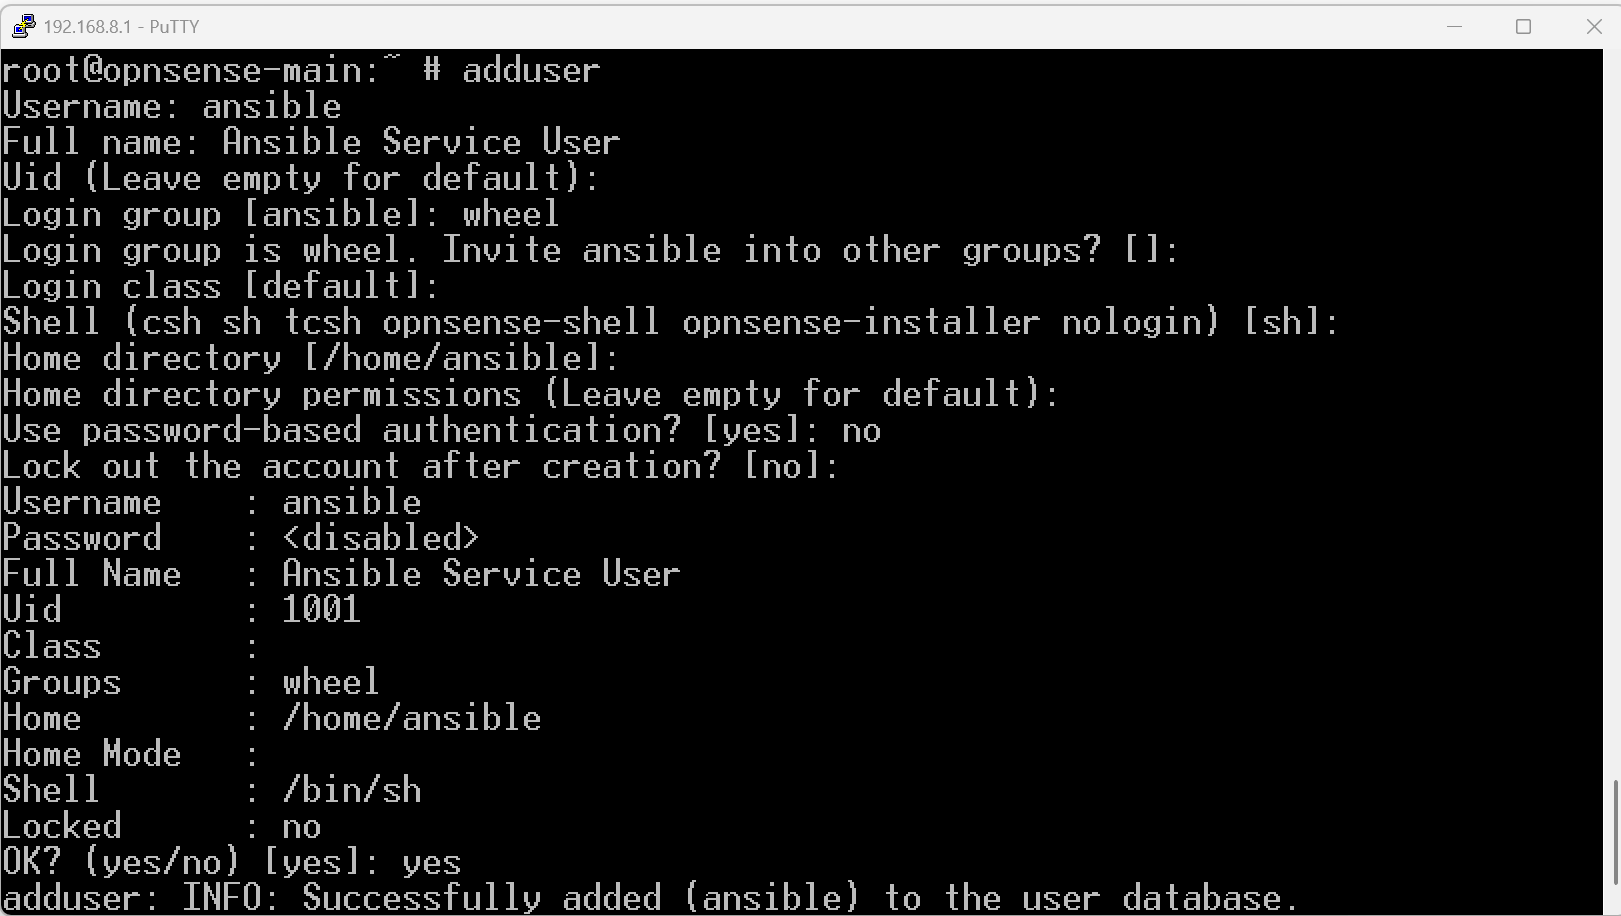
- For hosts that are not Linux-based, such as FreeBSD (on OPNSense, select option 8 to get to Shell first):
pkg install sudo

adduser
- Username: ansible
- Full name: Ansible Service User
- Uid (Leave empty for default): (Press Enter)
- Login group [ansible]: **wheel**
- Invite ansible into other groups? []: (Press Enter)
- Login class [default]: (Press Enter)
- Shell [sh]: (Press Enter)
- Home directory [/home/ansible]: (Press Enter)
- Home directory permissions (Leave empty for default): (Press Enter)
- Use password-based authentication? [yes]: **no** (This will disable password login)
- Lock out the account after creation? [no]: (Press Enter)
- OK? [yes/no]: yes
- Add another user? (yes/no) [no]: no

visudo
# Here add the row. Most likely, you will be using 'vi' - press 'a' for insert mode
# Find the row, insert the text:
ansible ALL=(ALL) NOPASSWD: ALL
# Then press Escape, followed by typing :wq
# followed by enter. To exit without saving, type :q!

# Set up folder/file permissions
mkdir /home/ansible/.ssh
chmod 700 /home/ansible/.ssh
touch /home/ansible/.ssh/authorized_keys
chmod 600 /home/ansible/.ssh/authorized_keys
chown -R ansible:wheel /home/ansible/.ssh