- I assume that you have already prepared a VM (not a container) for this purpose. In this case, I started with a clean slate install of Debian 13 (Trixie) as a Proxmox VM.
- The first step is to update your OS and install K3s, which is a lightweight, certified Kubernetes distribution which is now the standard way to run AWX:
# Update your system first
sudo apt update && sudo apt upgrade -y

# Install curl and git in case you don't have it
sudo apt install curl git -y

# Install K3s
curl -sfL <https://get.k3s.io> | sh -
- Change permissions to make
kubectlload with our user without root.
sudo chmod 644 /etc/rancher/k3s/k3s.yaml
- Verify that K3s is operational – run the
kubectl get nodescommand. You should see your VM listed as “Ready”.
kubectl get nodes
NAME   STATUS   ROLES                  AGE   VERSION
awx    Ready    control-plane,master   60s   v1.29.3+k3s1
- Deploy the AWK Operator – we won’t install AWX directly. Instead, we install the AWX Operator. Think of this as a “manager” app that lives in Kubernetes. You’ll give it a simple config file, and it will handle the complex job of building and managing the AWX application for you.
# Create a namespace
kubectl create namespace awx

# This command installs the operator into the 'awx' namespace
# Check for the latest release in <https://github.com/ansible/awx-operator/releases>
kubectl apply -k github.com/ansible/awx-operator/config/default?ref=2.19.1 -n awx
- Verify the Operator is Running – wait for about 60 seconds, then check the pods. You’re looking for
awx-operator-controller-managerto be in theRunningstate.
kubectl get pods -n awx
- Create and Deploy Your AWX Instance
nano awx-instance.yml

# Paste our minimal config
apiVersion: awx.ansible.com/v1beta1
kind: AWX
metadata:
  name: awx-instance
spec:
  # Expose AWX on our VM's IP (443)
  service_type: NodePort

  # Tells AWX not to enforce high CPU/RAM requests
  # that would fail on a small home lab VM.
  web_resource_requirements: {}
  task_resource_requirements: {}
  ee_resource_requirements: {}

  # Enforce persistent storage to survive reboots
  postgres_storage_size: 8G
- Now it’s the time to start finally using all that allocated RAM for your VM 🙂 The Operator can start deploying the pods. Apply the config using the command below & watch the magic to happen (takes 5-10 minutes). What will be deployed:
awx-operator-controller-manager– its job is to read your YAML file and create/manage all the other pods on this list.awx-instance-postgres-15-0– the ‘brain’ of the operation – a PostgreSQL database. It stores everything – our user account, credentials, host inventories, Gitea project details, and all job history.awx-instance-web-...– the Web UI. This is the pod that serves the web dashboard we’ll log into. TheREADY 0/3(and later3/3) means this one pod runs 3 separate containers inside it that work together to show the website.awx-instance-task-...– the Worker. When we launch an Ansible job, this pod does the actual work. It spins up an “execution environment” and runs the playbook. This is one of the most important pods.awx-instance-migration-...– the setup crew. This is a temporary, one-time-use pod. Its only job is to connect to the new database and set up the tables and initial data (the “schema”). You’ll see it change toCompletedand then it will be done.
kubectl apply -f awx-instance.yml -n awx

# The '-w' flag means 'watch'
kubectl get pods -n awx -w
- Once done, verify that the persistent storage has been claimed:
kubectl get pvc -n awx- Status:
Bound - Storage class: needs to be
local-path
- Status:
- In addition, identify the access port (look for ‘awx-instance-service’):
kubectl get svc -n awx
In my example below, the port number was port 32125, as shown below:
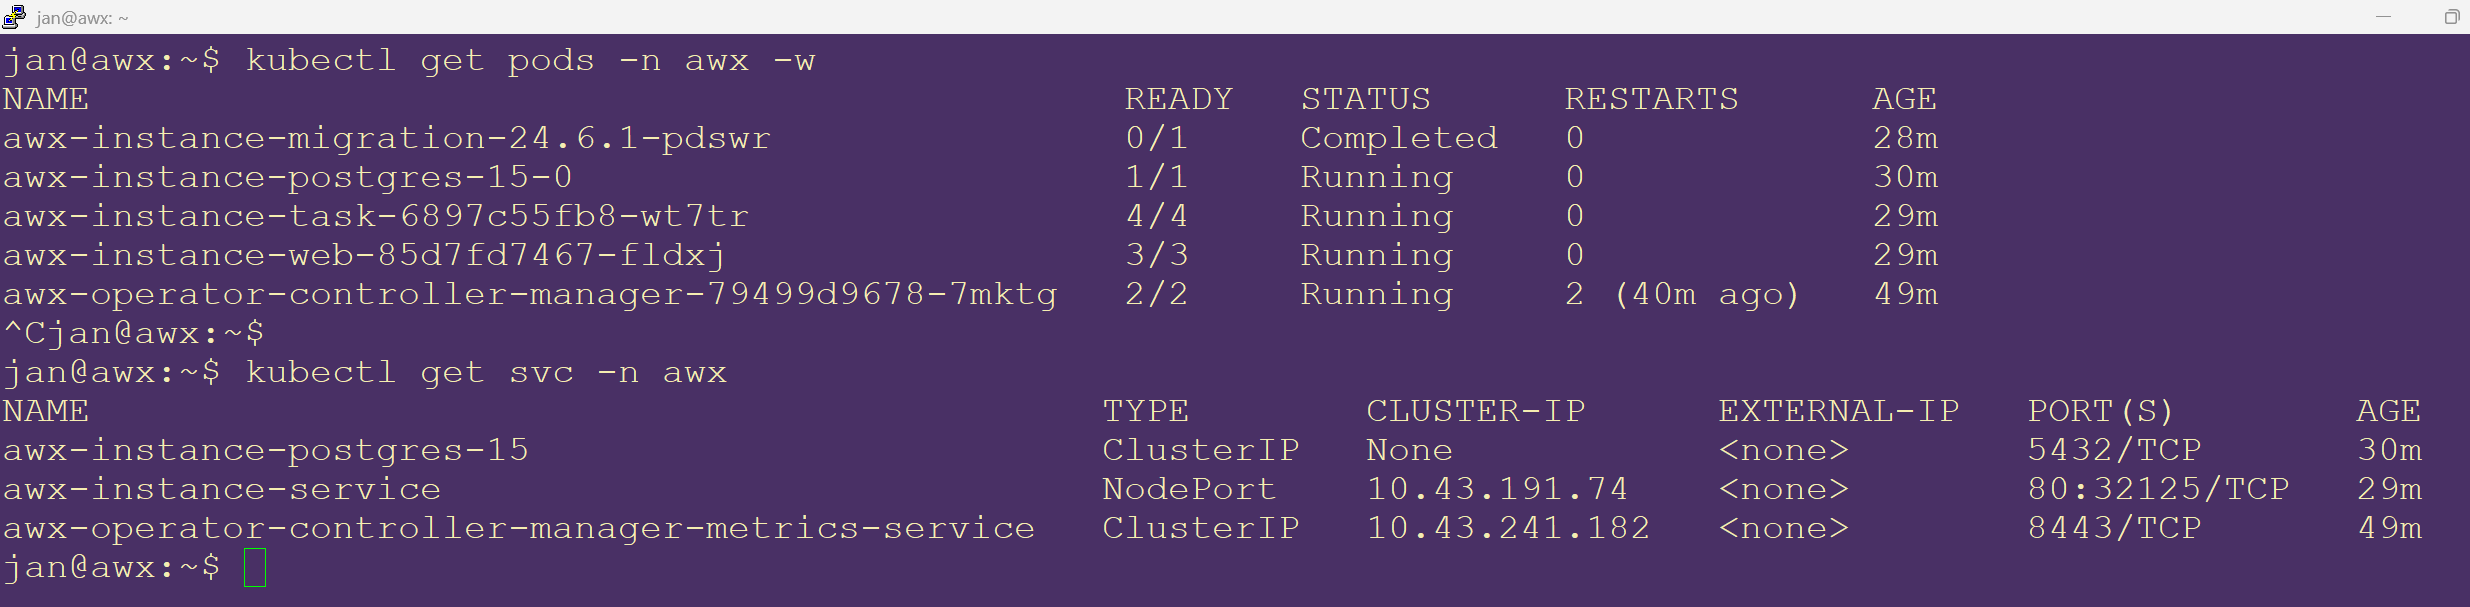
- I can now reach the web UI:
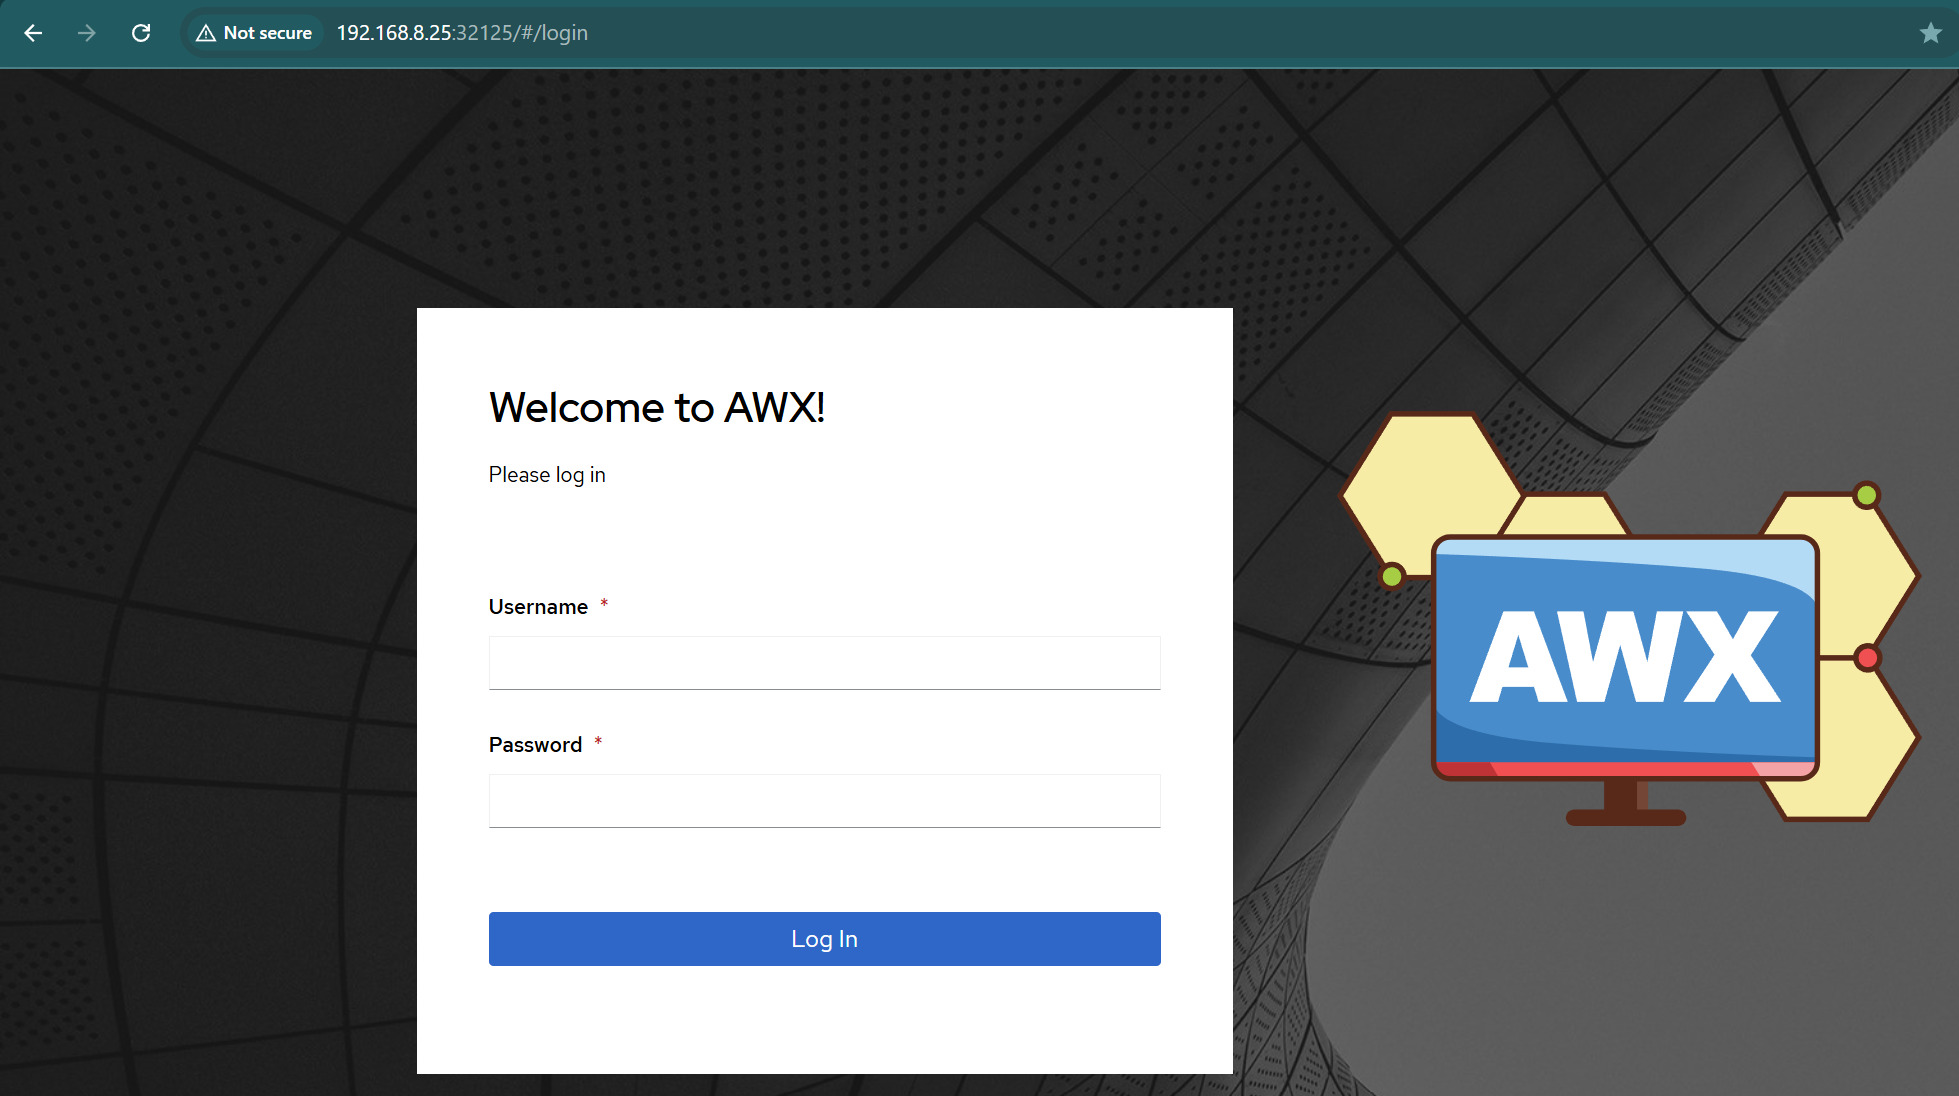
- Fetch the initial admin password for AWK:
# This one-liner finds the secret, gets the password, and decodes it. kubectl get secret awx-instance-admin-password -n awx -o jsonpath="{.data.password}" | base64 --decode