Length: 10 minutes
Put together a list of requirements
Ask yourself and other teams in the organization that are involved with on-boarding about what is essential for them to be able to start the on-boarding process. Yes, talking to people is vital in getting it right! Examples usually include:
- Name of the new hire (Name field)
- Title (Single text field)
- Username (Single text field with limited char length)
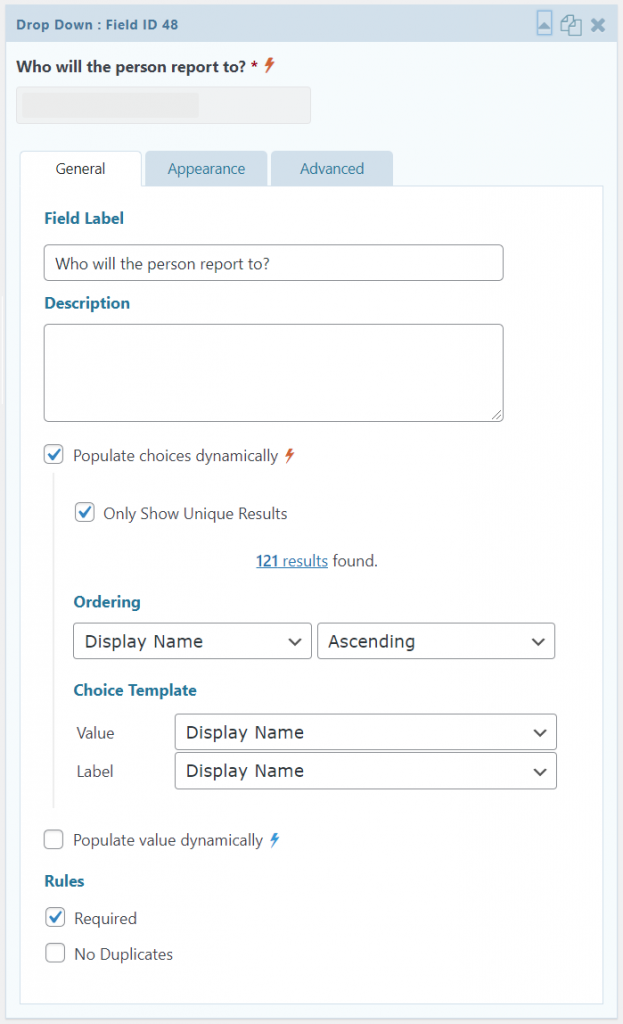
- Hiring Manager’s name (Drop-down field with dynamically populated choices using Gravity Populate Anything plugin – assuming that all your users are present in WordPress. If not, there are ways of populating a drop-down from a Google spreadsheet!).
- Start date (Date field)
- Team / Department (Drop-down field)
- Company sub-organization /. subsidiary – in case you have more branches (Drop-down field)
- Will laptop shipment be required? (Yes / No) – if yes, provide an address field
- Access levels – list of items (Checkboxes type)
- Private email field – to send Okta’s activation email to (Email field)
- What equipment will the new hire need (Checkboxes type)
- Upload profile picture (File upload field)
- Additional notes (Paragraph field)
- Submitee’s name – set default value of the field as {user:display_name}
Create the Gravity form
In WordPress, create a new Gravity form with the fields that you identified that will be needed. Some tips include:
- Make sure that required fields are marked as required.
- For fields that are sensitive to character length like usernames, limit them to avoid workflow failures.
- For lists of people or accesses that change a lot (e.g. when selecting an Hiring Manager or allowing HR to select which shared drives should the person get access to), instead of hard-coding the items in a drop-down list, load them dynamically from a spreadsheet that can be administered by a less IT savvy person or another workflow. Alternatively, if you have all users in your WordPress instance, load their list dynamically using the Gravity Populate Anything plugin.

- Make the form accessible only to signed-in users. Since we will be checking later on who is it that submitted the form, we need to know who it was, not just the submittee’s email address. You can set it up in the ‘Form Settings’ page (not when modifying fields on the form).
- Create a confirmation for the sumittee to thank them for the submission and direct them at the newly submitted workflow. The URL under ‘here’ is https://yourdomain.tld/workflow-status/?page=gravityflow-inbox&view=entry&id={form_id}&lid={entry_id} .


